Archive for Pat’s Kitchen

Hawaiian Cheese Bread

I made this recipe today for a meal at church and it was a hit with quite a few wanting the recipe.  It is a favorite with our family.

Scan0003 (2)


1 loaf (1 pound) Hawaiian Sweet Bread (I get it in the deli section at Food Lion)

8 oz. block of Swiss Cheese (Can use Mozzarella Cheese) cut into thin slices (I cut from the narrow end of the block and it is fits perfectly into the slices of bread)

3 slices red onion, chopped

1/2 cup melted butter

1 T. minced (or powder) garlic

1 tsp. salt

Cut bread diagonally into 1 inch slices to within 1″ of bottom. (I cut it while in the tin foil pan it comes in. This makes an easy guide to know where to stop cutting) Repeat cuts in opposite direction. An electric knife works great.  Insert cheese slices into bread. Combine the butter, onions, garlic and salt; spoon over bread.

Wrap loaf in foil. Bake 350 degrees for 25-30 minutes or until the cheese is melted. Serve warm.

Yield: 12-16 servings


Nutritional Facts (From Taste of Home)

1 serving equals 199 calories, 12 g fat (7 g saturated fat), 38 mg cholesterol, 314 mg sodium, 17 g carbohydrate, 1 g fiber, 7 g protein.


This is a recipe I clipped out of the July/August 2007 issue Taste of Home-Simple & Delicious Magazine. It is also available on their website-Taste of Home.

Peanut Butter Dessert

All afternoon I have been thinking about this wonderful, yummy dessert in the refrigerator at home. I checked it out at lunch and there were 3 servings left. Finally about 4 PM I finally decided to go partake.  And there it was, the empty dish on the counter-not a bite was left, just crumbs.  I won’t call any names but someone ate all the dessert!

We love this dessert. It is one of our favorites.  The original recipe can be found on the Taste of Home website and it is called Triple Treat Torte.  I modified it some and now it is a very healthy, good for you, low calorie, irresistible dessert!!!  Well, maybe I just helped it a little.

Triple Treat Torte

Here is how I make it.

Crust:

1/2 cup cold butter or margarine

1 c. All-Purpose flour

2/3 c. chopped pecans

Cut together until crumbly. Press into bottom of greased 13″x9″ pan (I use Pam). Bake at 350 degrees for 16-30 minutes or until it just started to brown.  Cool.

Layer 1:

1 c. confectioner sugar

1 cream cheese, softened (8 oz)- I use 1/3 lower fat kind

2/3 c. smooth peanut butter

1 carton sugar-free Cool Whip (8 ounce) thawed -use half and reserve the other half for layer 3.

Beat together in mixing bowl until smooth. Spread over cooled crust.

Layer 2:

2 packages 1 oz. sugar-free instant chocolate pudding mix

2 packages 1 oz. sugar-free instant vanilla pudding mix

5 cups milk

Beat together on low speed for 2 minutes. Spread over layer 1.

Layer 3:

Use the reserved Cool Whip and spread over pudding mix and sprinkle with chopped pecans. Cover and refrigerate 4 hours or overnight.

Note: I have found that I like to use a little more than half of the Cool Whip in layer 1 and it takes a little more than the half for layer 3. I use probably a total of 1-1/2 containers.

Yield: 15-20 servings.


Homemade Country Vanilla Ice-Cream

IMG_1477

This is my custard-based homemade ice-cream recipe that I have really good success with.  (Kendra, this is especially for you!)  It freezes nice and firm and I have never had it fail.  Use your imagination for varieties, I have included some that I have tried and like.

Here is my printable Recipe-Homemade Ice-Cream

Butchering Chickens

IMG_0501

Red Sex Sal hen-5 months old.

IMG_0450

Fast-Grow Cornish Giant – 12 weeks old

I did a class on butchering chickens on Saturday.  When approached by a customer to do the class I was hesitant and resistant to the idea.  I really don’t enjoy butchering chickens!  But after enough encouragement I agreed and was surprised at the response.  The first class filled up, then the second and I have enough for a third if I can bring myself to do it!  I had about 20 willing participants who with some trepidation tackled the chore. I was impressed that I had two teens and they stuck with it and did a good job. I was proud of them. We had a good time (if plucking & degutting chickens is a good time!) and went away with a new understanding of what it takes to bring a good meal of chicken to the table.

I gave my camera to granddaughter, Emily, and told her to take lots of pictures.  She did-over 400!  Thank goodness for digital cameras!

I started off raising Fast-grow Cornish Giants for the class.  At first they did really well. The batch of chickens is documented on my website (www.hffinc.com) for those who are interested in raising them.  I had trouble losing them and by the time of the class and they were 12 weeks old I had lost 14 of the 25 and 1 was a severe runt.  Those that survived were huge.  I didn’t get them weighed-I wish I would have, but they had to weigh at least 15 lbs and some of the roosters may have been 20.  One of the participants weighed her Cornish hen when she got home and it was 1 oz. shy of 10 lbs!!!  Some in the class had to take my Red Sex Sal laying hens that were 5 months old.  I was feeding them a heavy corn ration to fatten them up but the contrast between the two birds was huge.  The pictures at the top of the page shows the difference.    I butchered one of the hens and we had it for supper Saturday night. The flavor was excellent and the meat was tender-they just weren’t very big.   Remember the children’s story of the “Scrawy Twany Lion”?  That is how my little hen looked beside the plump Cornish giants!  It was  incredible to me how fast the Cornish grew.

Now back to the class….

IMG_0300

Each person chose their chicken…

IMG_0314

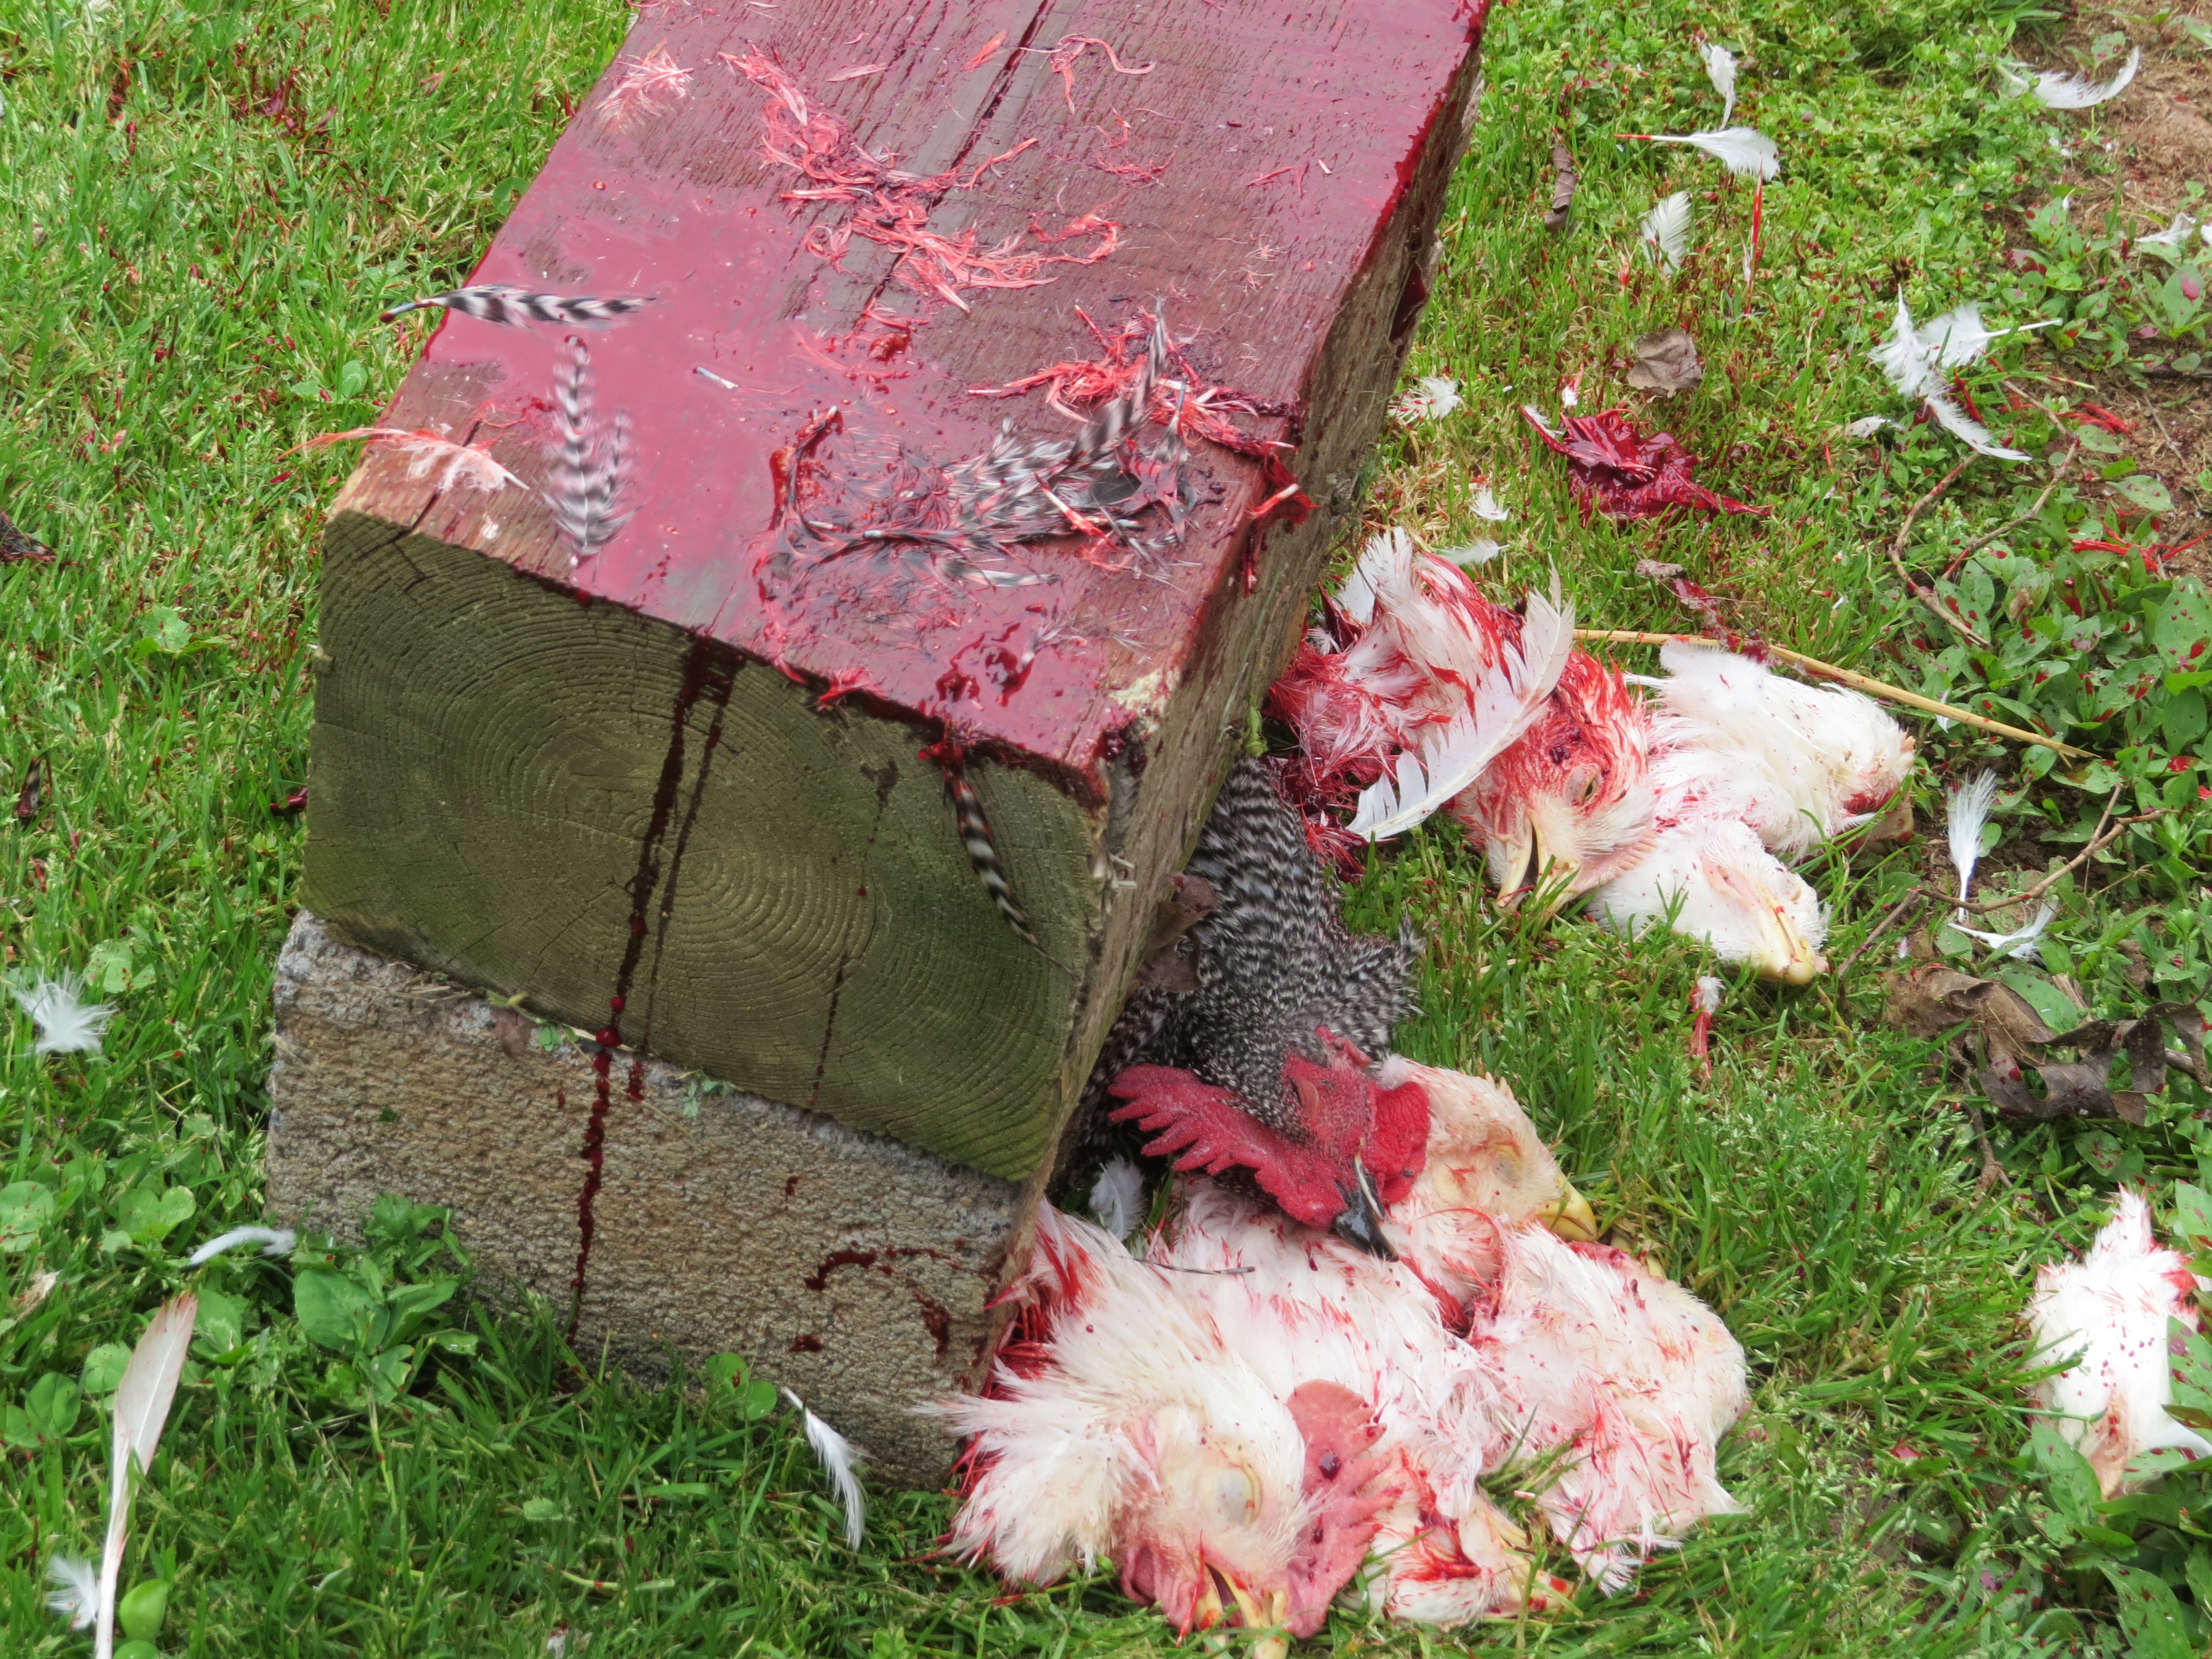
and then we chopped the heads off.

IMG_0333

Waiting for the blood to drain.

IMG_0331

Deed completed.

IMG_0351

Heading to the scalder.

IMG_0358

IMG_0361

A few dips into the hot water and the chickens are ready to pluck.  It does not take long-maybe 30-45 seconds.

Just enough that the feathers come off the skin easily but not enough to cook the skin and cause it to break.

IMG_0400

Plucking the feathers off.

IMG_0407

IMG_0410

IMG_0408

IMG_0437

IMG_0400 IMG_0407

IMG_0437

IMG_0408

IMG_0410

IMG_0439

IMG_0422

IMG_0451

Once the plucking was done we took a knife and scraped the skin removing any feather stubs that were left.

IMG_0446

Singeing the plucked bird by holding it over a flame to quickly remove any fine hairs left on the skin.  This process only takes a few seconds.

IMG_0453

IMG_0539

Washing our birds using a squirt of Dawn dish detergent and 1/2 cap (1 tsp)  bleach in warm water.

IMG_0525

Cut off the feet by bending the legs slightly backwards and cutting through the joint.

Also removed the oil gland on top of the tail.

IMG_0500

IMG_0569

Making a slice through the skin and abdomen between the legs but being very careful not to cut into the guts.

IMG_0573

Removing the guts and organs by inserting the hand into the cavity along the breastbone and reaching as far to the front as possible and pulling the  insides out.

IMG_0574

IMG_0582

You can see the heart laying just behind the guts and to the right of the liver.

IMG_0577

My hen had a bonus-egg yolks in it and a hard shelled egg just ready to be laid.

The egg yolks are so good to eat-even the tiniest ones. Put them in the soup broth or gravy to cook.

IMG_0585

I cut open the stomach or gizzard and peeled out the liner to remove the food contents.  The gizzard is good to eat but more tough and chewy in texture.

IMG_0588

The liver.

IMG_1121

There is a little green sack attached to the liver called the spleen.  You want to be very careful in cutting it off the liver to not break it. It is filled with a bitter substance that will ruin your meat if it breaks.

IMG_0600

In one of the hens was something I had never seen-the egg yolk with the white already on it.

IMG_0587

You could actually pick it up.  I put it in my roasting pan when I roasted my hen for supper. It was so good to eat.

IMG_0579

I am pointing to the lungs that are attached to the rib cage on each side. Pull them out.

IMG_0590

The hen is clean and ready to be cut into pieces.   I do see one little piece of lung in there yet. (The bright red spot on the right rib cage).

IMG_0618

Cutting off the wings.

IMG_0629

Using a large, sharp butcher knife to cut off the legs.  Then I cut the leg from the thigh. If you bend the leg backwards slightly you can find the joint to cut between the bones.

IMG_0651

IMG_0652

IMG_0653

Cutting the breast bone in two.

IMG_0654

Done!

Apple Dapple Cake

There are always family favorite recipes and then there are really special,  favorite, family recipes. This is one of those for our family.  I make this more than any other cake.   I am sure Gene will declare he was not in on this prank but when the children were still at home we had to guard our plates against “someone” stealing our icing.  Keith was particularly noted for this grieveous sin!   I always say this cake is beyond good!

When Keith got married he asked me to make these for his rehearsal supper. There were a hit and I share this recipe for those who wanted it.

100_7622

Apple Dapple Cake

Mix together:

  • 3 eggs
  • 1 c. Vegetable Oil
  • 2 c. Sugar

Add and beat:

  • 1 tsp. Salt
  • 1 tsp. Soda
  • 2 tsp. Vanilla
  • 1 tsp. Mace
  • 1 tsp. Nutmeg
  • 1 tsp. Cinnamon
  • 2-1/2 cups All-Purpose Flour

Prepare and coat with 1/2 c. flour (this prevents the nuts and apples from sinking in the batter).

  • 1/2 c. chopped Pecans
  • 3 c. Raw diced apples, peeled

Stir the apples/pecans into the batter and spoon into a greased bundt pan. This is a very thick batter.

Bake at 350 degrees for 1 hour and 15 mins. In my oven it doesn’t take quite that long. Check it after 1 hour.

Caramel Topping:

  • 1 c. Brown Sugar-packed
  • 1/2 c. Margarine
  • 1/4 c. Milk

Boil on low heat for 21 mins.  (firm boil stage).  Pour over hot cake.

Enjoy with a cup of hot coffee!

Taco Soup

I was asked today for my Taco Soup recipe so I will just share it on my blog. It sure tasted good on this snowy, wintery, spring day!  This soup is very easy to make-basically just open cans!!!  But you have to plan ahead to have the cans on hand.


Taco Soup

1 lb. hamburger fried with 1 large, chopped onion.

Add:

1 can white hominy (15 oz.)

1 can diced tomatoes (28 oz.)

1 can whole yellow corn (15 oz. or 1 pint frozen)

1 can Original Rotel (tomatoes and green chilies mixed)  (10 oz.)

1 can pinto beans (15 oz.)

1 can dark-red kidney beans (15 oz.)

1 can beef broth (14 oz.)

1 pkg.  Old El Paaso dry taco seasoning mix  (1 oz.)

1 pkg. dry Hidden Valley Ranch dressing mix (1 oz.)

1 qt. tomato juice

I drain and rinse all the beans to get rid of the thick, starchy liquid.

Heat and simmer for 15 minutes before serving.  Can be made the day before.

Yield: 3 qts.


Crunch a handful of Dorito (our preference)  or tortilla chips in bottom of soup bowl and add the  soup with the following options sprinkled on top: sour cream, shredded  cheese, hot sauce and salsa.


My Weber Grill

100_7440

Late last summer I was suddenly in the market for a new grill. I poured over the internet looking at pictures and specs on the different brands, comparing prices and features. Finally I went to town and looked but they didn’t have want I wanted.  I did appreciate getting to look at the different brands.

I have had several different types and brands of grills over the years.  I started with charcoal-remember those days and progressed to propane and have had several electric through the years.  I really  prefer electric over propane because of the way it cooks barbecue chicken.  My Holland Grill grilled nice chicken even though it was propane because it cooked from indirect heat but I had lighting issues with it and it was difficult to clean.  It had a very small hole that dripped into a swinging bucket.  I often had to  poke a wire or stick through the hole to open the drain.

I finally settled on an electric Weber Grill and I have to say it is my favorite of all the grills I have ever owned.

Now let me brag on it’s features and why I love it.  Their propane style has the same features.

100_7441

I have used this grill all winter and look at how clean it is.  It has to be the easiest to clean grill on the market!  This caught me a little by surprise as the websites-including Weber’s doesn’t brag on this feature enough.

100_7442

The cast iron grate is in two pieces making it easy to remove and clean in the kitchen sink.  Most of the time I cook on just one side (for just the two of us) and only have to clean one side!  It fits in my kitchen sink and is easy to scrub.

100_7443

There is an aluminum liner underneath the heating elements.   It slips out and each time I also wash it in the  kitchen sink.

100_7444

Notice the opening in the bottom of the liner.  It is large enough for juices and droppings to fall through to the pan underneath.  No more clogged holes!

100_7445

The drip pan is a tin foil liner available in the grocery store, however I have been carefully washing and reusing it.  It sits in a slide tray that slides securely into a groove under the grill. No more swinging buckets to get knocked off or little cups to fall over.

This is why I love my Weber grill…just saying!

My Barbecue Chicken Sauce Recipe

  • 1/3 c. Vegetable oil (To reduce fat you can delete this and up vinegar to 3/4 cup and water to 4 T.)
  • 1/2 c.  Vinegar
  • 3 T. Water
  • 4 tsp. Salt
  • 1/3 tsp. Pepper
  • 2/3 tsp. Poultry Seasoning

Stir together and brush over the chicken pieces every 10-15 minutes.  Takes 1 hour to grill depending on the size of the chicken pieces.  Chicken halves can take up to 1-1/2 hours.  Grill until the chicken is tender and well browned.

Some helpful hints:

  • I have also used this recipe on whole chickens grilled using a post or can.  I fill the post with the sauce and brush it on the outside skin the same way.
  • You can skin the chicken pieces and brush this sauce on the the same way or marinate an hour or so before hand.

Cinnamon Buns and Sticky Buns

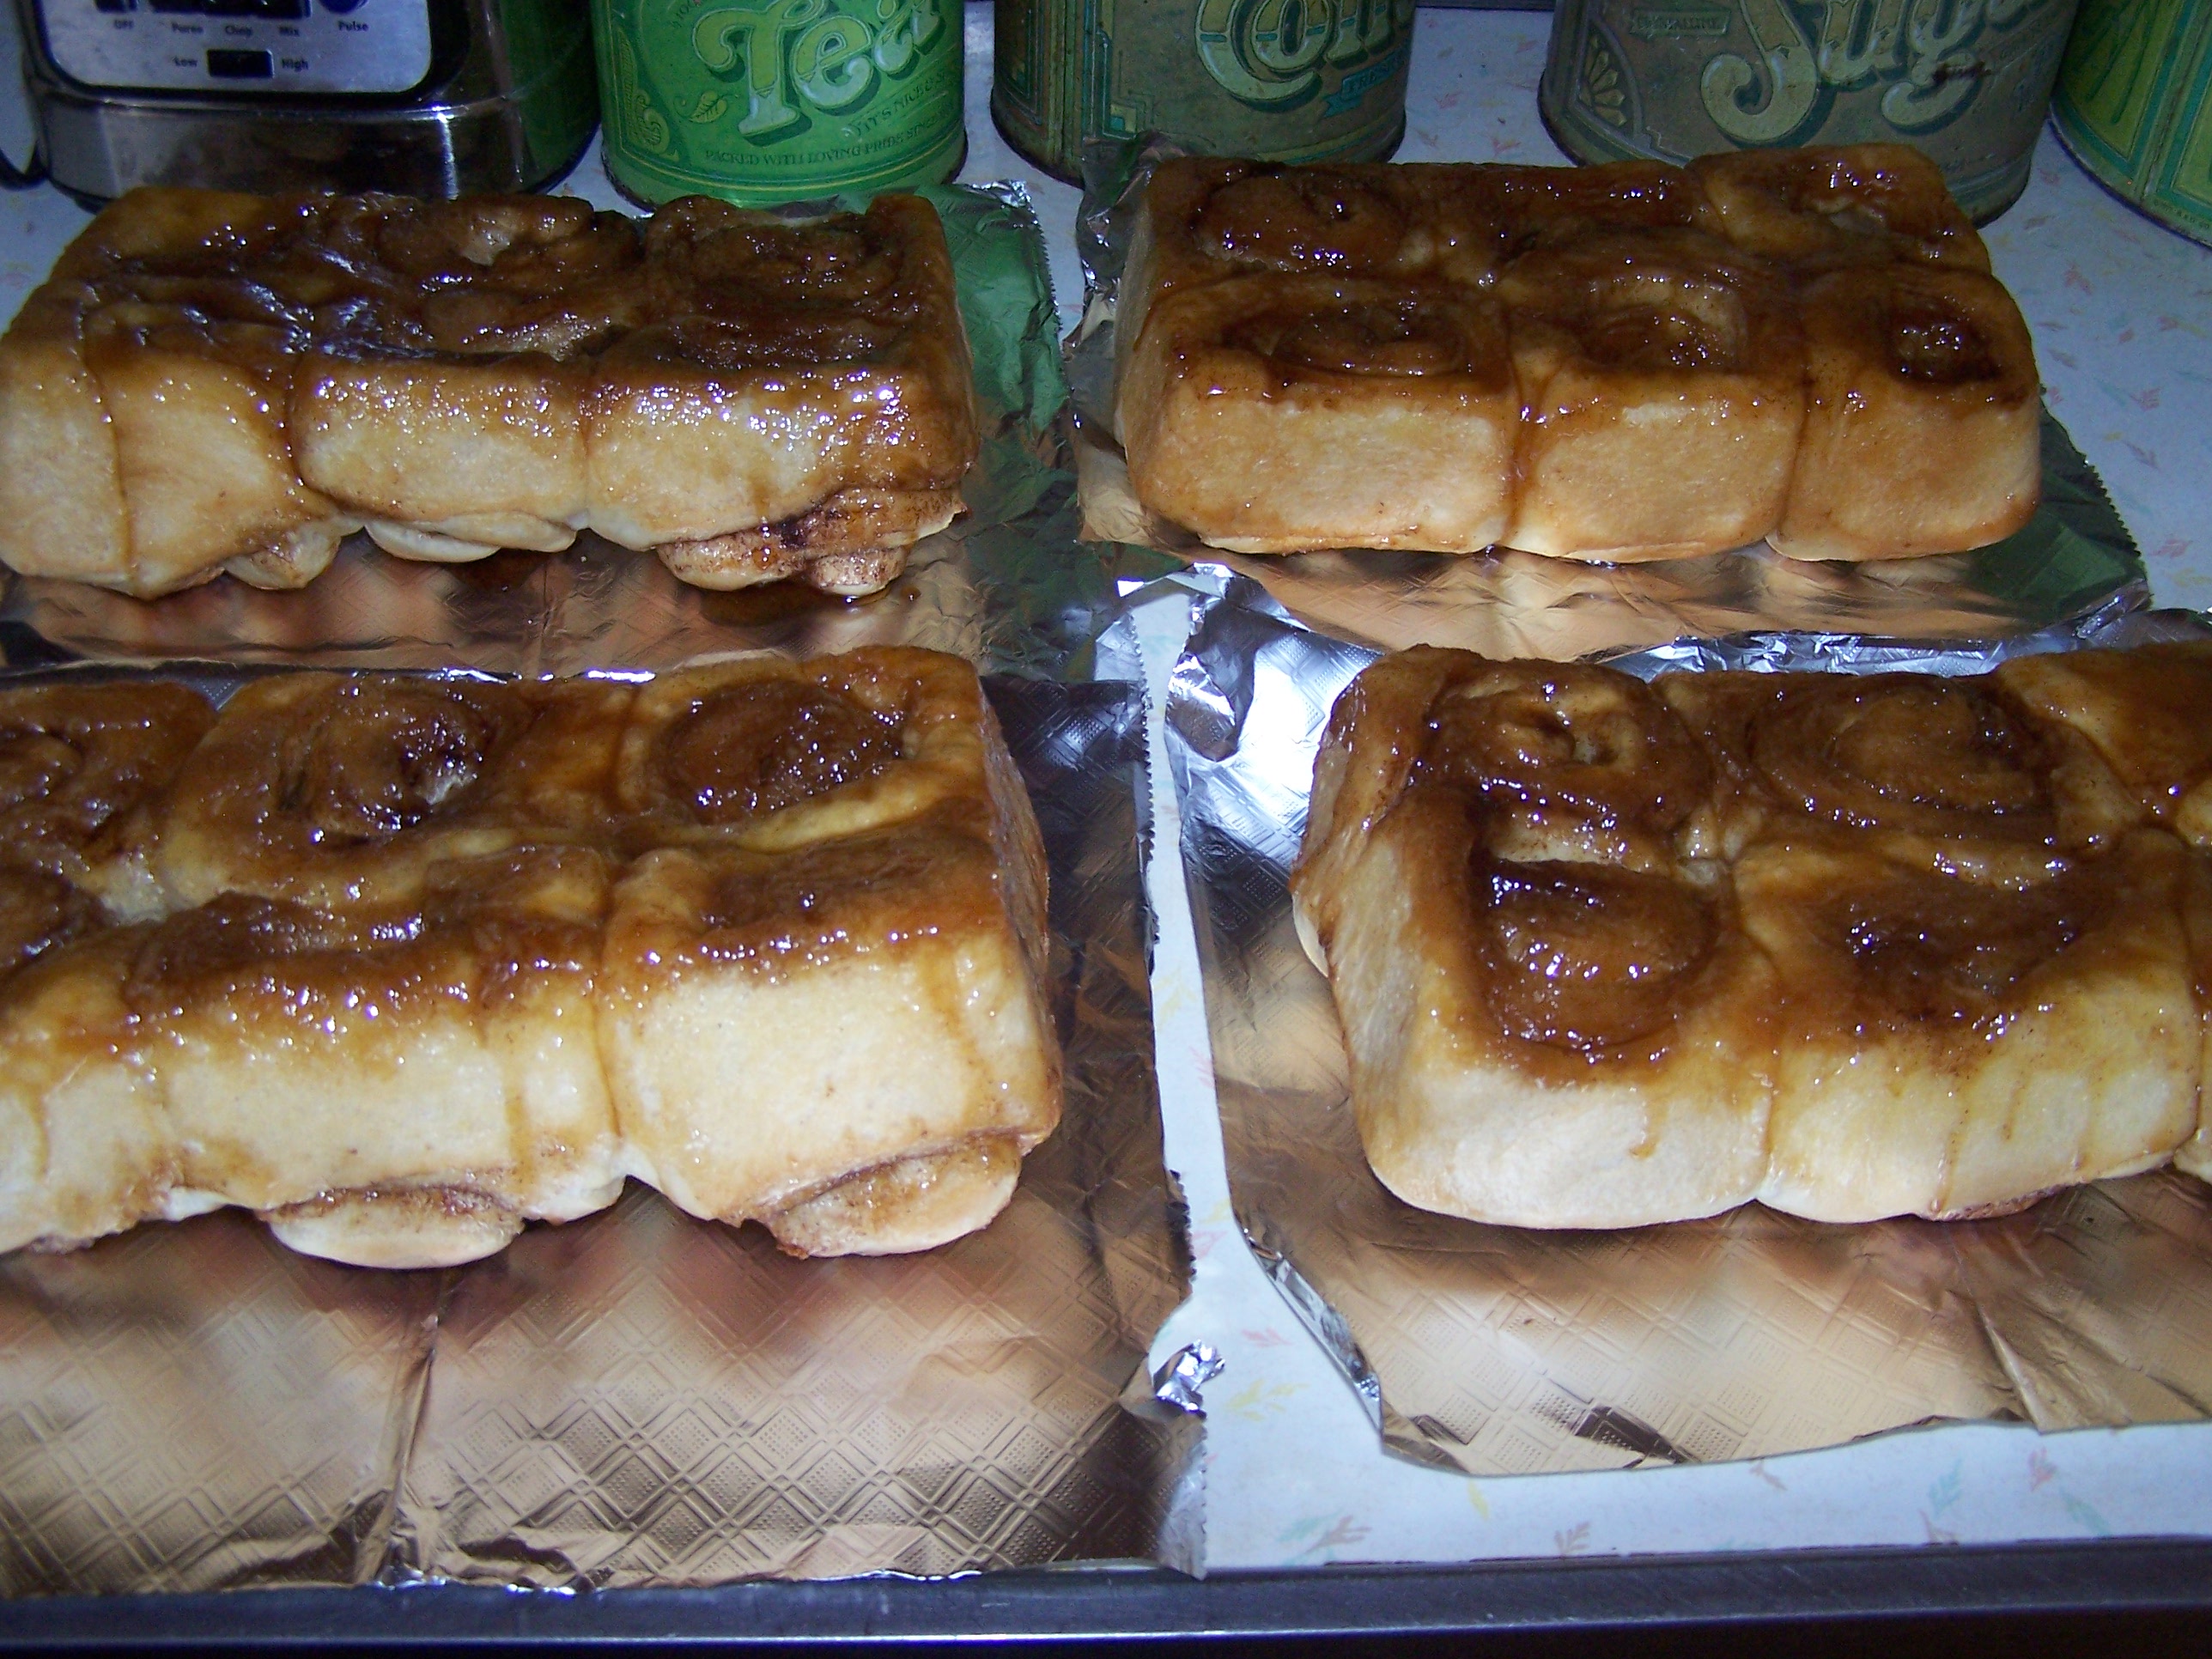
Cinnamon Buns and Stickies are similar but two different pastries.   Cinnamon Buns have a XXX sugar glaze on top.  My Cinnamon Bread and Cinnamon Buns are actually the same except one is made into individual buns and the other into a loaf of bread.  Stickies have a  yummy, gooey, caramel glaze.  I personally prefer the Stickies.

100_7116

Some were asking for my recipe after I posted the bread recipe.   I do not have exact measurements to the amount of butter, brown sugar, and cinnamon for the filling.  I just do it by looks.  Have fun and enjoy!

.

Sticky Buns

Refer to my blog  “Baking Homemade Bread” for my dough recipe.     Follow the directions for making the dough.  After the dough has risen, been punched down and risen again for 1/2 hour follow these directions.

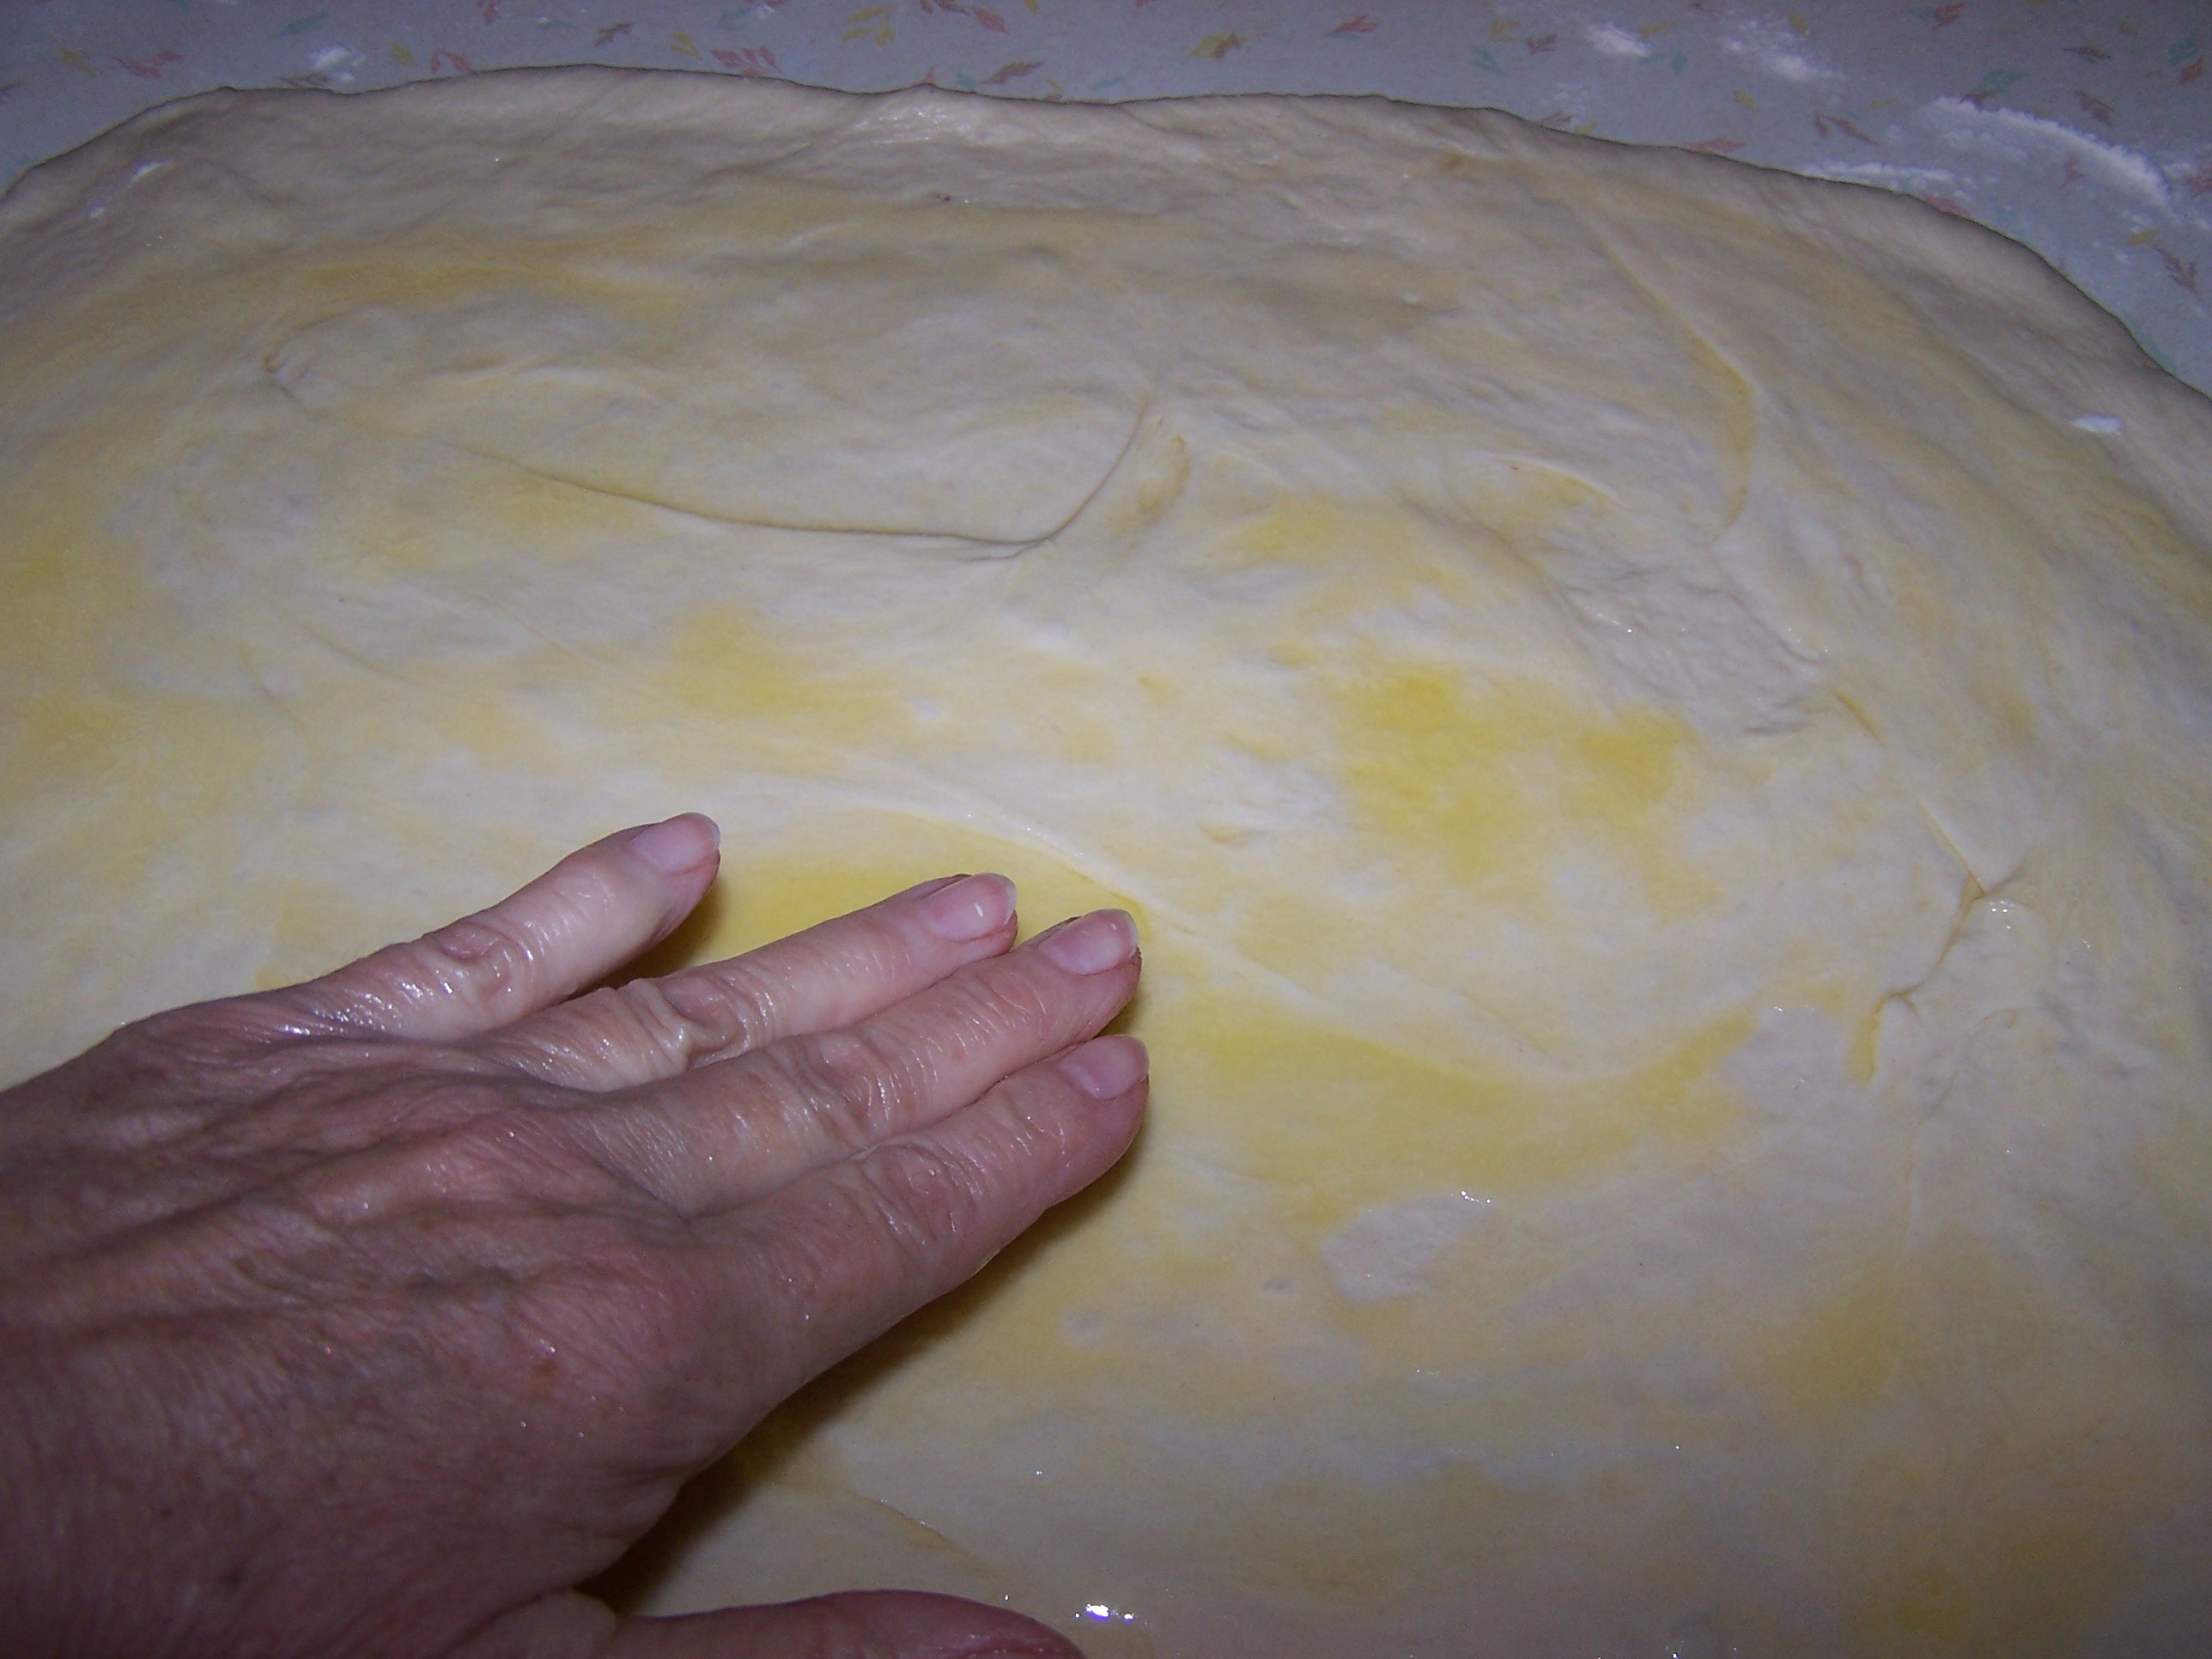
Divide the dough into 3 pieces.  Roll each piece into  1/2″ thick rectangles (maybe 12″x20″) .  Melt butter (2-4 T.  per rectangle) and spread over dough.

100_7100

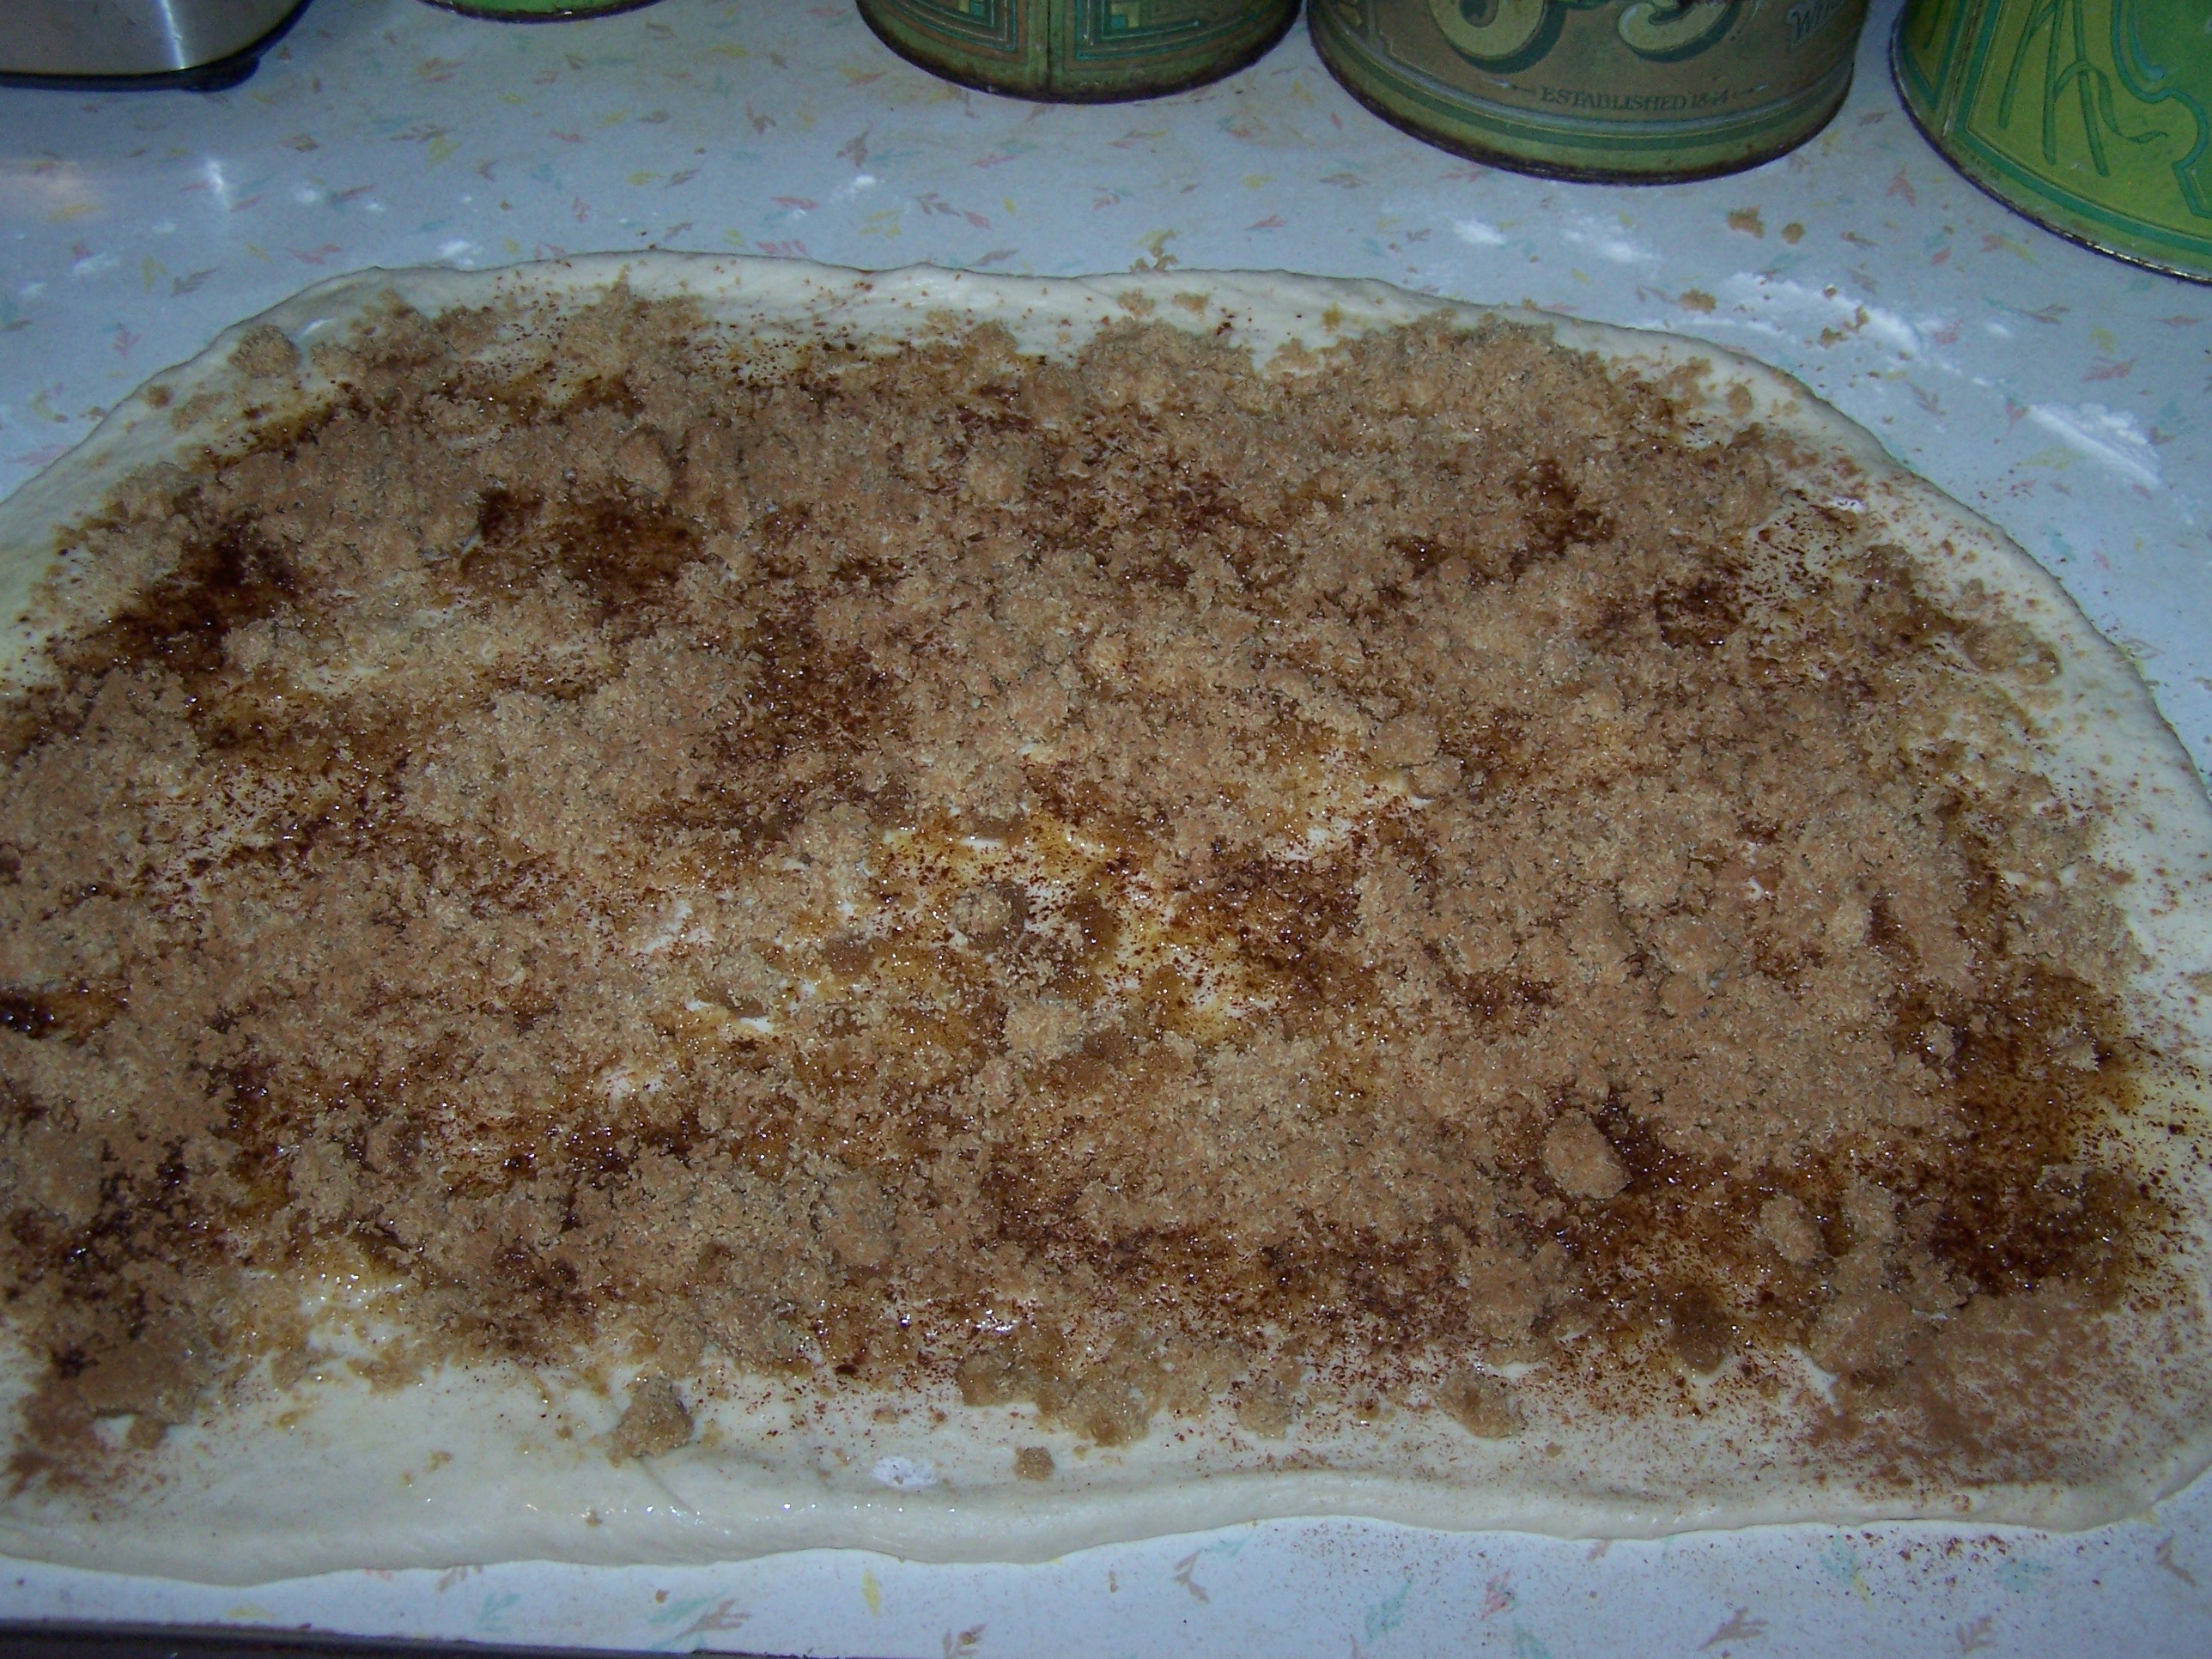
Add 1/2- 2/3 cup brown sugar and 1-2 tsp. cinnamon.  (I go by looks!)

100_7101

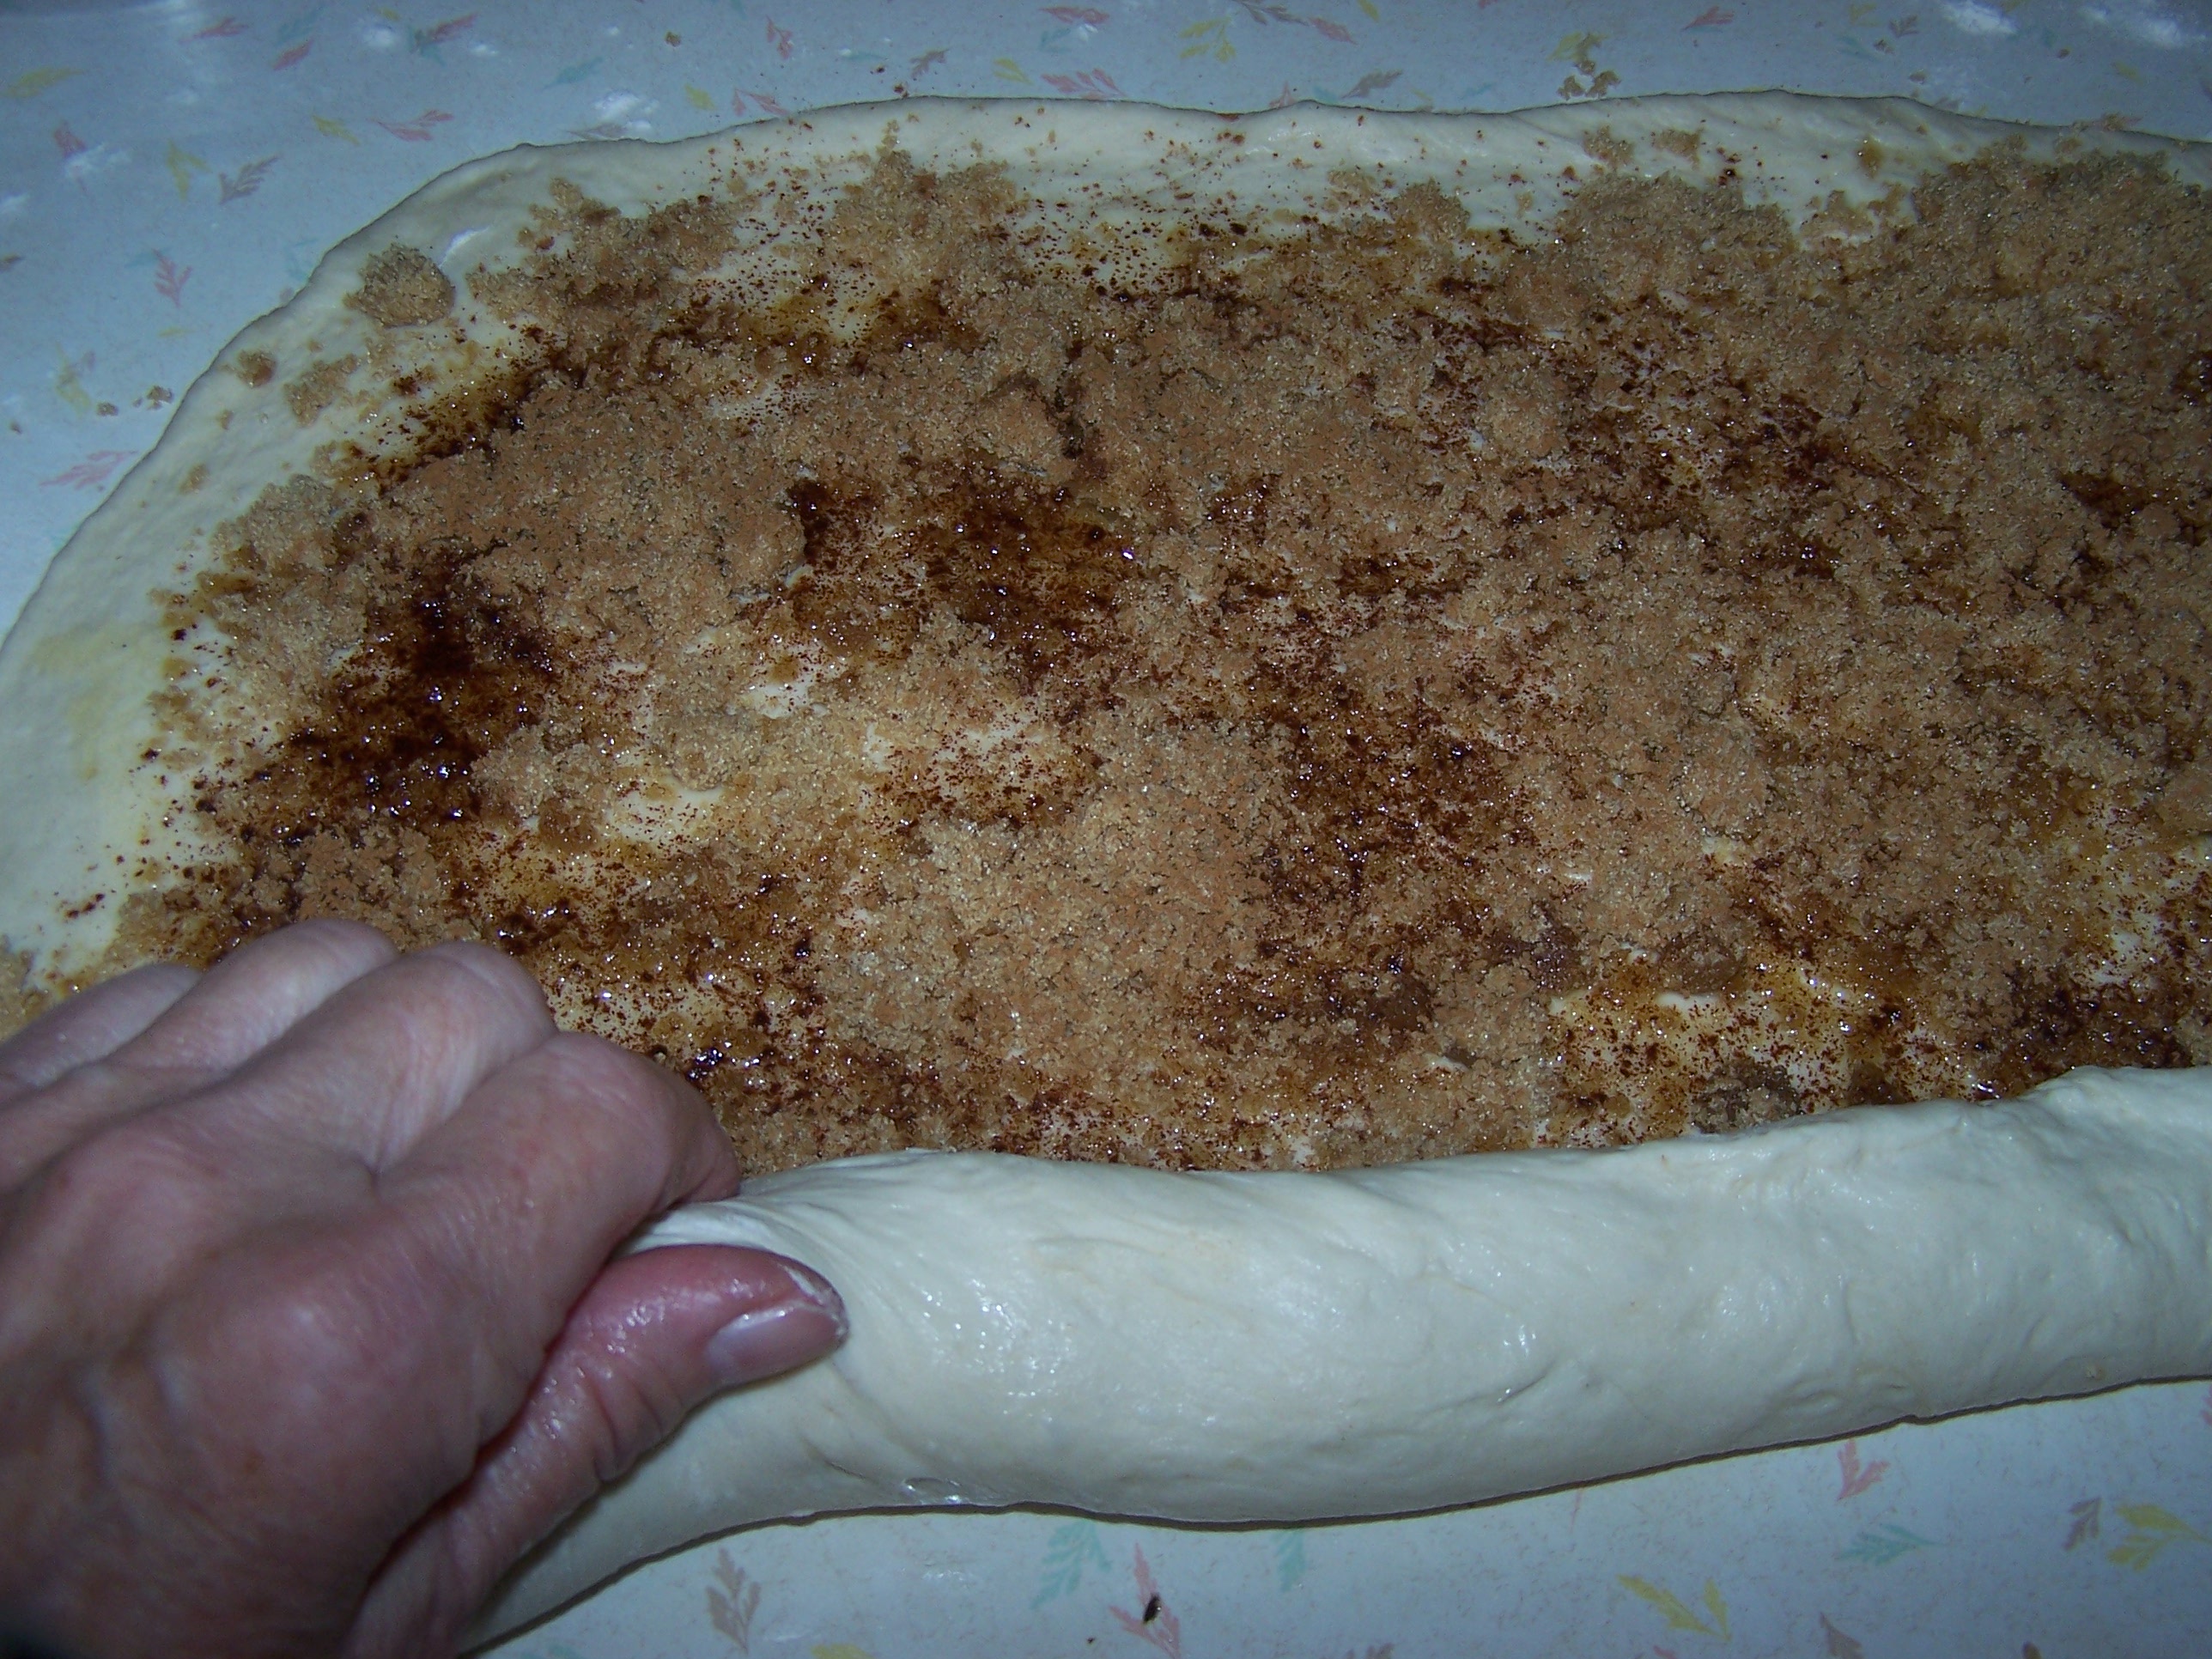
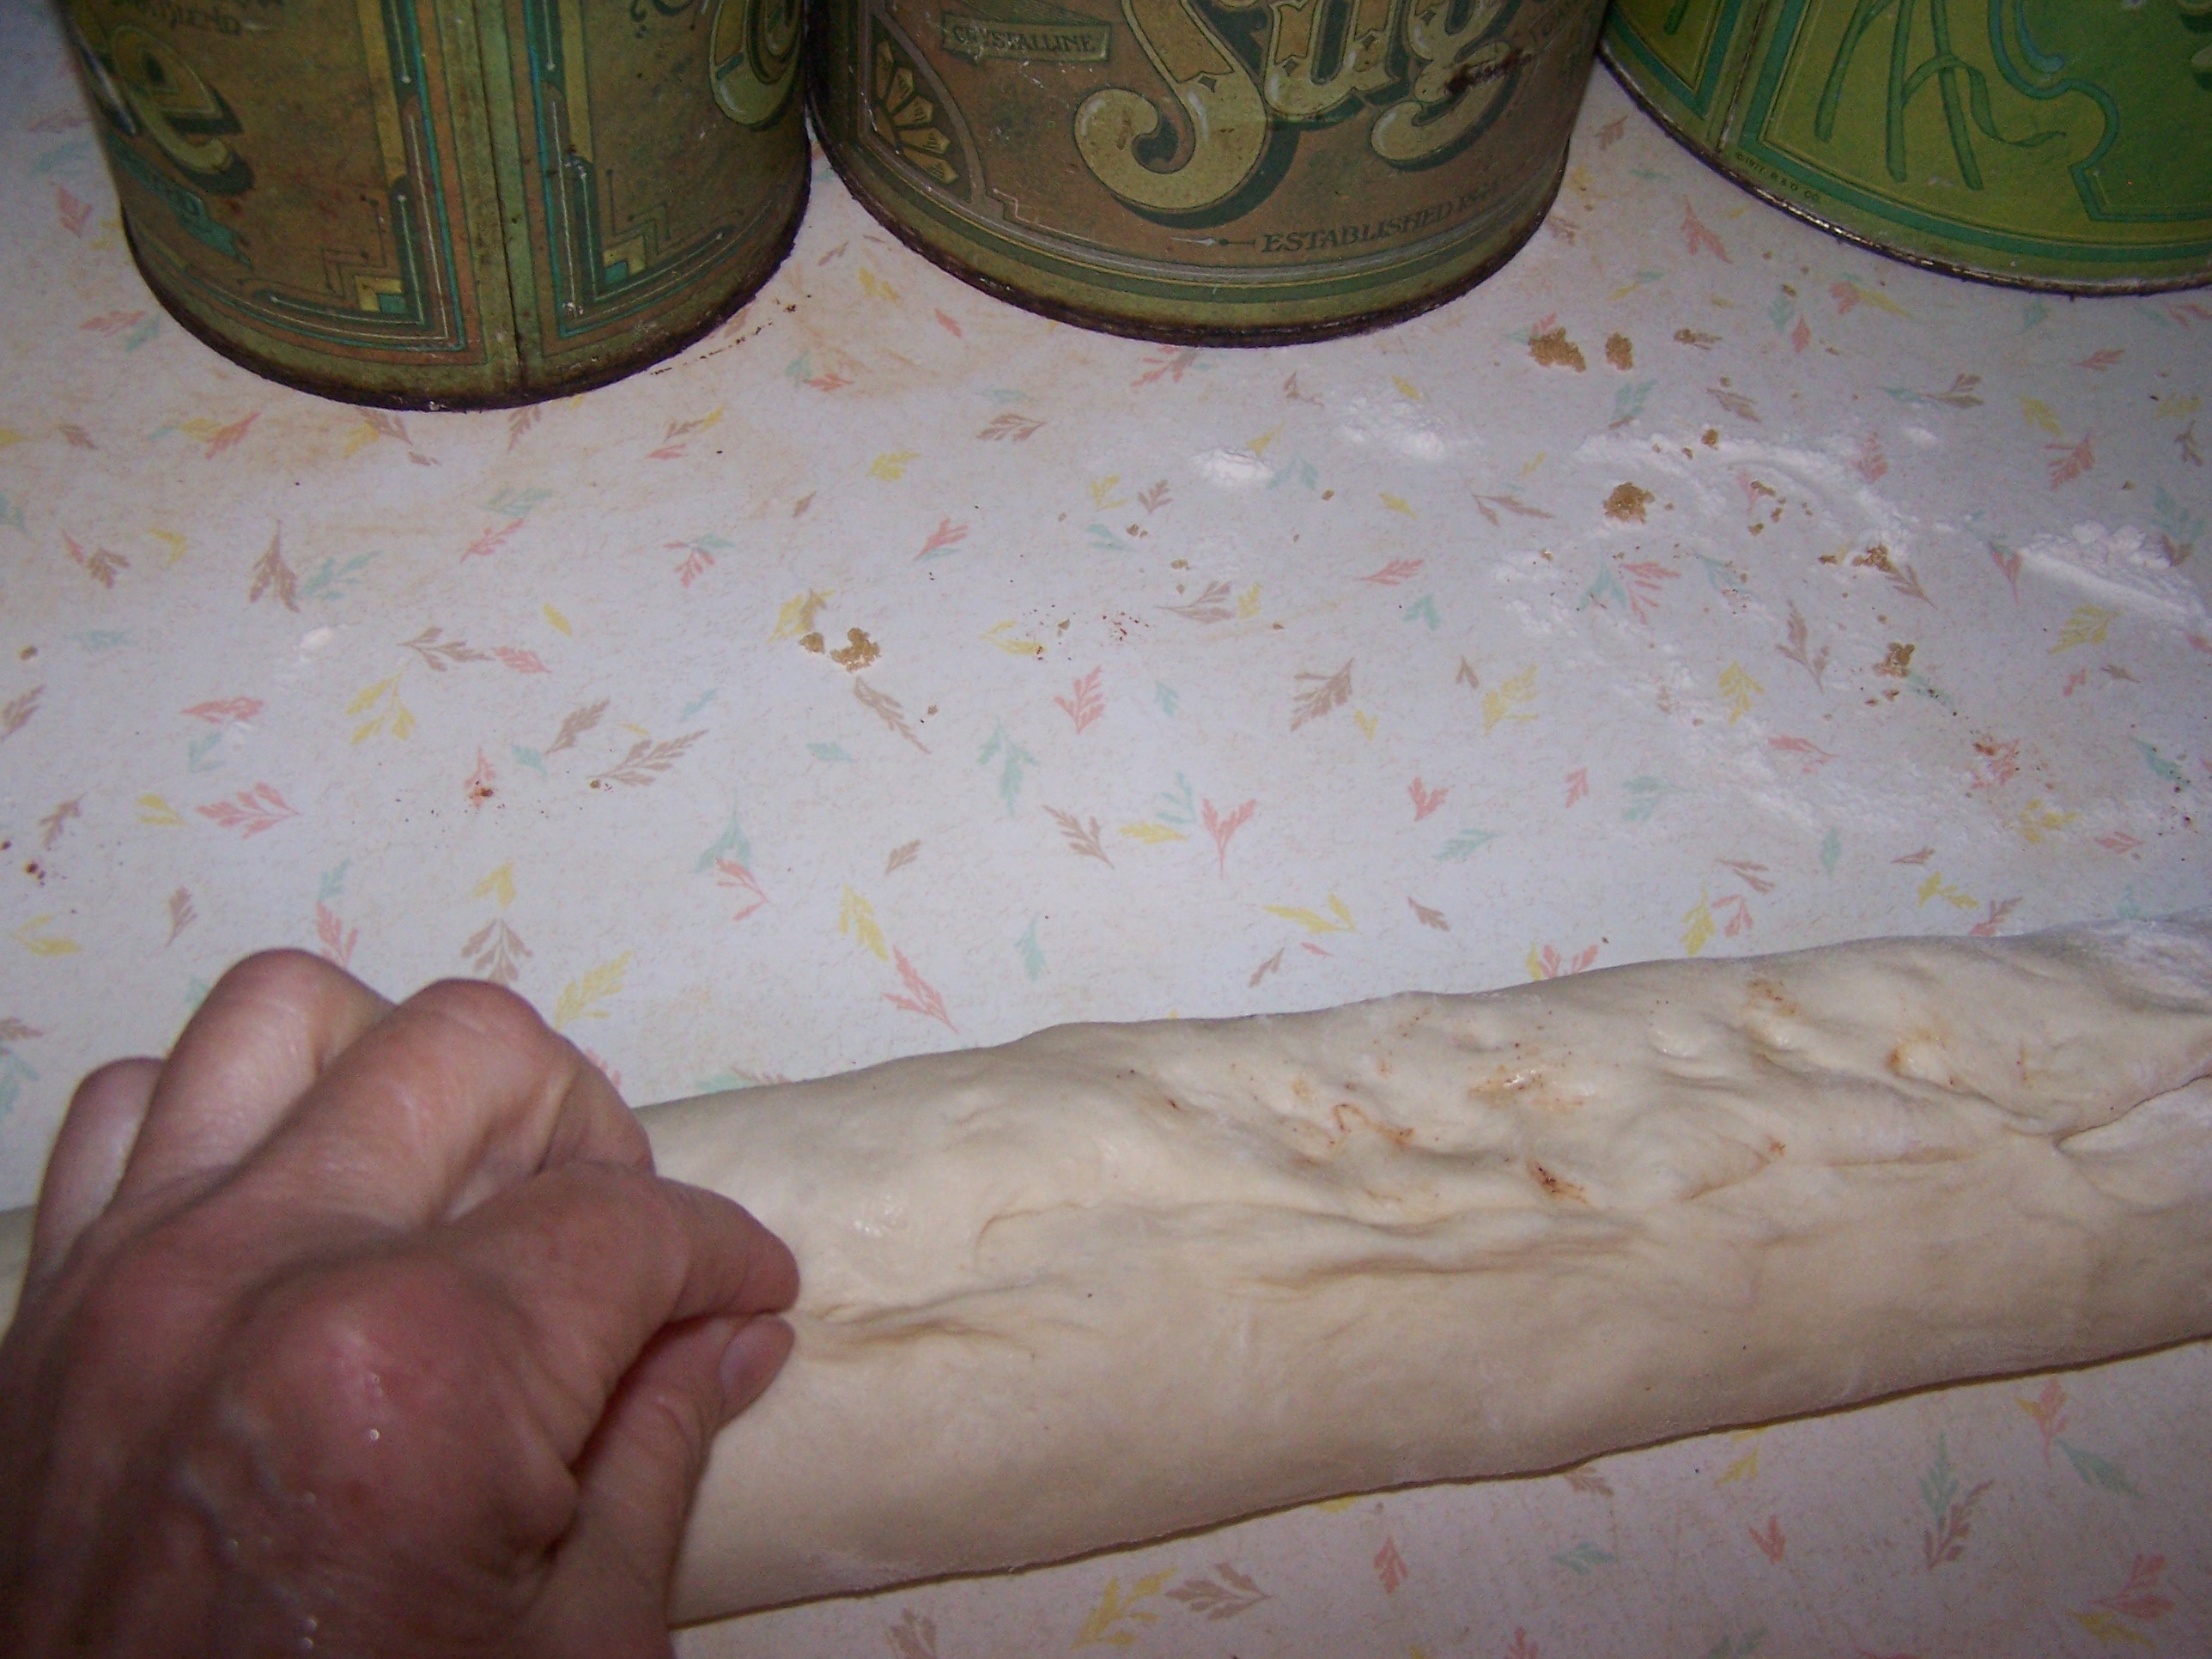
Roll the rectangle into a jelly roll starting with the long side.

100_7102

 Pinch the edges and ends of the dough shut.

100_7104

Cut the roll into pieces 1-1/2″ thick.

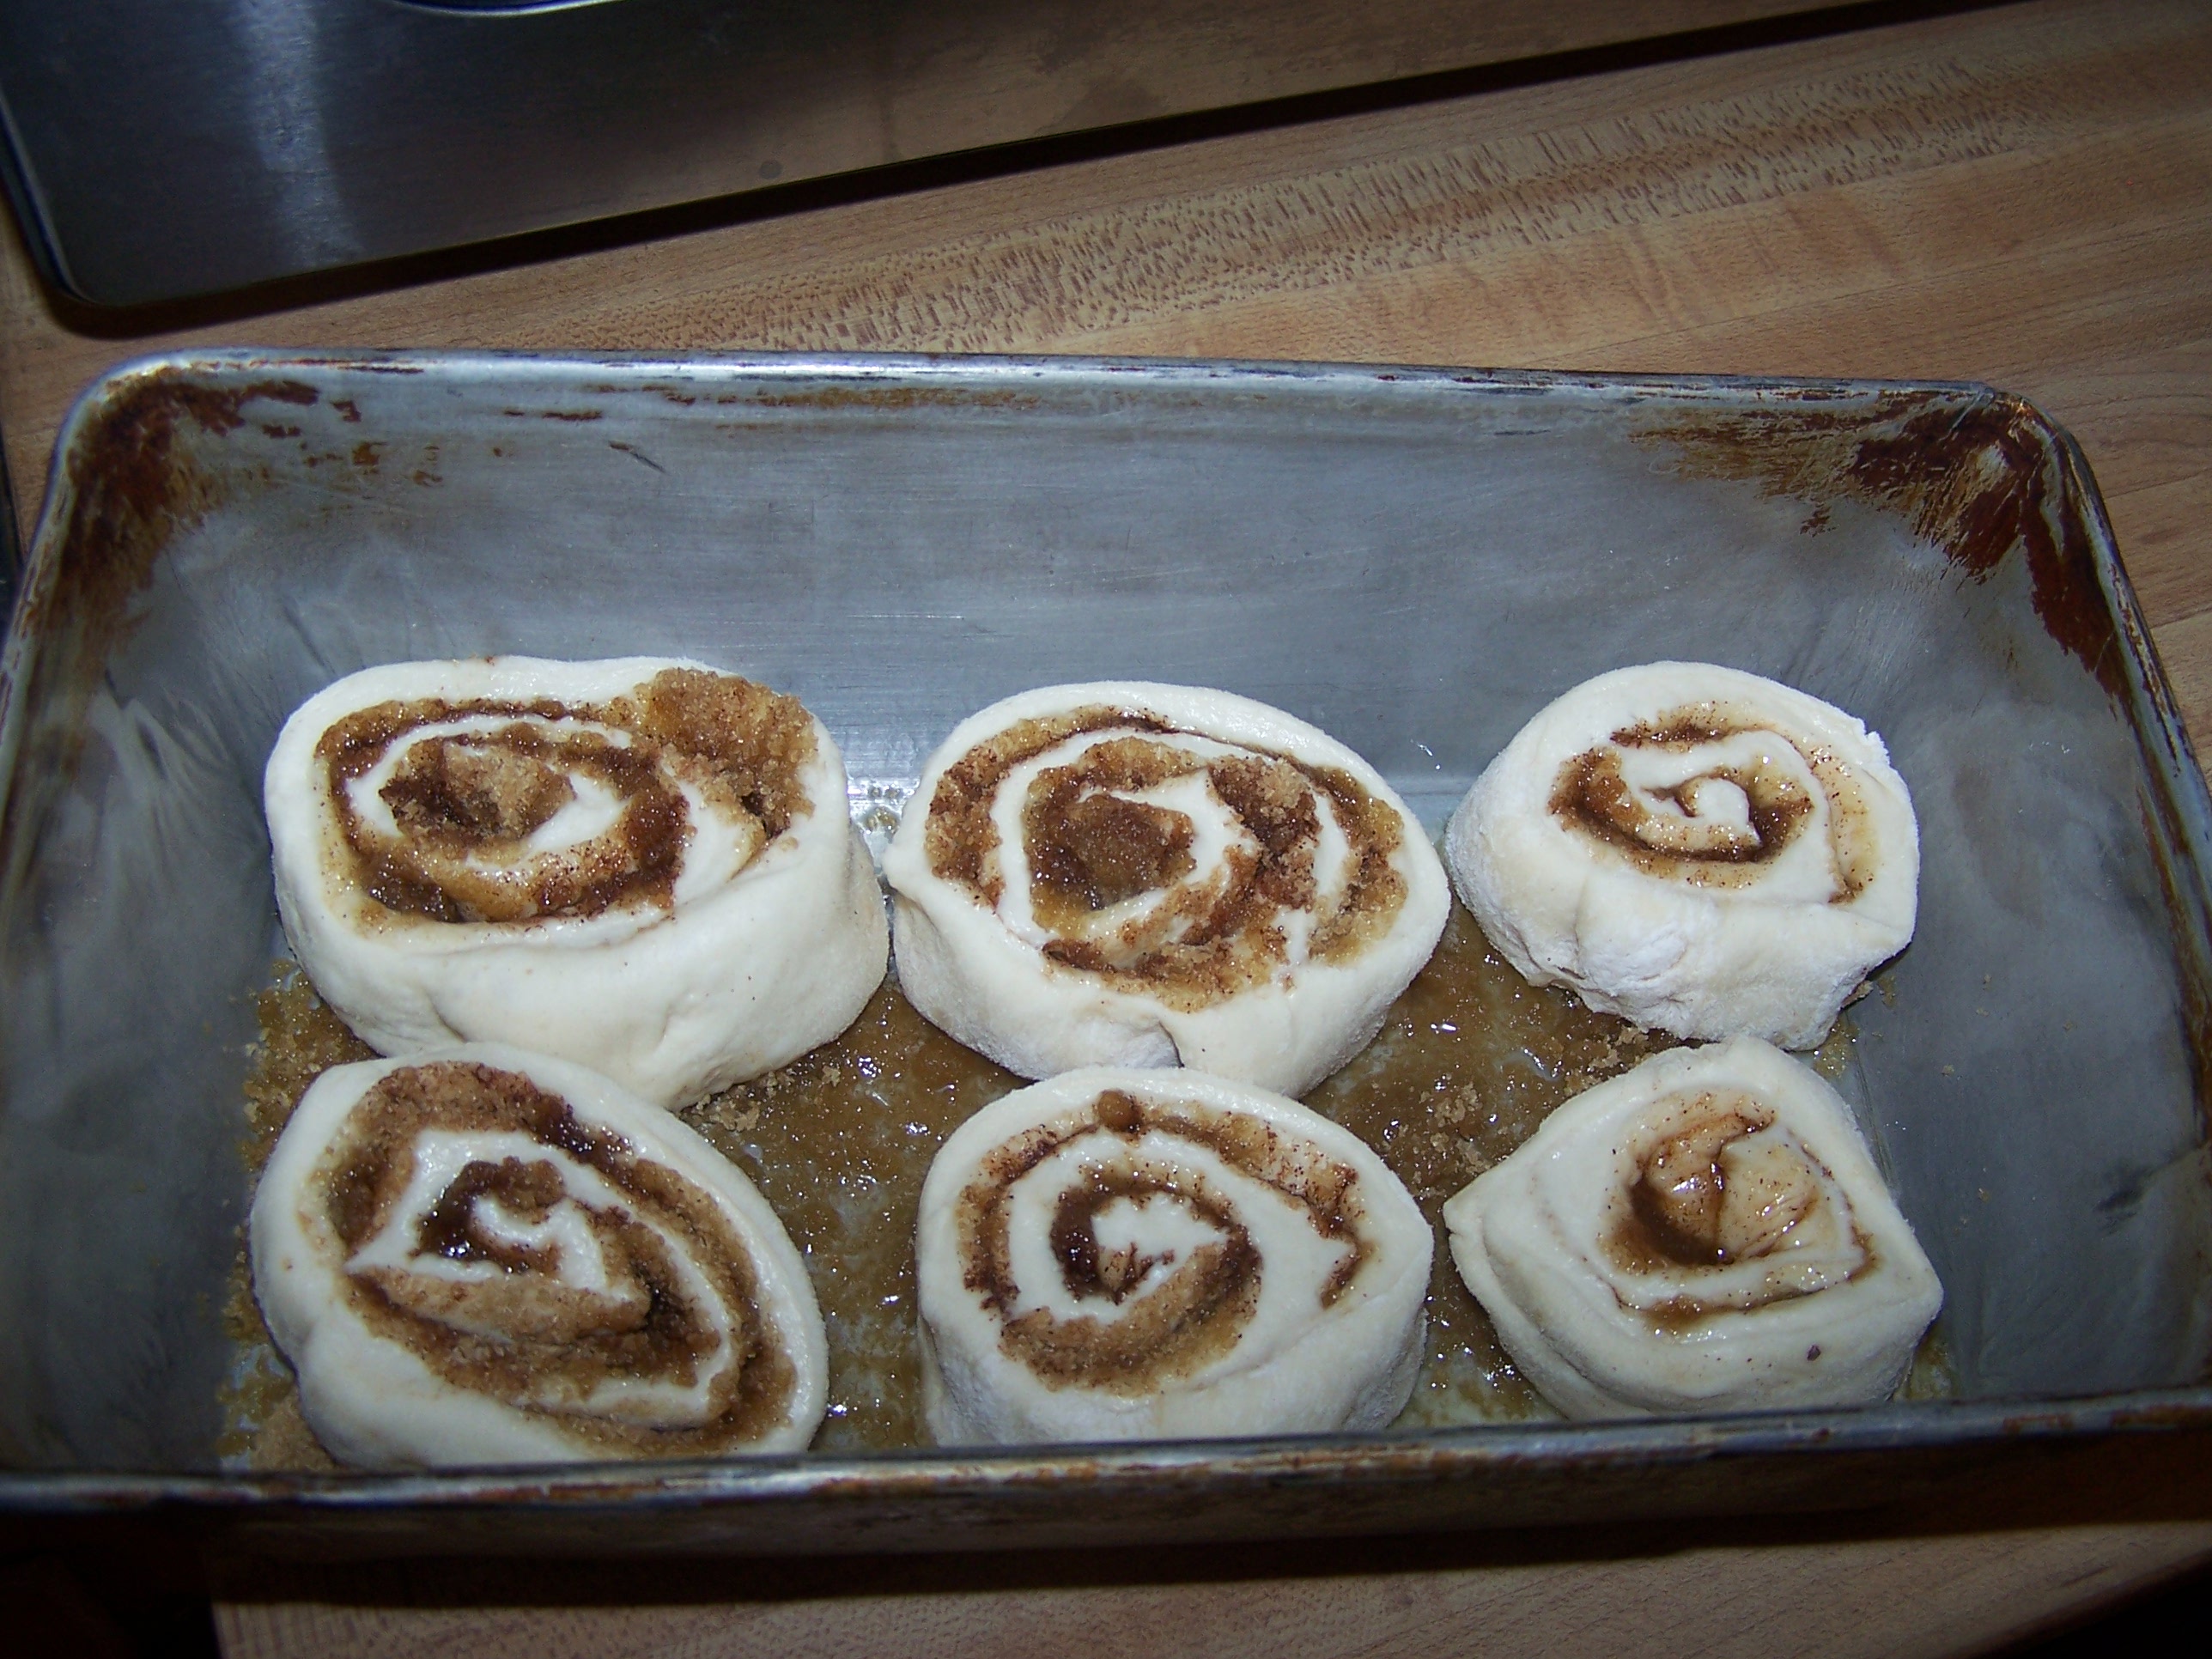
Spray a baking pan with Pam and put a thin layer of  melted butter to just cover the bottom of the pan , and sprinkle on a layer of  brown sugar and cinnamon. You don’t want too much but neither do you want to skimp.

100_7099

Lay the pieces in the pan.

100_7106

100_7107

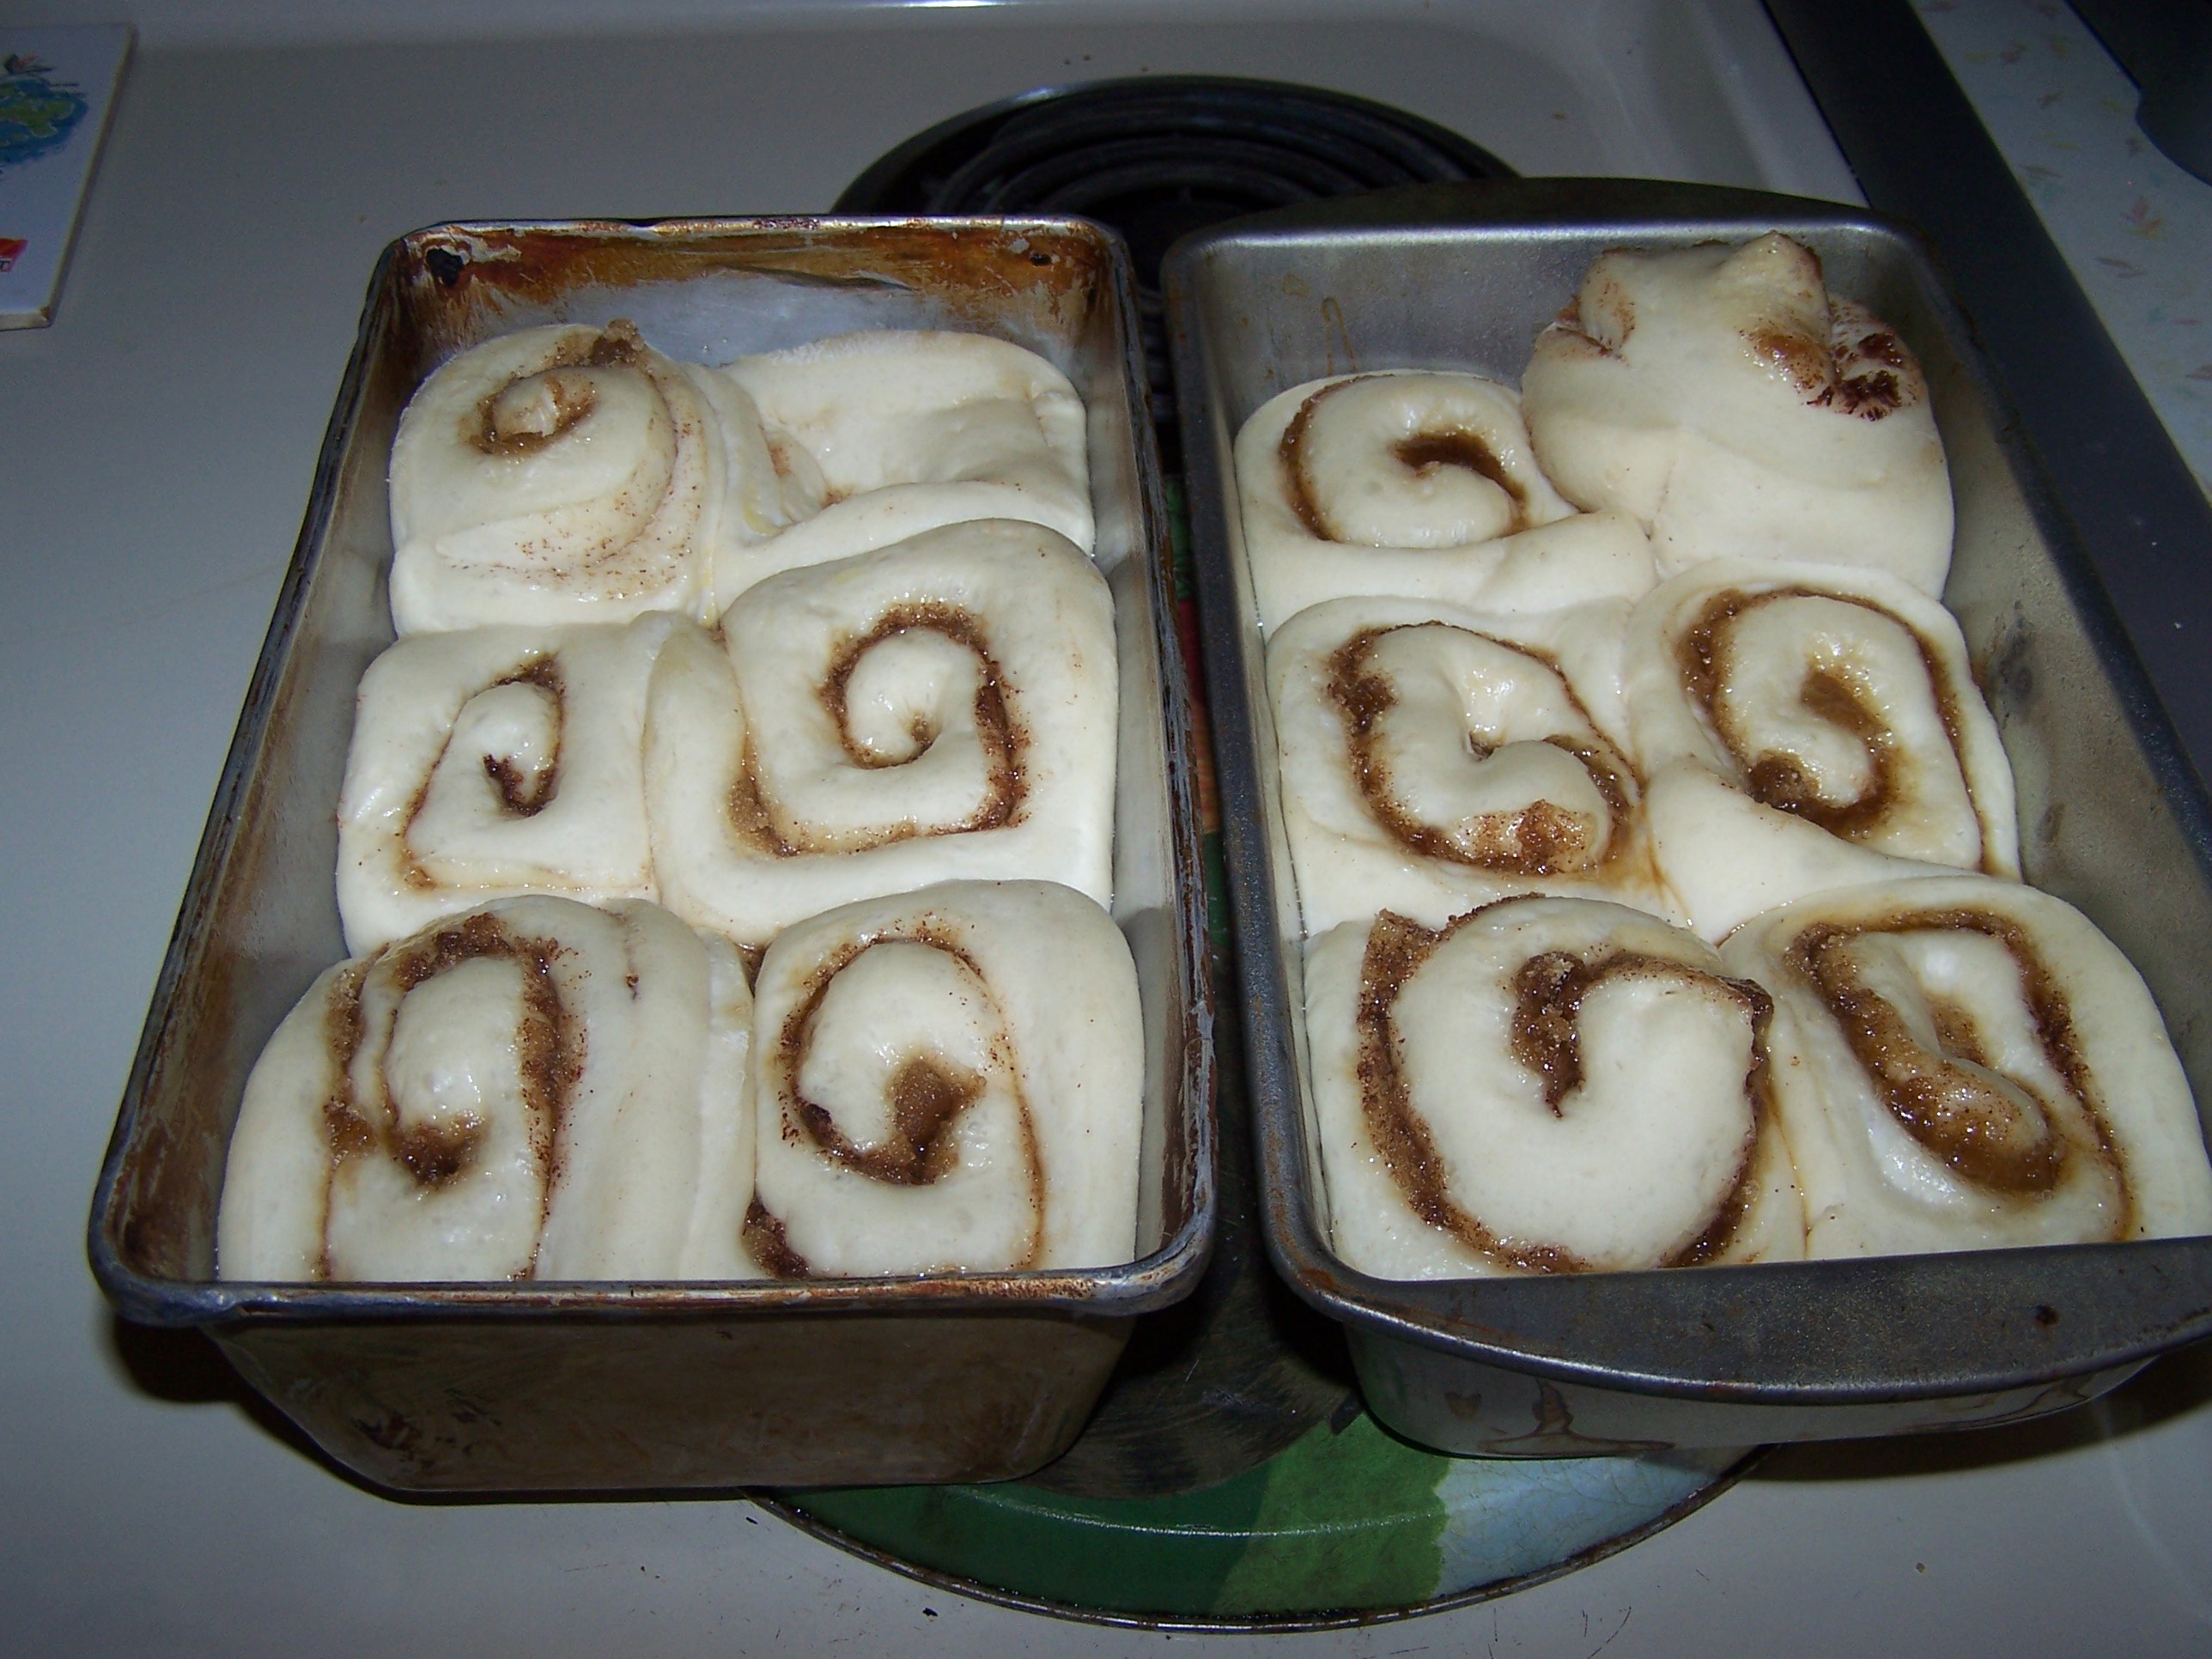
Cover with a cloth and let rise until double in size.

100_7111

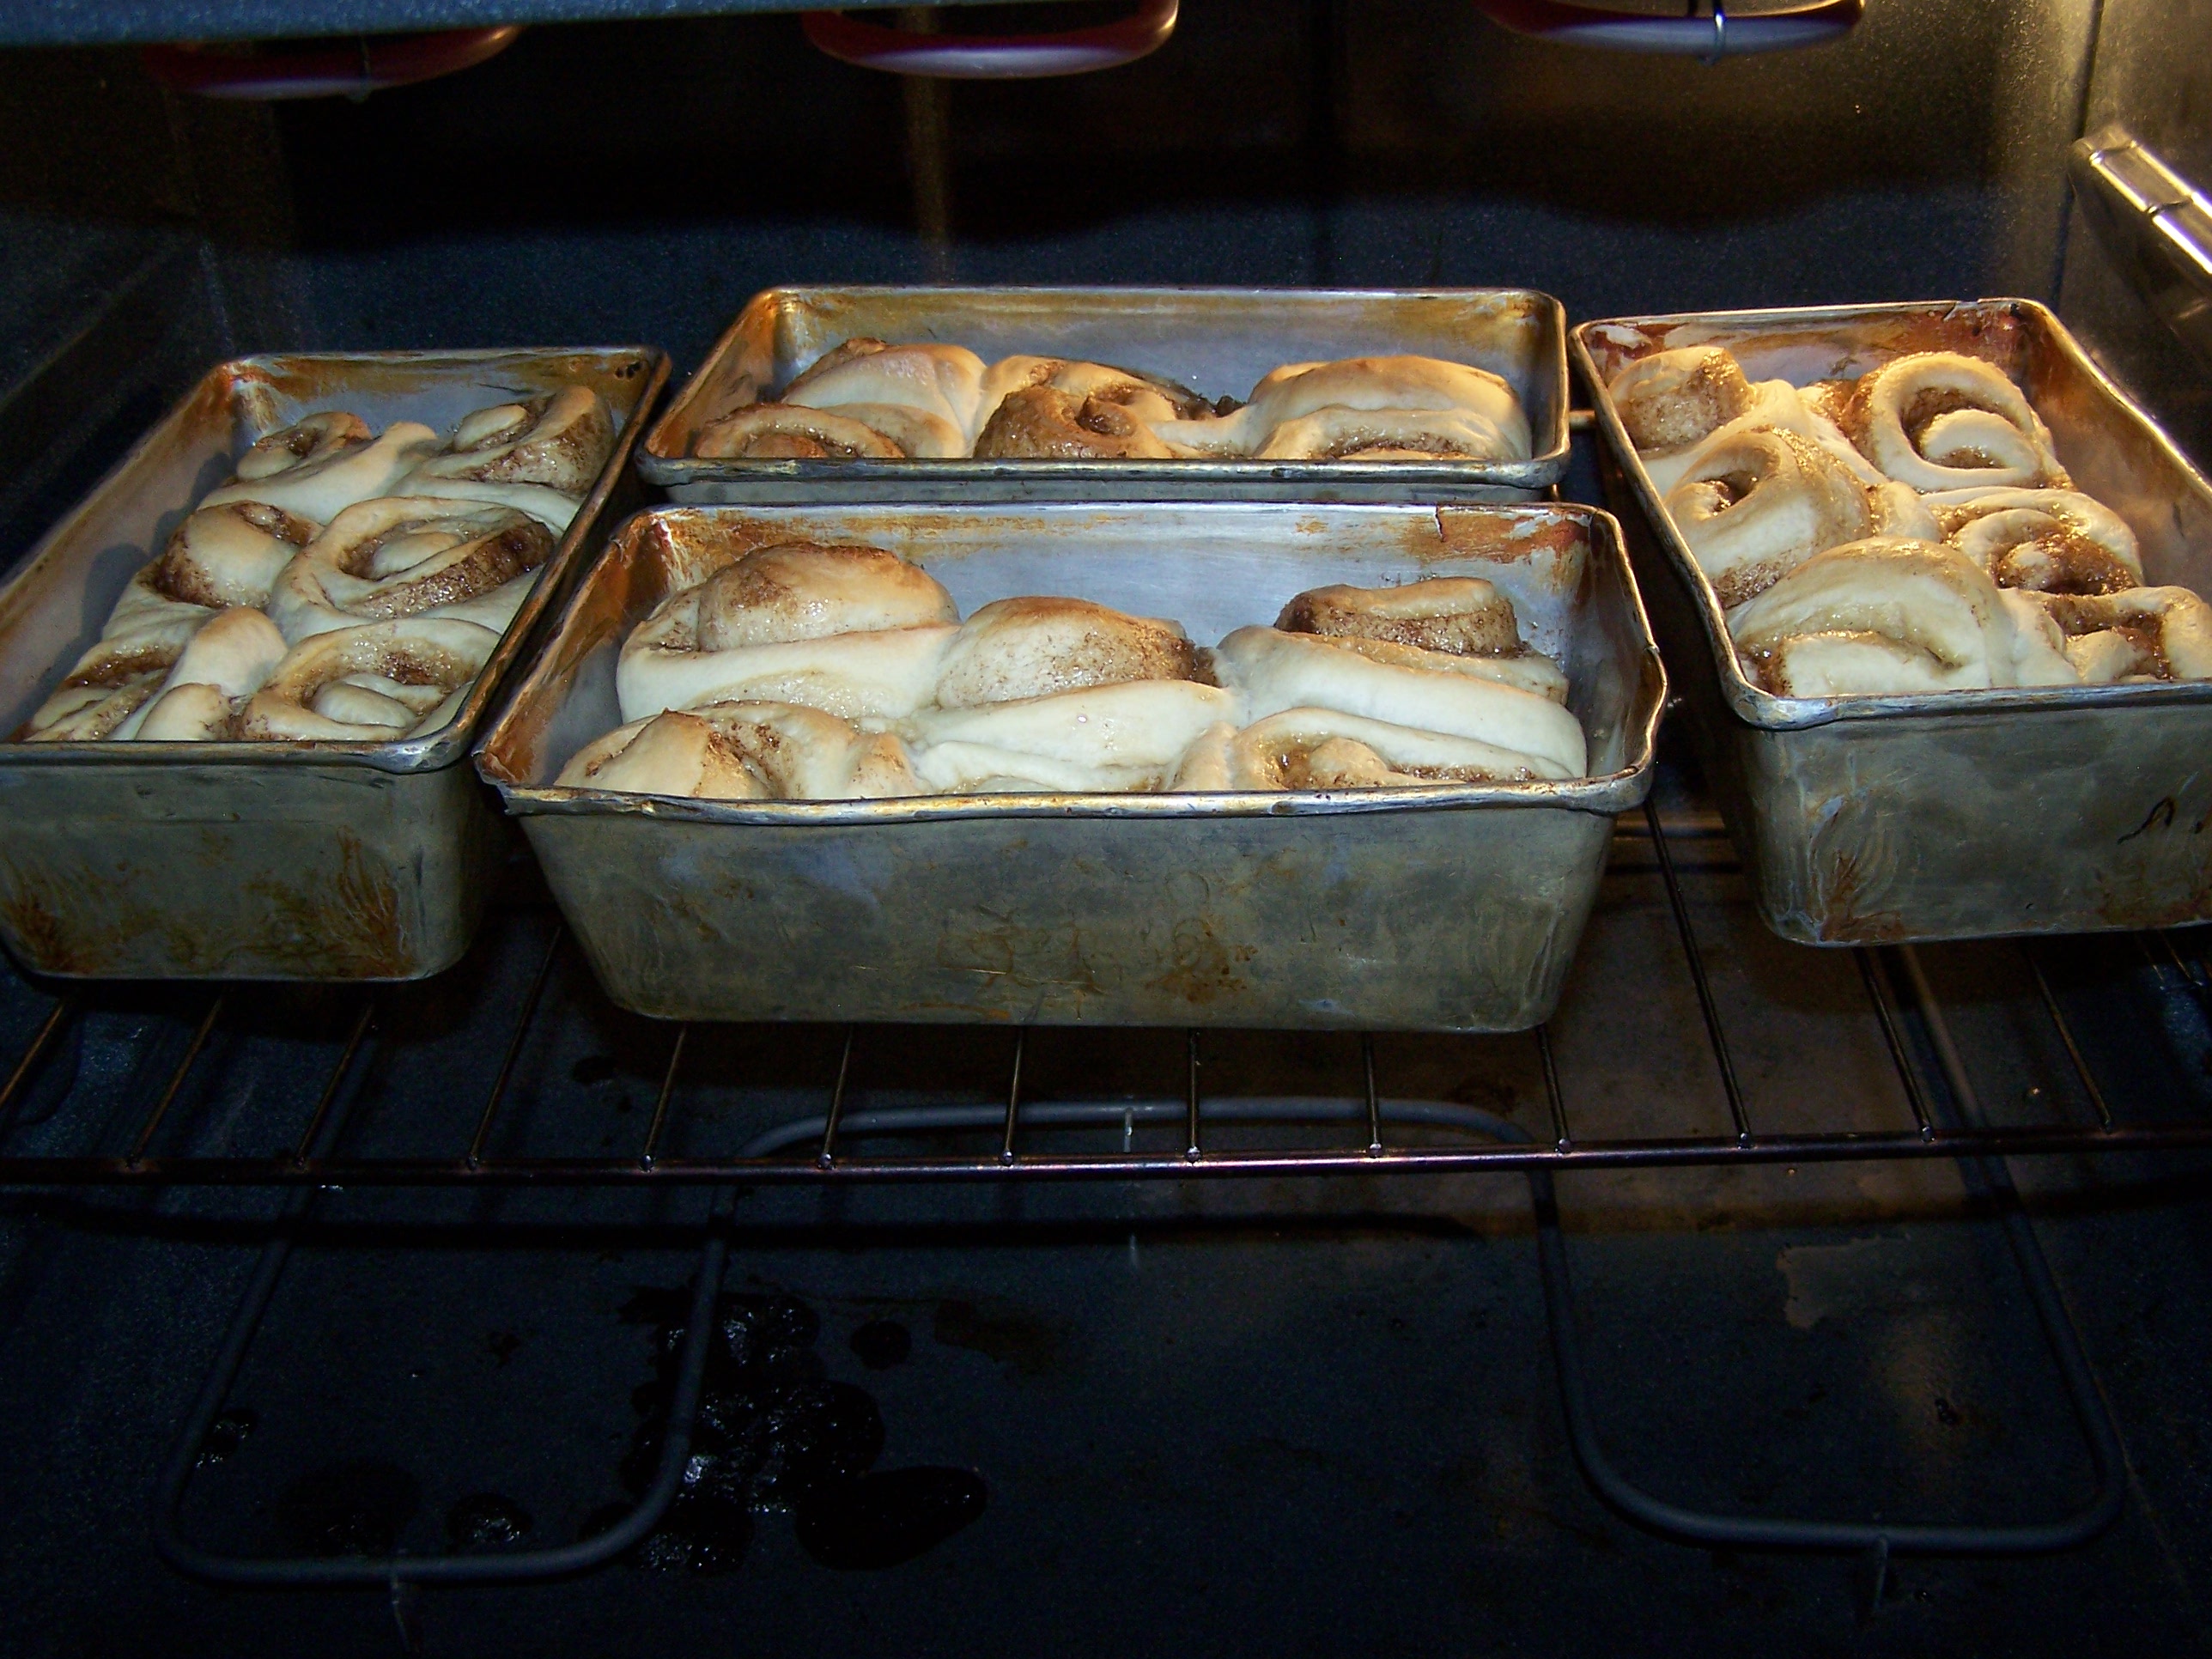
Bake at 325 degrees for 25 minutes.  Broil the top of the dough until light golden brown.  This will take a little practice and monitoring. Ovens differ.  You do not want to under or overbake.

100_7112

Immediately dump the pan onto wax paper and with a spatula scrap the pan and pour any remaining sauce over the buns.

100_7113

Yield: 45-48 buns or 2 -9×13″ pans.  Can put in smaller pans like bread pans (as shown in this picture), cake pans, etc.  One recipe made 8 bread pans with 6 buns in each.

Pour yourself a cup of coffee and enjoy but do not count calories!

.

Cinnamon Buns

Refer to my blog  “Baking Homemade Bread” for my dough recipe.     Follow the directions for making the dough.  After the dough has risen, been punched down and risen again for 1/2 hour follow these directions.

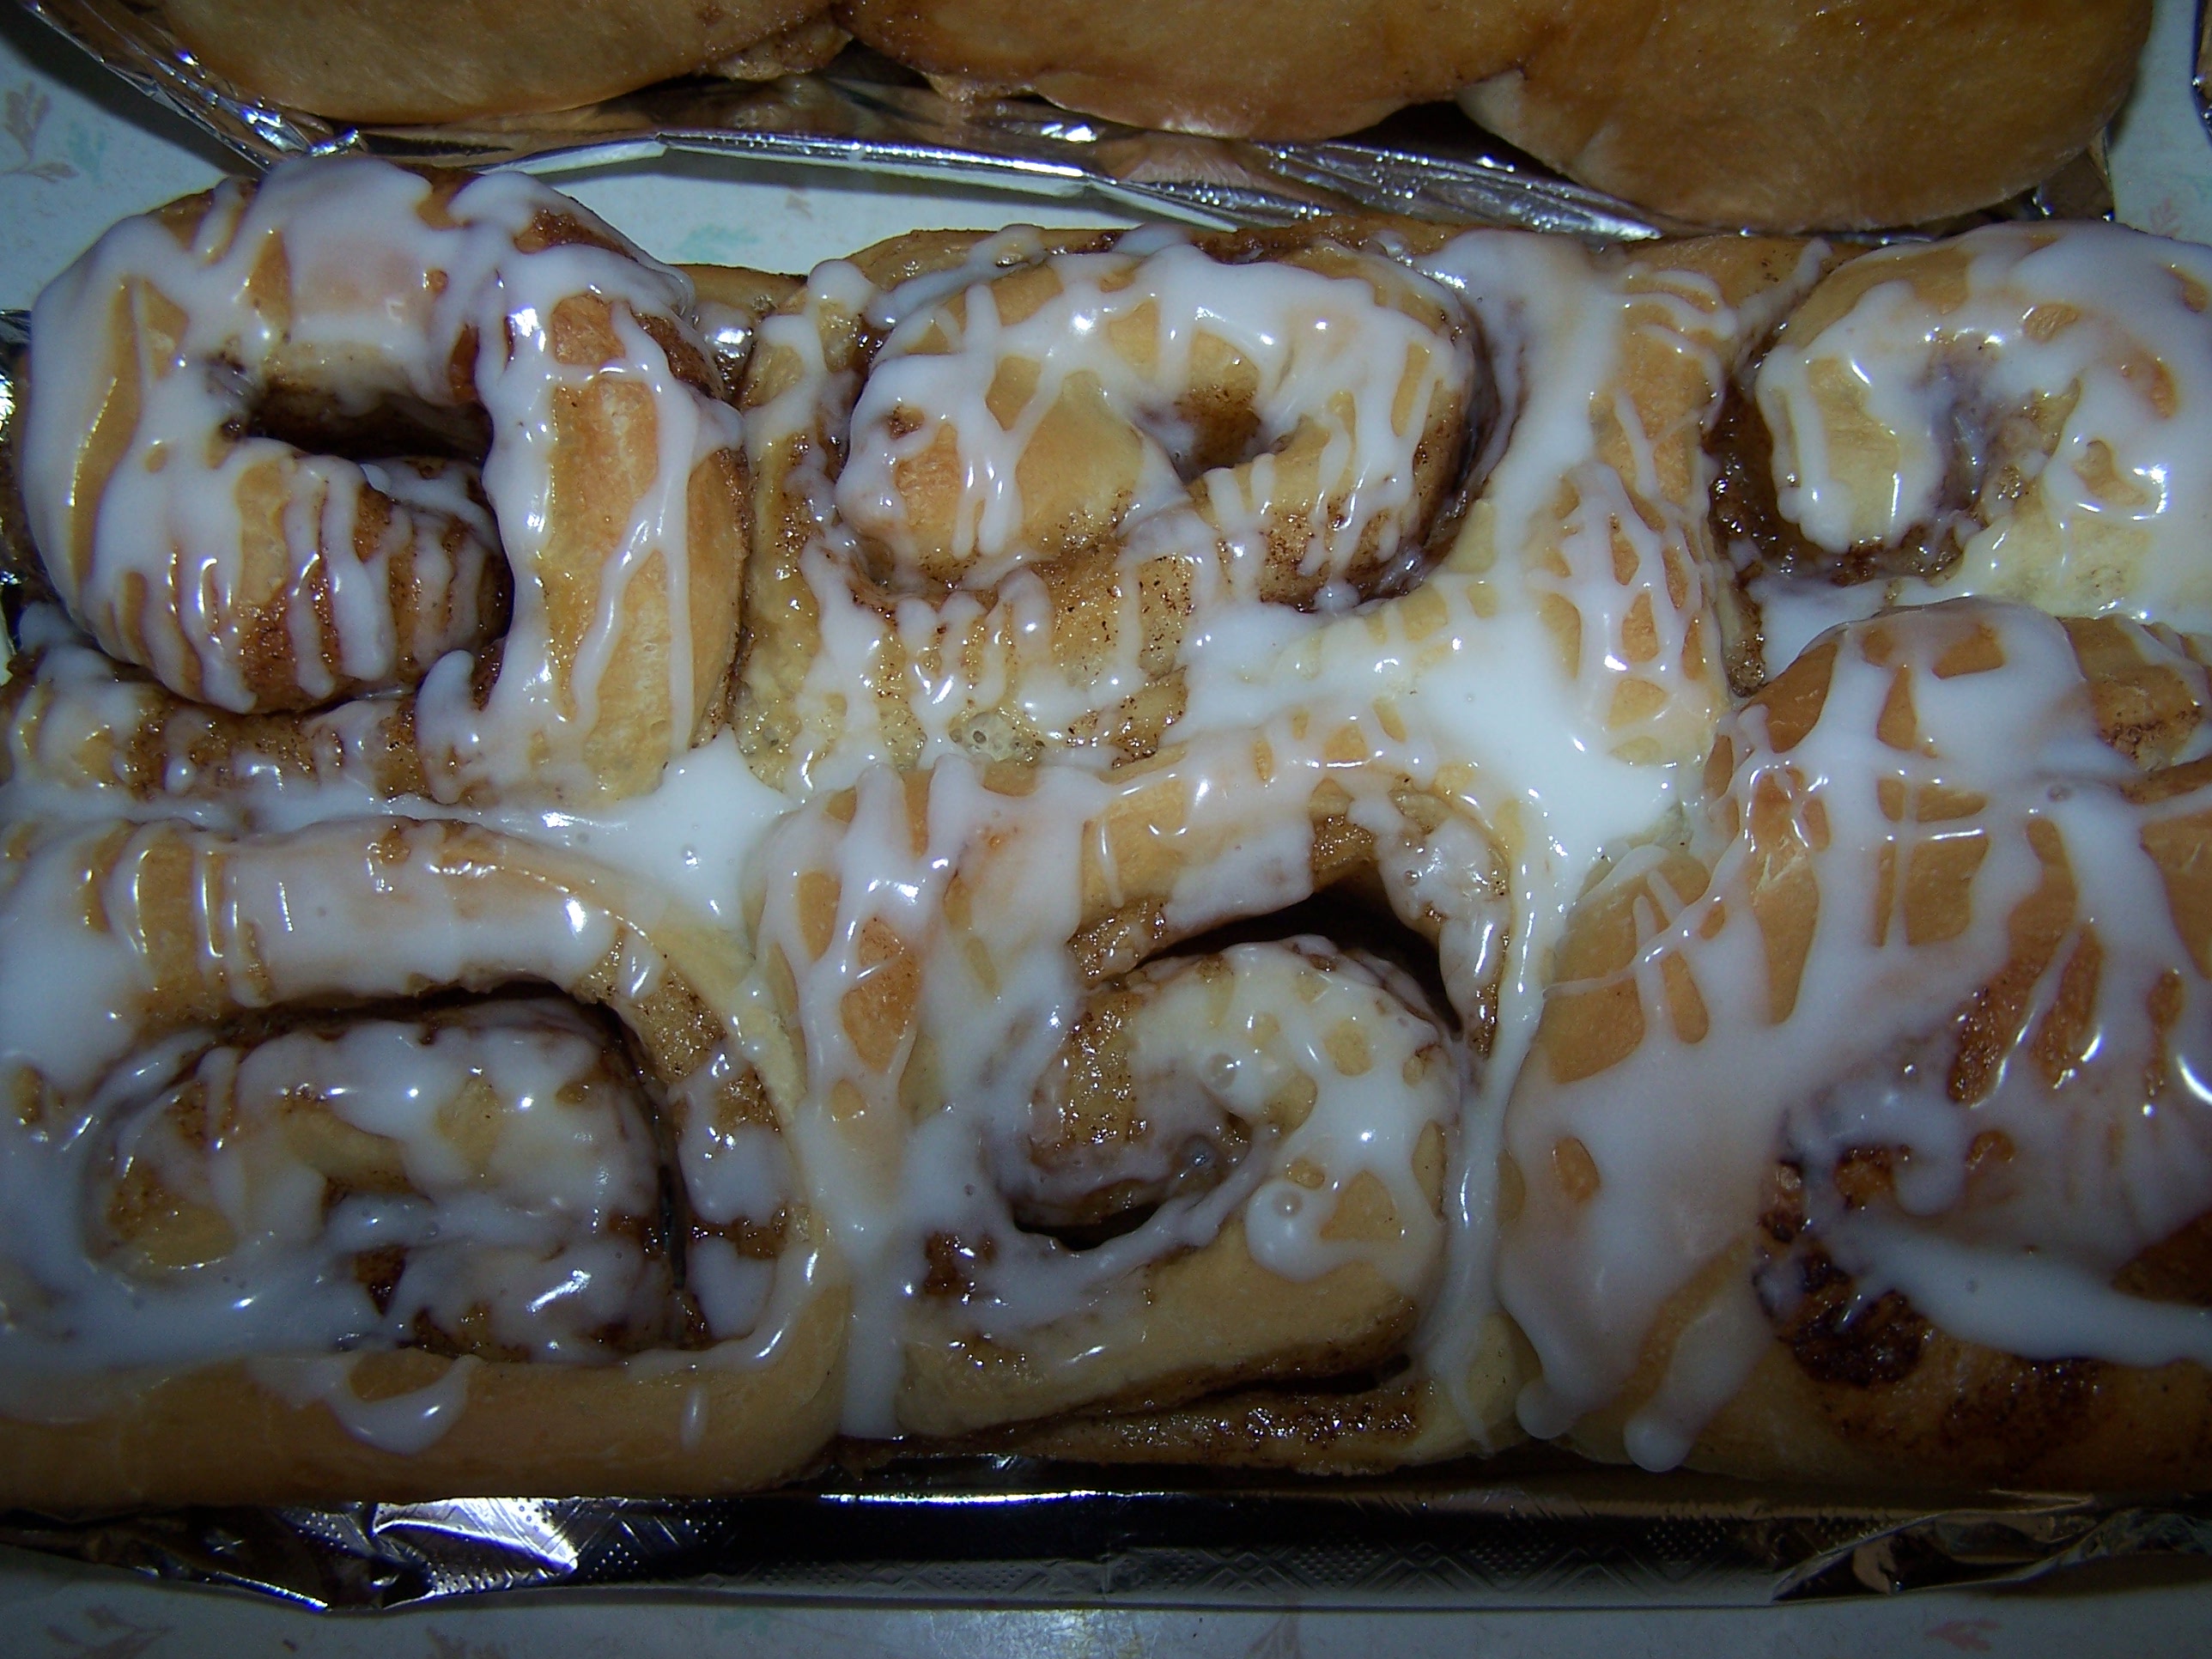
Divide the dough into 3 pieces.  Roll each piece into  1/2″ thick rectangles (maybe 12″x20″) .   Cover the dough with  1/2- 2/3 cup brown sugar and 1 tsp. cinnamon. (I go by looks!) I do not use butter on cinnamon buns.  Roll the rectangle into a jelly roll starting with the long side.  Cut the roll into pieces 1-1/2 to 2″ thick.  Place in a pan sprayed with Pam.  Cover with a cloth and let rise until double in size.  Bake at 325 degrees for 25 minutes.  Broil the top of the dough until light golden brown.    This will take a little practice and monitoring. Ovens differ.  You do not want to under or overbake.  Immediately dump the buns onto a piece of tin foil or wax paper.  Let cool for 10 minutes and then you can flip them right side up.

After the buns have cooled slightly drizzle with glaze made from XXX sugar and milk.

100_7115

Yield: 45-48 buns or 2 -9×13″ pans.  Can put in smaller pans like bread pans, cake pans, etc.

Pour yourself a cup of coffee and enjoy but do not count calories!

.

Hint:  You can prepare the Cinnamon Buns or Sticky dough the day before.  Follow instructions up through the step of putting them in the pan. Instead of letting them rise, put the pans in the refrigerator over night.  They will rise some in the refrigerator. Remove from  the refrigerator and let finish rising.  Bake.  I do this when I want this special treat for Christmas morning.

Baking Homemade Bread

I love working with yeast and making homemade breads, roll, sticky buns, etc.  Quite a few years ago I went on a quest to make good, “soft, finely textured” bread.  Mine tended to be coarse.  It was ok but not superb.  After experimenting, this is the recipe that works for me.

I am doing the instructions with pictures so that even the first time or novice baker can tackle the recipe with confidence and success.

My original recipe came from the “More With Less Cookbook” (page 63) compiled by Doris Janzen Longacre.  I have adjusted it slightly.

.

White Bread

Stir together in 2 c. glass measuring cup until dissolved.  When it starts to bubble (approx. 5 mins) and gets foamy looking add to the ingredients in the large mixing bowl.

2 pkgs (or 2 T.) Dry Yeast

1 c. Warm Water

1-1/2 tsp. Sugar

100_7063

In large mixing bowl:

100_7062

1/2 c. Sugar

1 T. Salt

8 T. Vegetable Oil

3-1/2 c. Warm Water

Above yeast mixture

6 c.  Bread Flour

Beat on high speed for 5 minutes.  This seems to be my secret to soft bread. It break down the yeast molecules and makes a very elastic dough.  Gradually add another 3 c. Bread flour and beat on slower speed.

I love my Kitchen Aid mixer and have to do almost no hand mixing with my dough.

100_7051

Change to your dough hooks and add another 2 c. flour.

100_7052

When the dough starts to form a ball around my dough hooks it is time to stop.

100_7053

Put the dough into a large bowl in which you have sprinkled a small amount of flour to keep from sticking.  At this point your dough is almost done.

100_7054

100_7056

With your hands work the dough a few more minutes and add another 1 c. flour (if needed).

100_7057

You do not want to add to much flour-just enough that it is not sticky.   Fold the dough over several times making a nice smooth ball and cover the top with vegetable oil.

100_7058

Cover the bowl with a cloth and let the dough rise until double (approx. 1 hour).

100_7059
100_7060

100_7061

Punch the dough down and you are ready to form into loaves.   Notice how soft and puffy the dough is.

Using a sharp knife I cut the dough into four equal parts.

100_7064

Sprinkle some flour on your countertop and with your rolling pin, roll the dough into a rectangle that is approx. 12″ wide and 16-18 ” long.

100_7066

From the narrow end roll up the dough into a roll and pinch the edges closed.  Place into a  greased 9″x5″ bread pan.  Take a fork and stick the top of the dough 8-10 times. Coat with vegetable oil and then cover with a cloth.

100_7070

Let rise until double in size or until it rises about 2 inches above the edge of the pan. If you let rise too much it will get too large.  It will rise some in the oven as it starts to bake.

100_7074

Bake at 325 degrees for 30-35 minutes.

100_7076

Remove from oven when the loaves are golden brown but not dark.  Do NOT overbake or you will have dry, crusty bread.  Immediately brush or rub the top of the loaves with Crisco.

100_6841

Remove from pans and let cool on cloth and cover with cloth.

100_7078

Yield:  4 loaves

Time:  Allow 5-6 hours from start to finish.

.

100_6844

My bread usually turns out so soft that I have a hard time slicing it without squishing it! I have always use my electric knife and I have discovered that if I turn the bread on its side, it slices easier.

Finished is when the bread is sliced and in the freezer! I always slice it before freezing and then I can take out a few slices at a time and the bread is much fresher that way. Remember, this bread has no preservatives so it doesn’t last for weeks like store-bought bread.

Sandwich Rolls

I wanted some rolls for sandwiches (barbecue, hamburgers or brisket) but I wanted them to be more like a hamburger bun than a dinner roll.  So I rolled them out 1″ thick and cut with a biscuit cutter.

100_7475

I spaced them on the baking sheet so they could rise without being too crowded and coated the tops with vegetable oil .

100_7476

It worked perfect. I was so pleased with the results.  I let them rise 30 minutes or so and then baked at 325 for 25 minutes-just until lightly brown. I rubbed the tops with Crisco.

100_7477

I removed them from the tray onto a cloth to cool.  I sliced them in half with my electric knife.

100_7479

Yield: 5 dozen (60) rolls.

.

Hints and tips:

  •  Bread does better on low-pressure days such as rainy, snowy, etc.  When it is high pressure the weight on the atmosphere can hinder the bread from rising as well.
  • Because homemade bread contains no preservatives, it gets stale fast.  After the bread cools, I slice it with my electric knife and freeze in zip lock bags.   I take out only what we want for the meal.  This way I am always eating good, fresh, soft, bread.

Questions:

  • What if I don’t have a big mixer?  No problem. You can still make good bread.  If you have a small mixer, only add a few cups of flour and beat it hard. You don’t want to stall out the motor on your mixer.  Then add the rest by hand, one cup at a time, stirring with a spoon until it becomes stiff enough work it with your hands.  Fold it over and over, make a fist and work it with your knuckles until it is smooth and elastic.  You want to fold air into the dough. You can do it totally by hand-using no mixer- but it takes more hand work and it is harder to get as soft and fine textured bread.
  • Do you prefer yeast in the packages or bulk yeast?  I prefer bulk.  I buy it in a jar and keep it in the freezer. Keeps forever!  Also,  when I have bulk I use 1 T. whenever the recipe calls for 1 pkg.  A package is actually not quite a tablespoon so you have better results as you are using a little more yeast.
  • How do you know if your yeast is good?  It only takes a minute or two for the yeast to start to bubble when you have used warm water (you should be able to put your fingers in the water and be comfortable) and fed it with a little sugar.  If it does not bubble, it is no good. I have never had that happen.
  • Do I have to use Bread Flour?  No you don’t but bread flour makes a softer bread.  It is a “hard” wheat flour.  Normal flour is “soft” wheat.

.

Variations:

Cinnamon Bread

After you roll the dough into a rectangle cover with 1/2 cup brown sugar and 1 tsp. cinnamon.

100_7067

Roll into a roll starting with the widest side.

100_7068

Cut the roll into 1-2/2 thick slices and put the slices into a greased bread pan by setting the slices on edge.  This gives it a braided look.

100_7069

Let rise until double and bake the same as above.

100_7072

When done, immediately remove the loaf from the pan and set on a piece of tin foil.  Let the loaf cool upside down before flipping it.

100_7079

When cool, flip the loaf right side up and drizzle with a glaze made from XXX sugar and milk.

.

Garlic Bread

After you roll the dough into a rectangle cover with 2 T. melted butter and sprinkle with granulated garlic, and dried onions, Parmesan cheese, and chives.  Roll into a roll starting with the widest side.  Cut the roll into 1-2/2 thick slices and put the slices into a greased bread pan by setting the slices on edge.  Sprinkle the top with sesame seeds. Let rise until double and bake the same as above.  When done, immediately remove the loaf from the pan.  Brush the top with Crisco and cover with cloth to cool.

Tip:  Don’t bake the garlic bread in the oven with any of the other kinds of bread. The flavor seems to spread and you’ll have garlic flavored cinnamon bread if you’re not careful!

.

Whole Wheat

Depending on the strength of whole wheat bread that you like, simply substitute whole wheat flour for white flour.  The more whole wheat you add, the heavier the bread.

.

A Story….

One day I was at my sister-in-law’s (Marj Heatwole) house and she was making bread. She makes the best, softest, finest textured whole wheat bread of anyone I know.  It is absolutely yummy!

Anyways, I suddenly became aware of how she was doing it and it was all wrong according to my standards or any cookbook recipes.  She broke all the rules! She mixed all the dry ingredients together and then the liquid and it was the lumpiest mess I have ever seen.  I questioned her about how her bread turned out the way it did.

Her answer… before she married my brother, he told her that the one thing he asked of her was to make homemade bread.  It terrified her as it seemed so intimidating and she did not know how.  She made it a matter of prayer and asked the Lord to help her.  Obviously He did.  I knew that prayer was too late for me!!!! I didn’t have that bargaining chip!   I was already married and making bread and neither had my husband made that a request!!!

Moral of the story…sometimes what works for one person does not work for another.  Sometimes you have to experiment!  And maybe, sometimes you simply have to just  pray!

Chip Beef and Swiss Dip

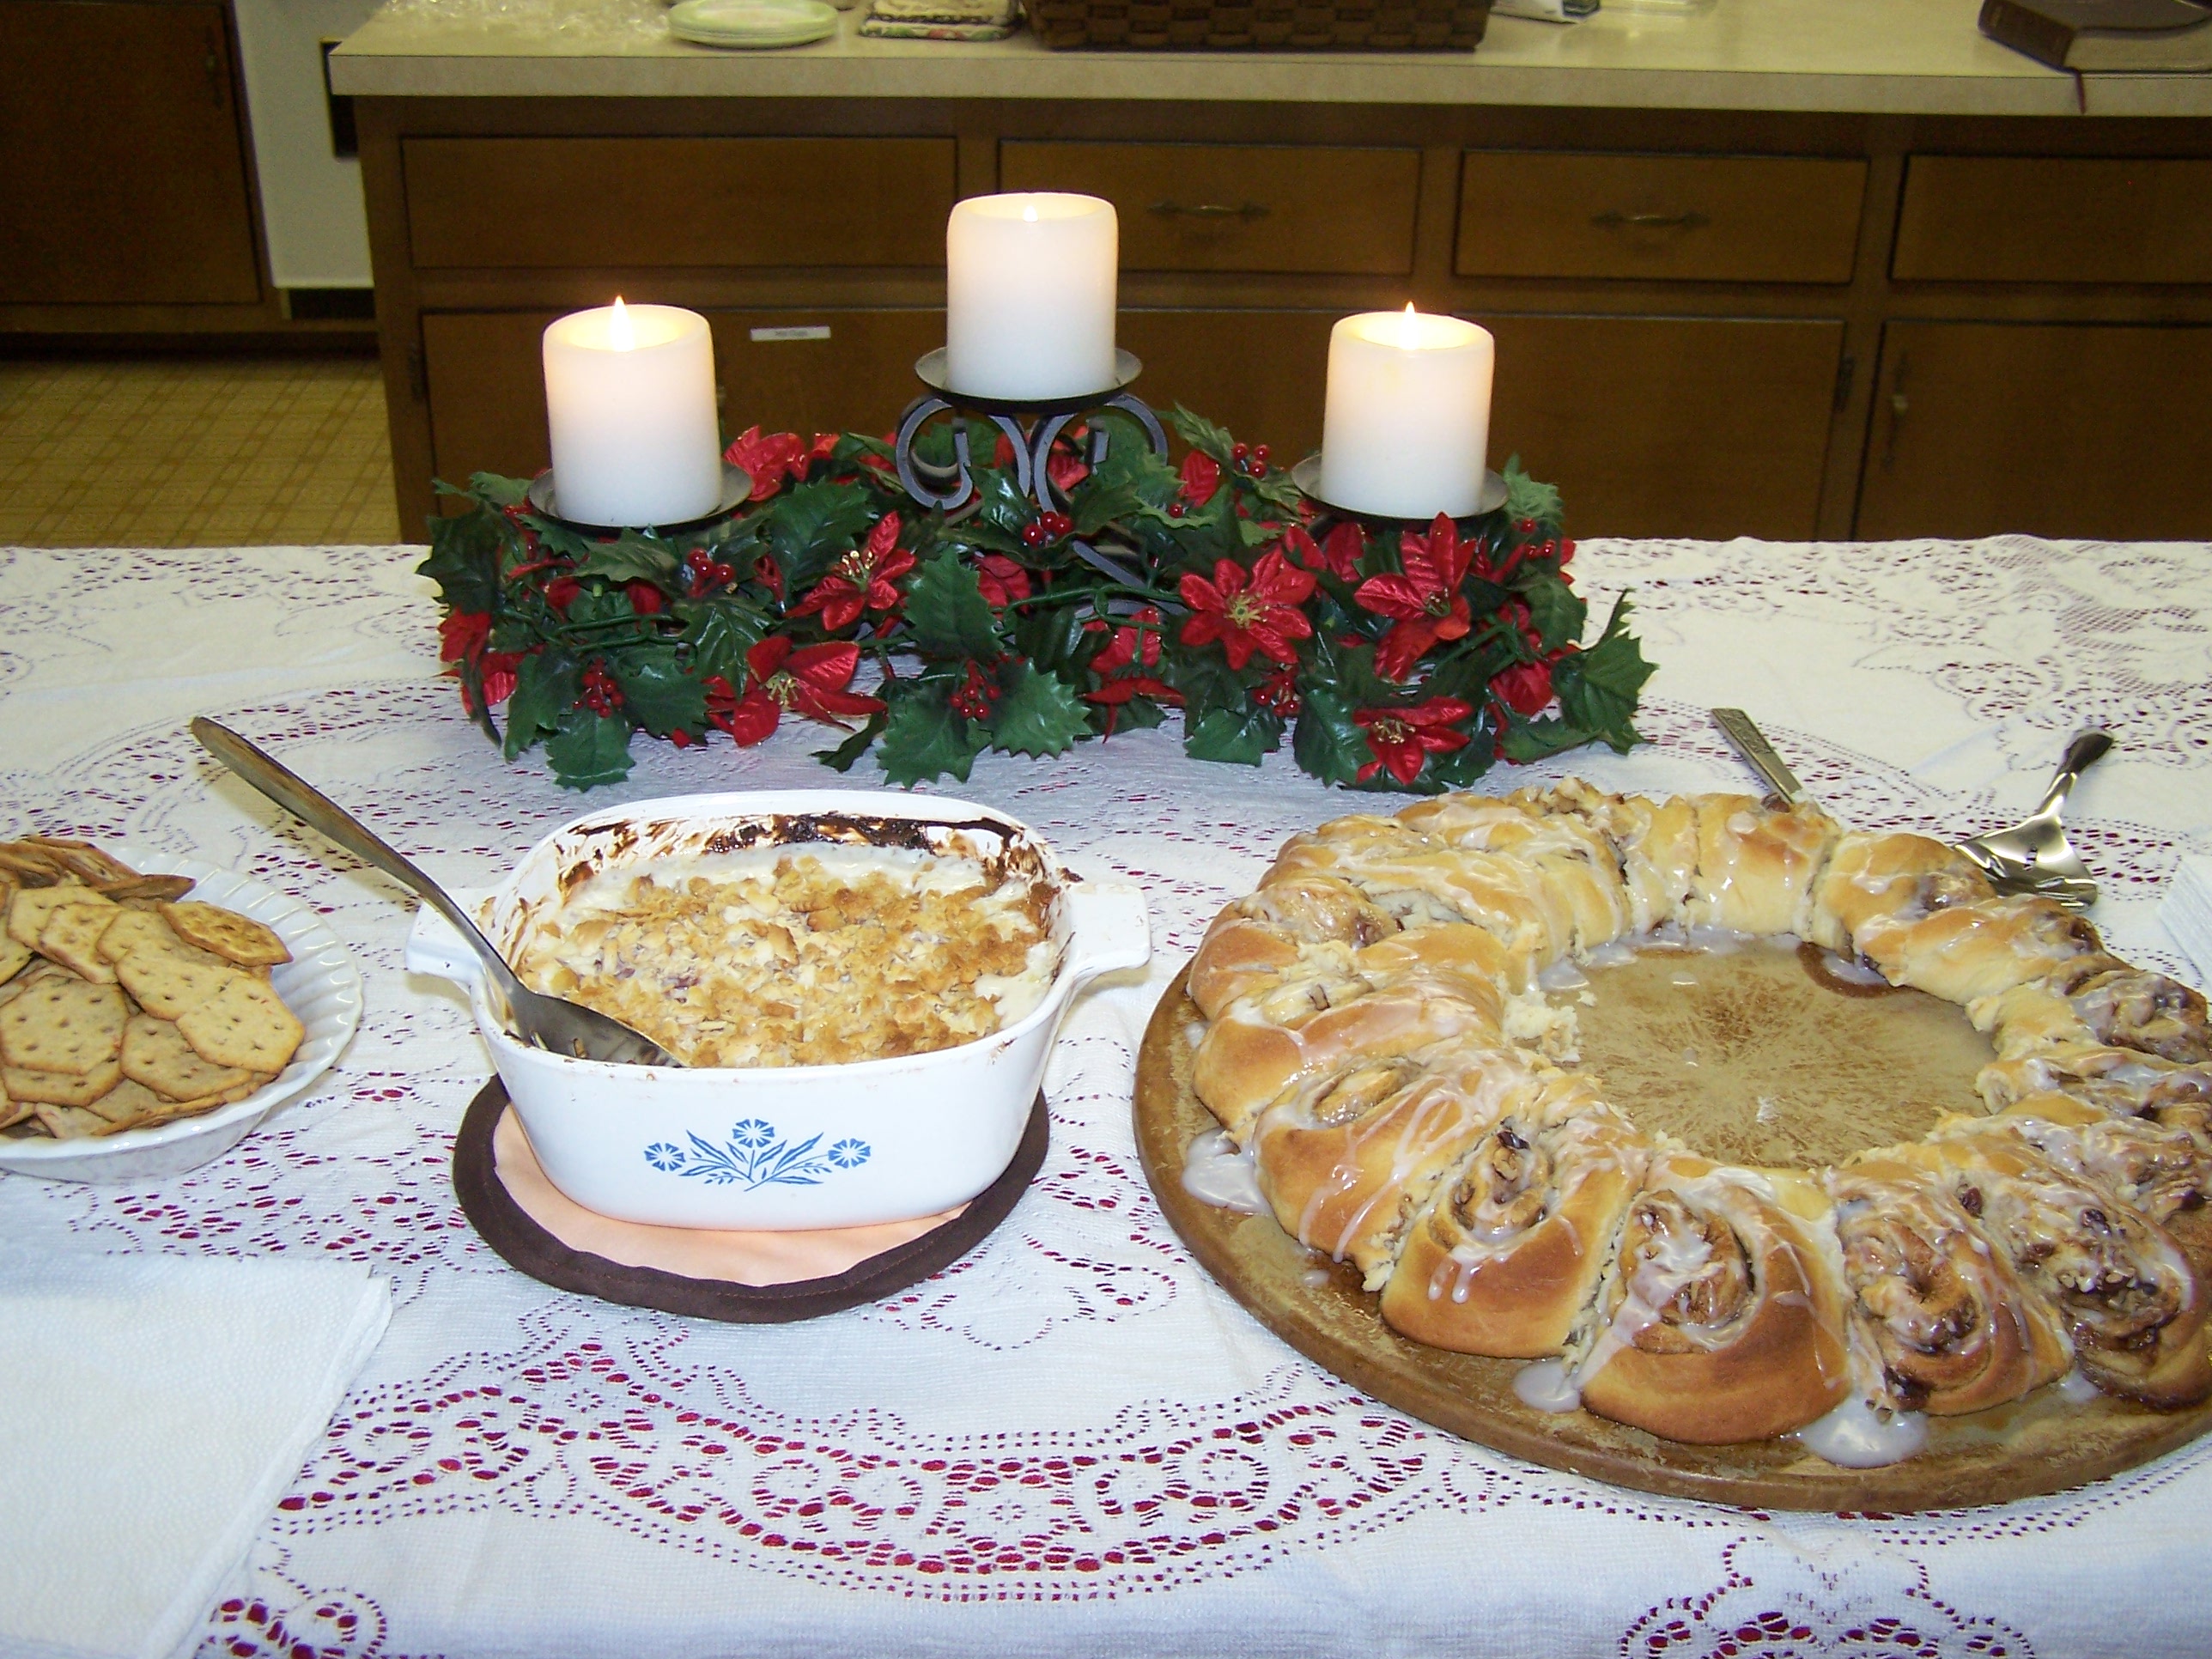
If you would like a cracker dip for Christmas day you may want to try this one.  I found a recipe and played with it some as I didn’t care for the original.  I made this today and it was a hit.  Enjoy!

100_6852


In a small mixing bowl, beat until smooth:

  • 1- 8 oz. pkg cream cheese, softened
  • 2/3 cup mayonnaise  (do not use reduced-fat or fat-free)

Stir in:

  • 1-4.5 oz. jar of chip (dried) beef, chopped fine
  • 1 cup (4 oz.) Swiss cheese, grated
  • 2 T. Onion, finely chopped
  • 1 T. Green Pepper, finely chopped (optional)

Put in ungreased baking bowl or pie plate.

Top with 1/2 cup crushed cracker crumbs (I used Ritz Crackers) tossed with 1 T. melted butter.

Bake uncovered, at 400 degrees for 12-15 minutes or until bubbly and heated thoroughly.

Serve with crackers of your choice. I used Wheat Thins.

Yield: 3 cups

Note: Can be made several days ahead of time and baked just before serving.

Next entries » · « Previous entries