Archive for Pat’s Kitchen

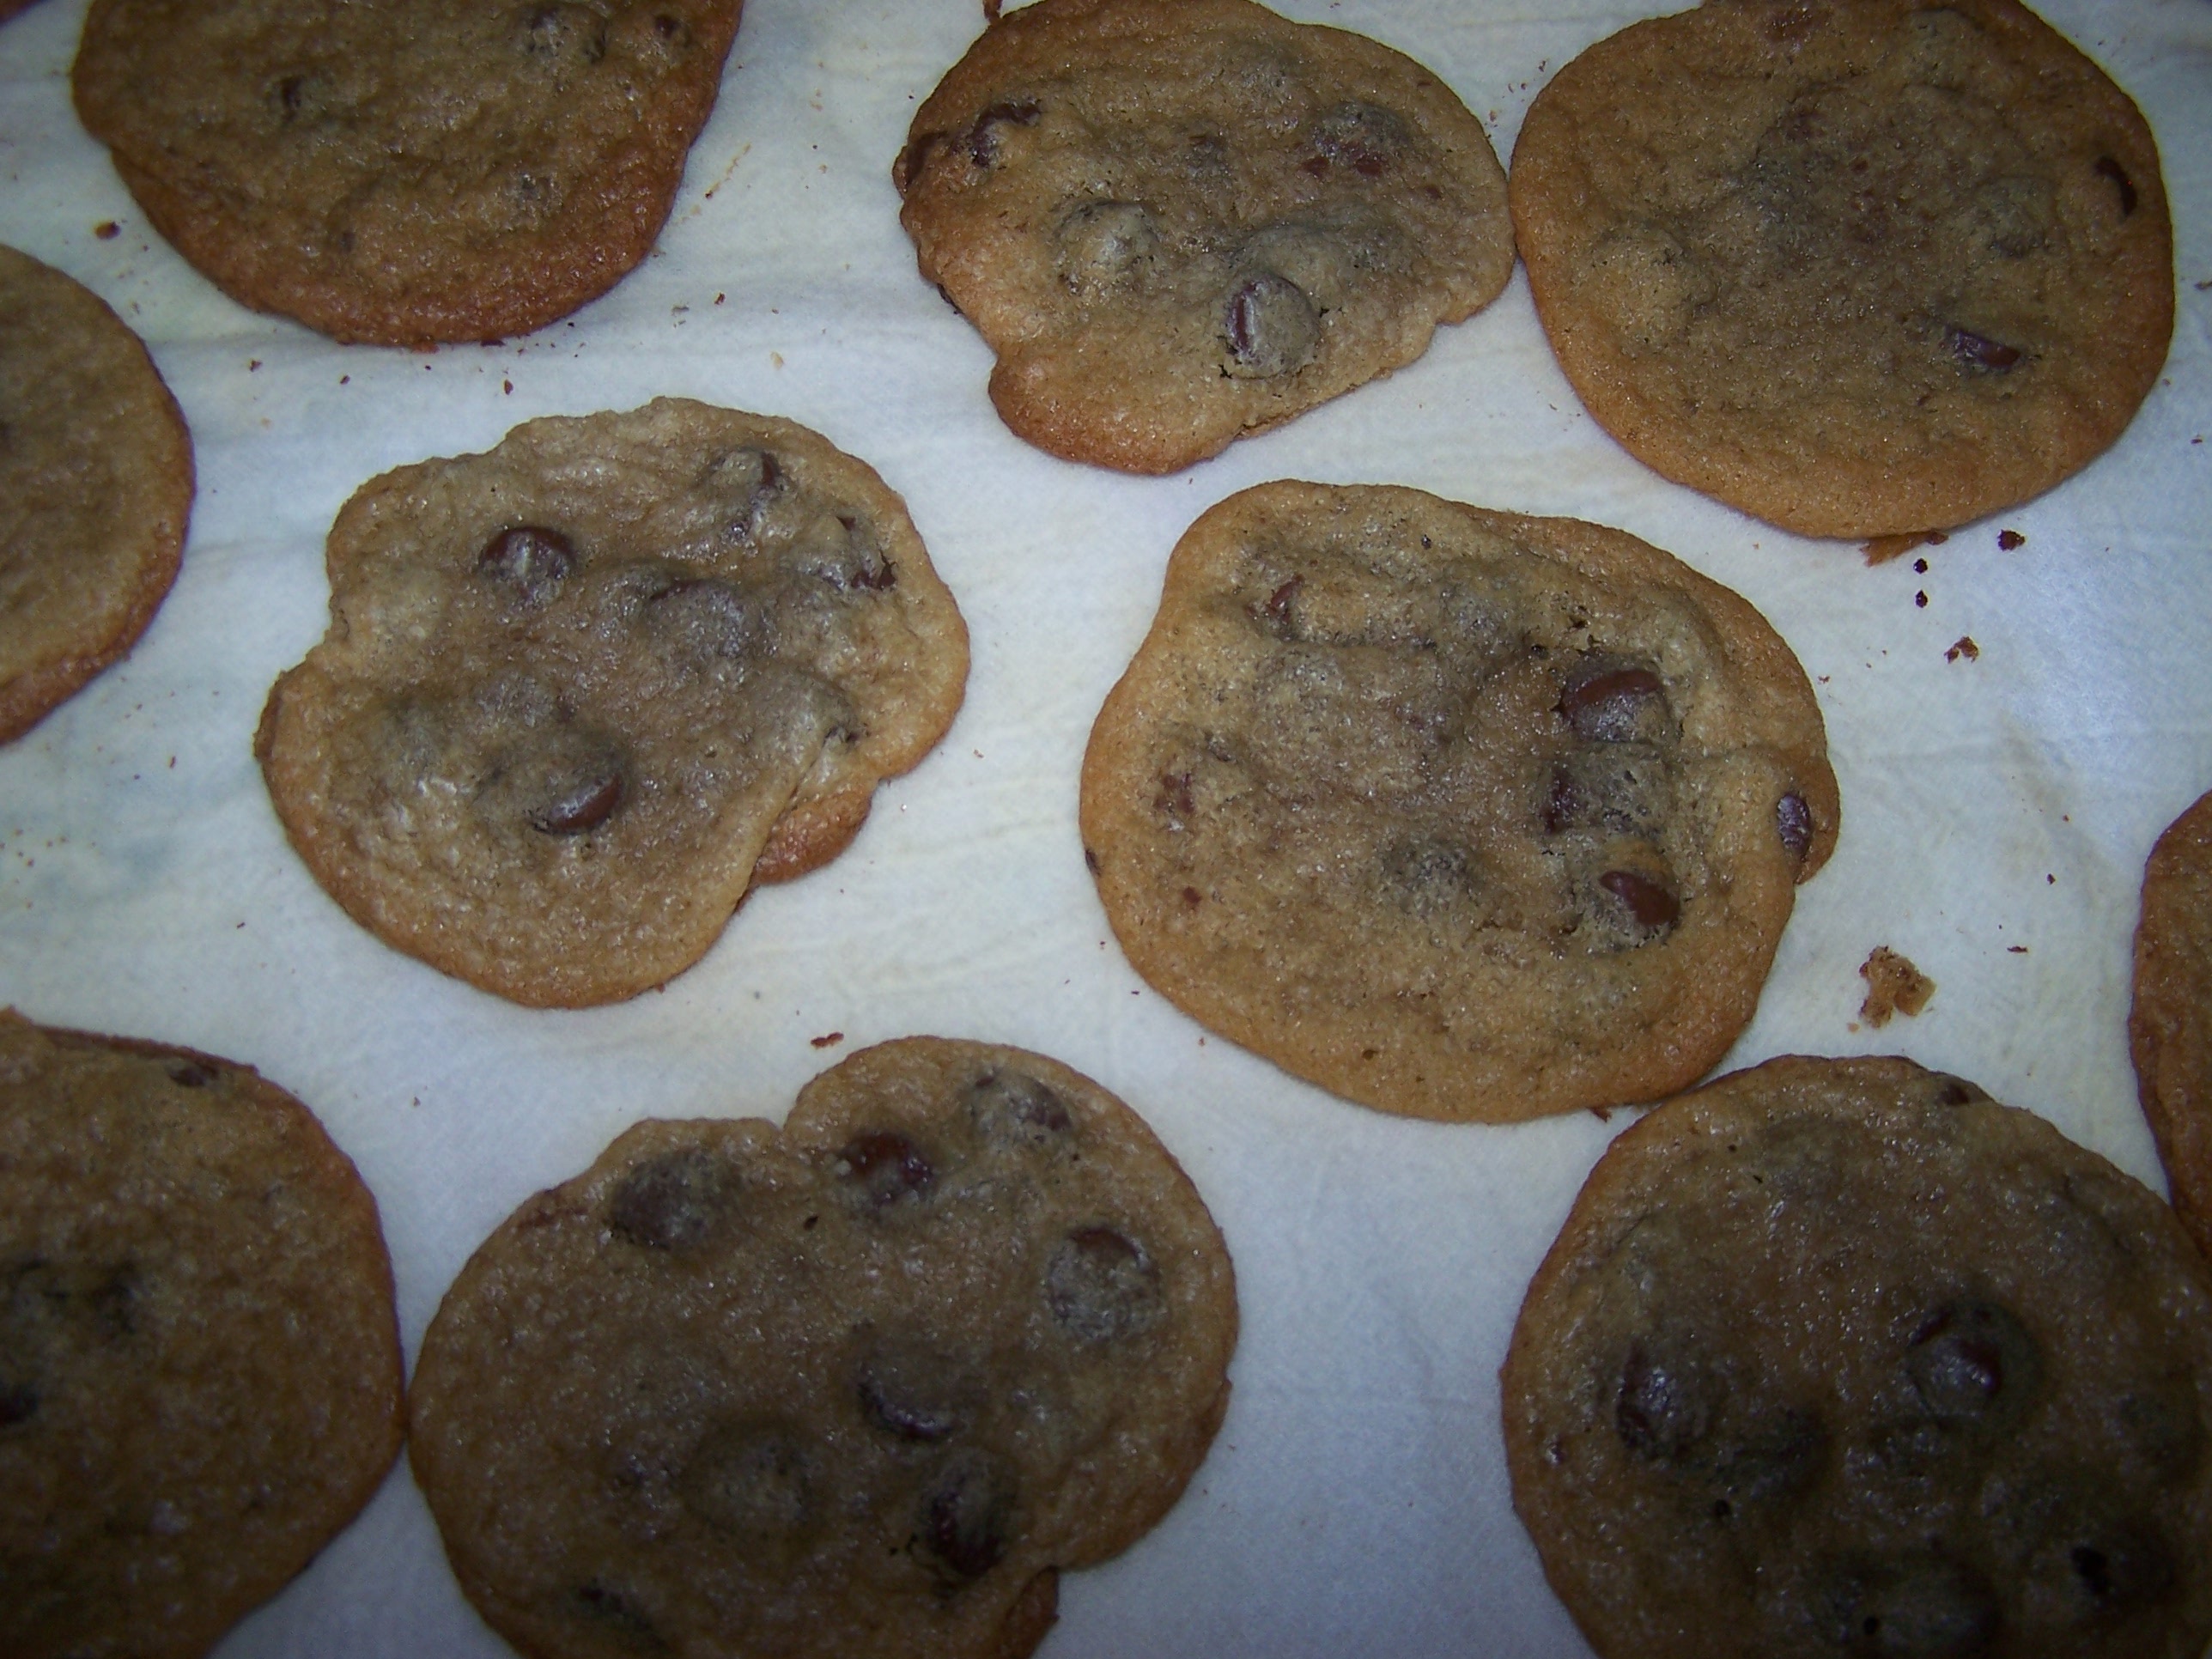
Chocolate Chip Cookies

100_6786

I could not make a good chewy chocolate chip cookie. I tried and tried but they would not turn out like my mothers. I used her recipe exactly even buying her brand of flour (Robin Hood) which is not available in our area.  They still would not turn out. Mine would be either thin and crispy or thick and cakey. Even though they were my husband’s favorite cookie, I finally gave up and said I couldn’t do it.

This year (40 years later!!!)  I decided I was going to learn to make a good cookie. I went on the internet and researched how to make a “chewy” chocolate chip cookie. I tried several recipes and finally found one that works for me.  I found it in the June/July 2012 issue of Taste of Home magazine.  It was submitted by Irene Yeh from Mequon, Wisconsin.

Big & Buttery Chocolate Chip Cookies

In a mixing bowl combine and cream until light and fluffy:

  • 1 cup soften butter
  • 1 cup packed brown sugar
  • 3/4 cup sugar

Beat in

  • 2 eggs
  • 1-1/2 tsp. vanilla extract
  • 1-1/4 tsp. baking soda
  • 1 tsp. salt

Gradually add to creamed mixture and mix well:

  • 2-2/3 cup all-purpose flour

Stir in:

  • 1 pkg. (12 oz.) semi-sweet chocolate chips
  • 1 c. chopped pecans or walnuts (optional-I do not use.)

Either shape the dough into balls or dip with cookie scoop and place in airtight container, separating layers with waxed paper or parchment paper.  Cover and refrigerate 12 hours or overnight. (See note below)

To bake, remove dough balls from refrigerator 30 mins. before baking.  Place dough balls 3 inches apart on parchment paper-lined baking sheets or sheets sprayed with Pam. Slightly push an indentation in the center of each ball with your thumb.

Bake at 400 degrees (I use 375 degrees)  for 10 minutes or until edges are slightly brown. They will darken after baking and you do not want to overbake. Cool for 2 minutes before removing from baking sheets.

Yield: 2-3 dozen

I like to double the recipe.

Note:  One hint I read on the internet suggested that chilling the dough before baking resets the butter, helping the cookie to keep it’s shape during the baking process. By the time the butter melts in the dough the cookie has begun to set. I really believe this is the secret I have been looking for!  However, I must say that mother does not do that!

Monster Cookies

100_6777

This is one of our favorite cookie recipes. I always feel like it is a little healthier as it takes no flour, only oatmeal.  Because Gene is pre-diabetic I also cut back on the sugar. I will put in ( ) what I do.

In a large bowl (use large tuperware bowl):

  •  6 Eggs
  • 2 sticks or 1 c. butter, soften
  • 2 c. brown sugar (1 c. brown sugar plus 1/2 c. brown sugar Splenda. You can play with ratio even more if you like)
  • 2 c. white sugar (2 c. Splenda)

Beat until well mixed and stir in:

  • 28 oz. jar smooth peanut butter (can use crunchy)
  • 4 tsp. soda
  • 2 T. Light Karo syrup
  • 1-1/2 tsp vanilla
  • 9 c. Minute oatmeal  (Note: a 1 lb. 2 oz can is 7 cups)
  • 1 c. M & M’s
  • 1 c. Peanut M & M’s
  • 1 c. Chocolate Chips
  • 1 c. White Chocolate Chips

Bake at 350 degrees for 10-12 minutes.

Yield: 12-14 dozen.  These cookies freeze well.

How to Freeze Sweet Corn

Today I froze 22 pints of sweet corn. So here is another “how-to”!

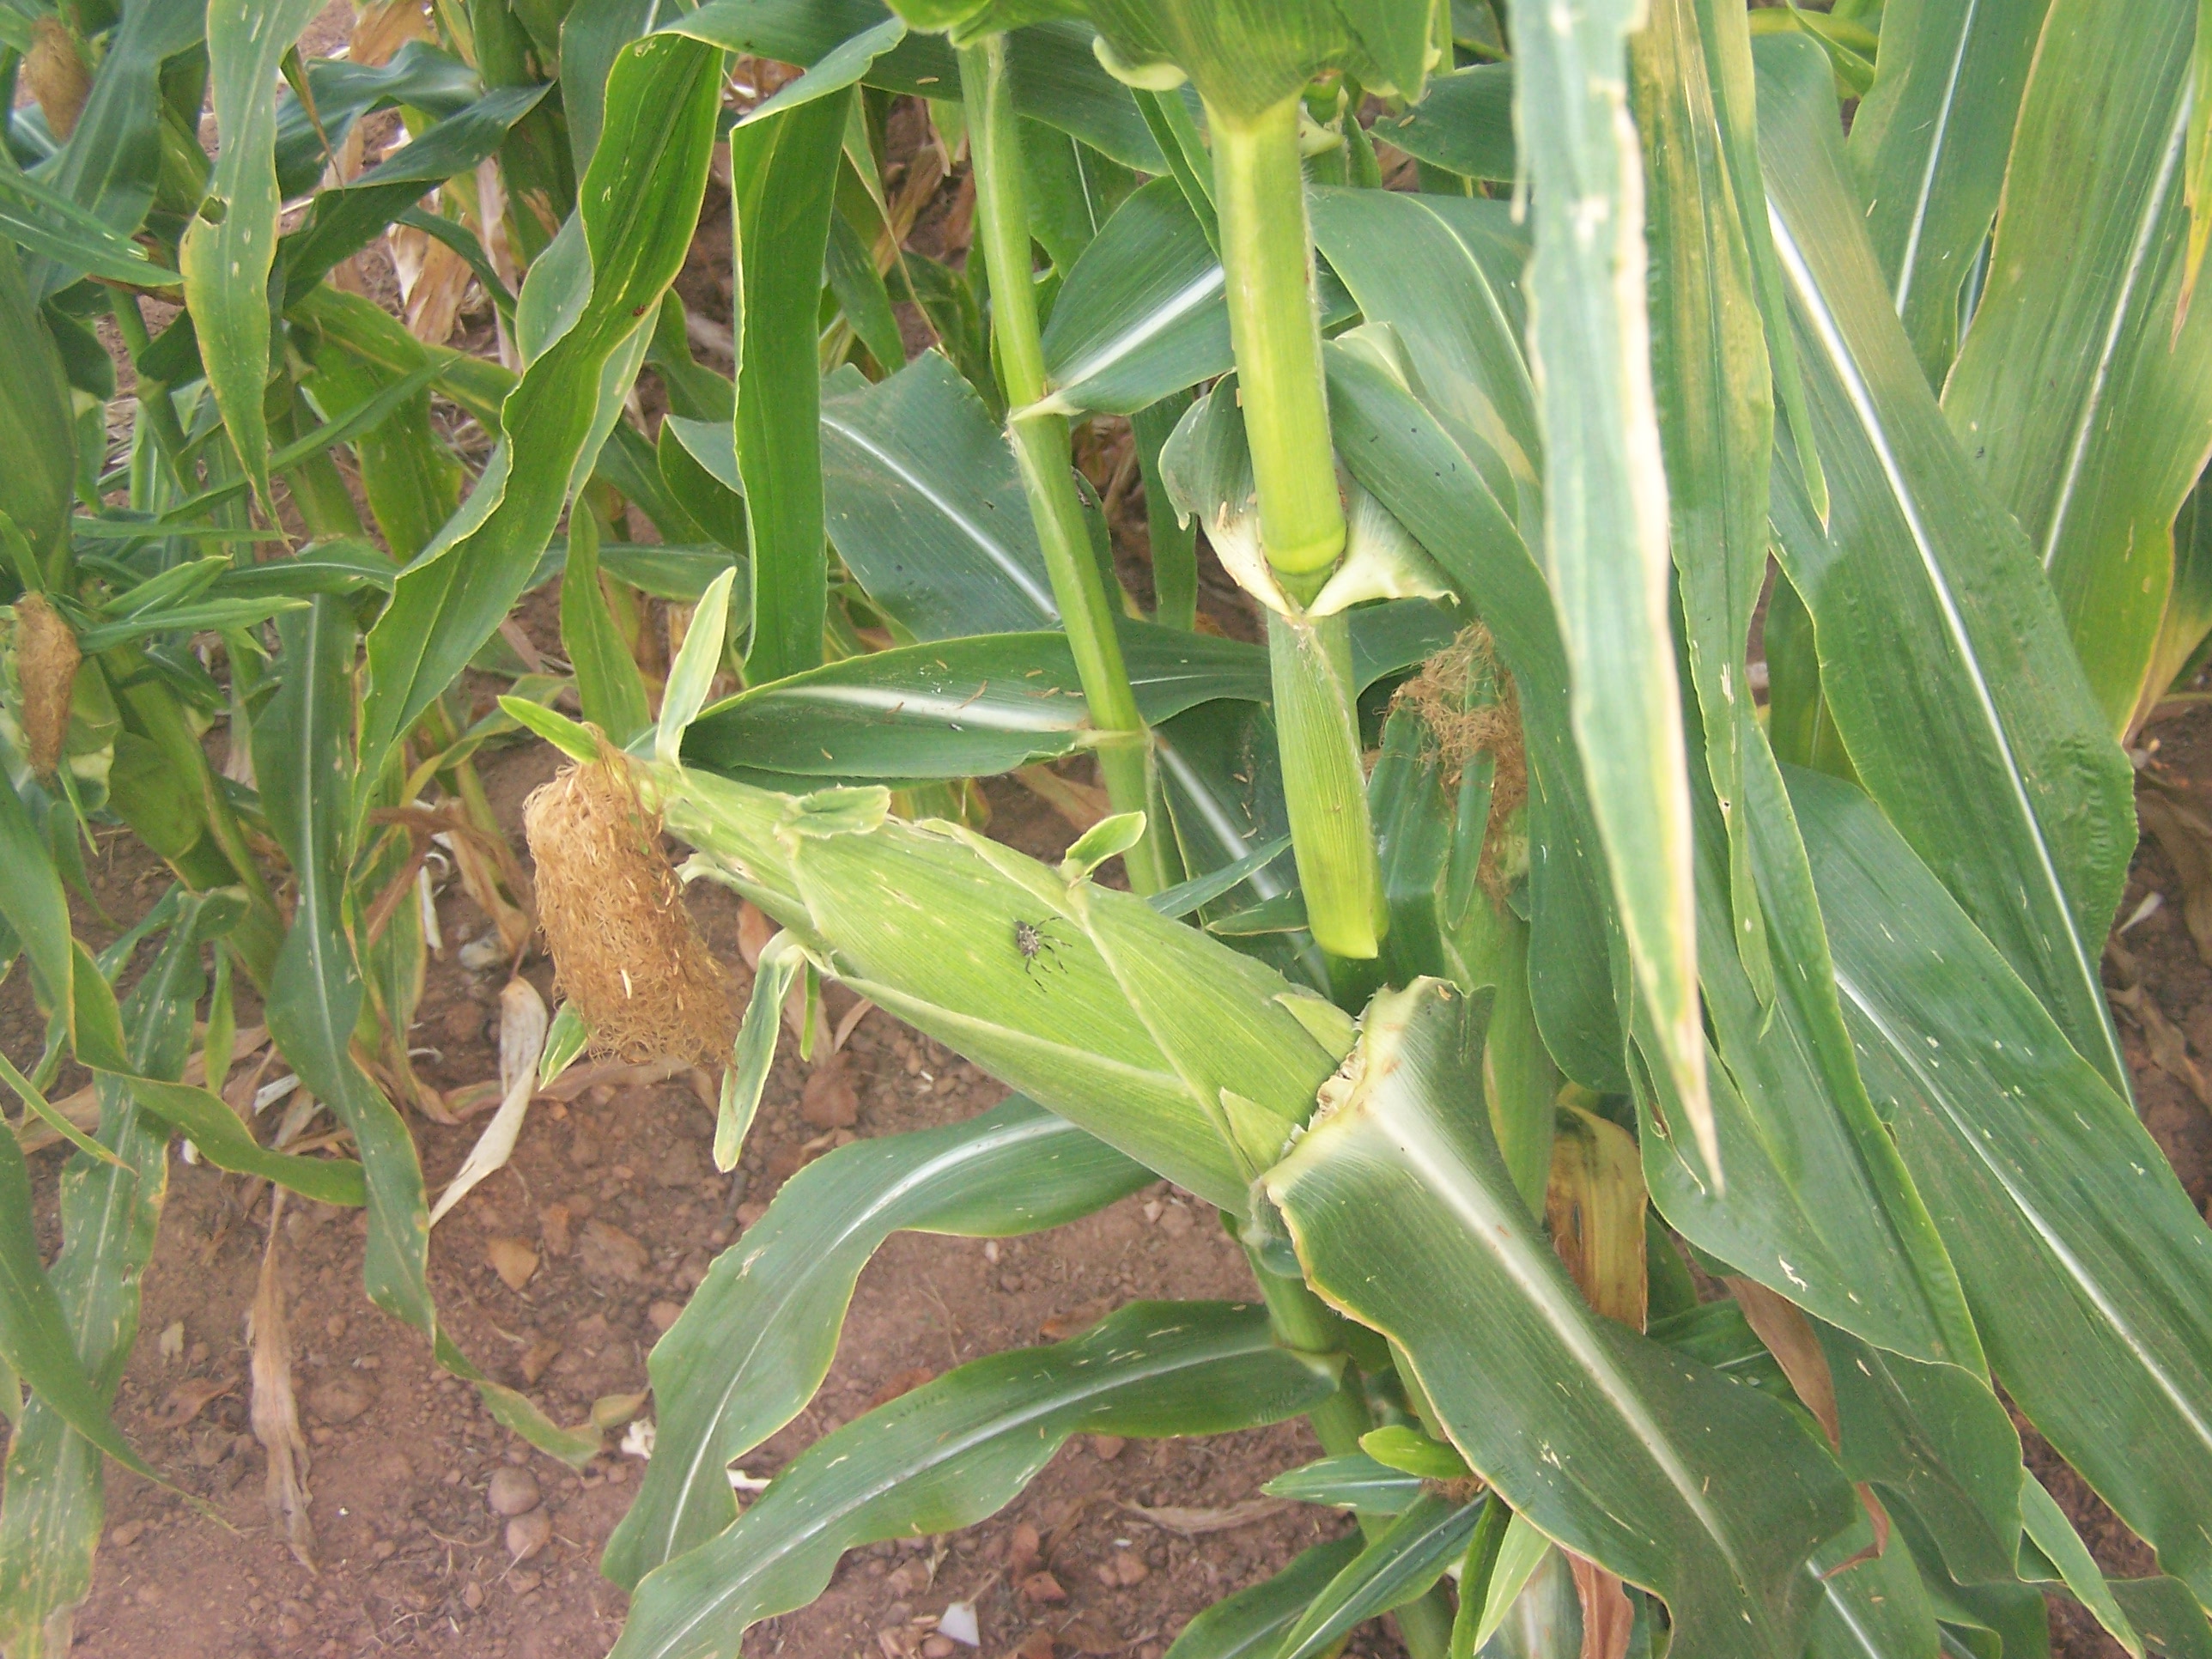
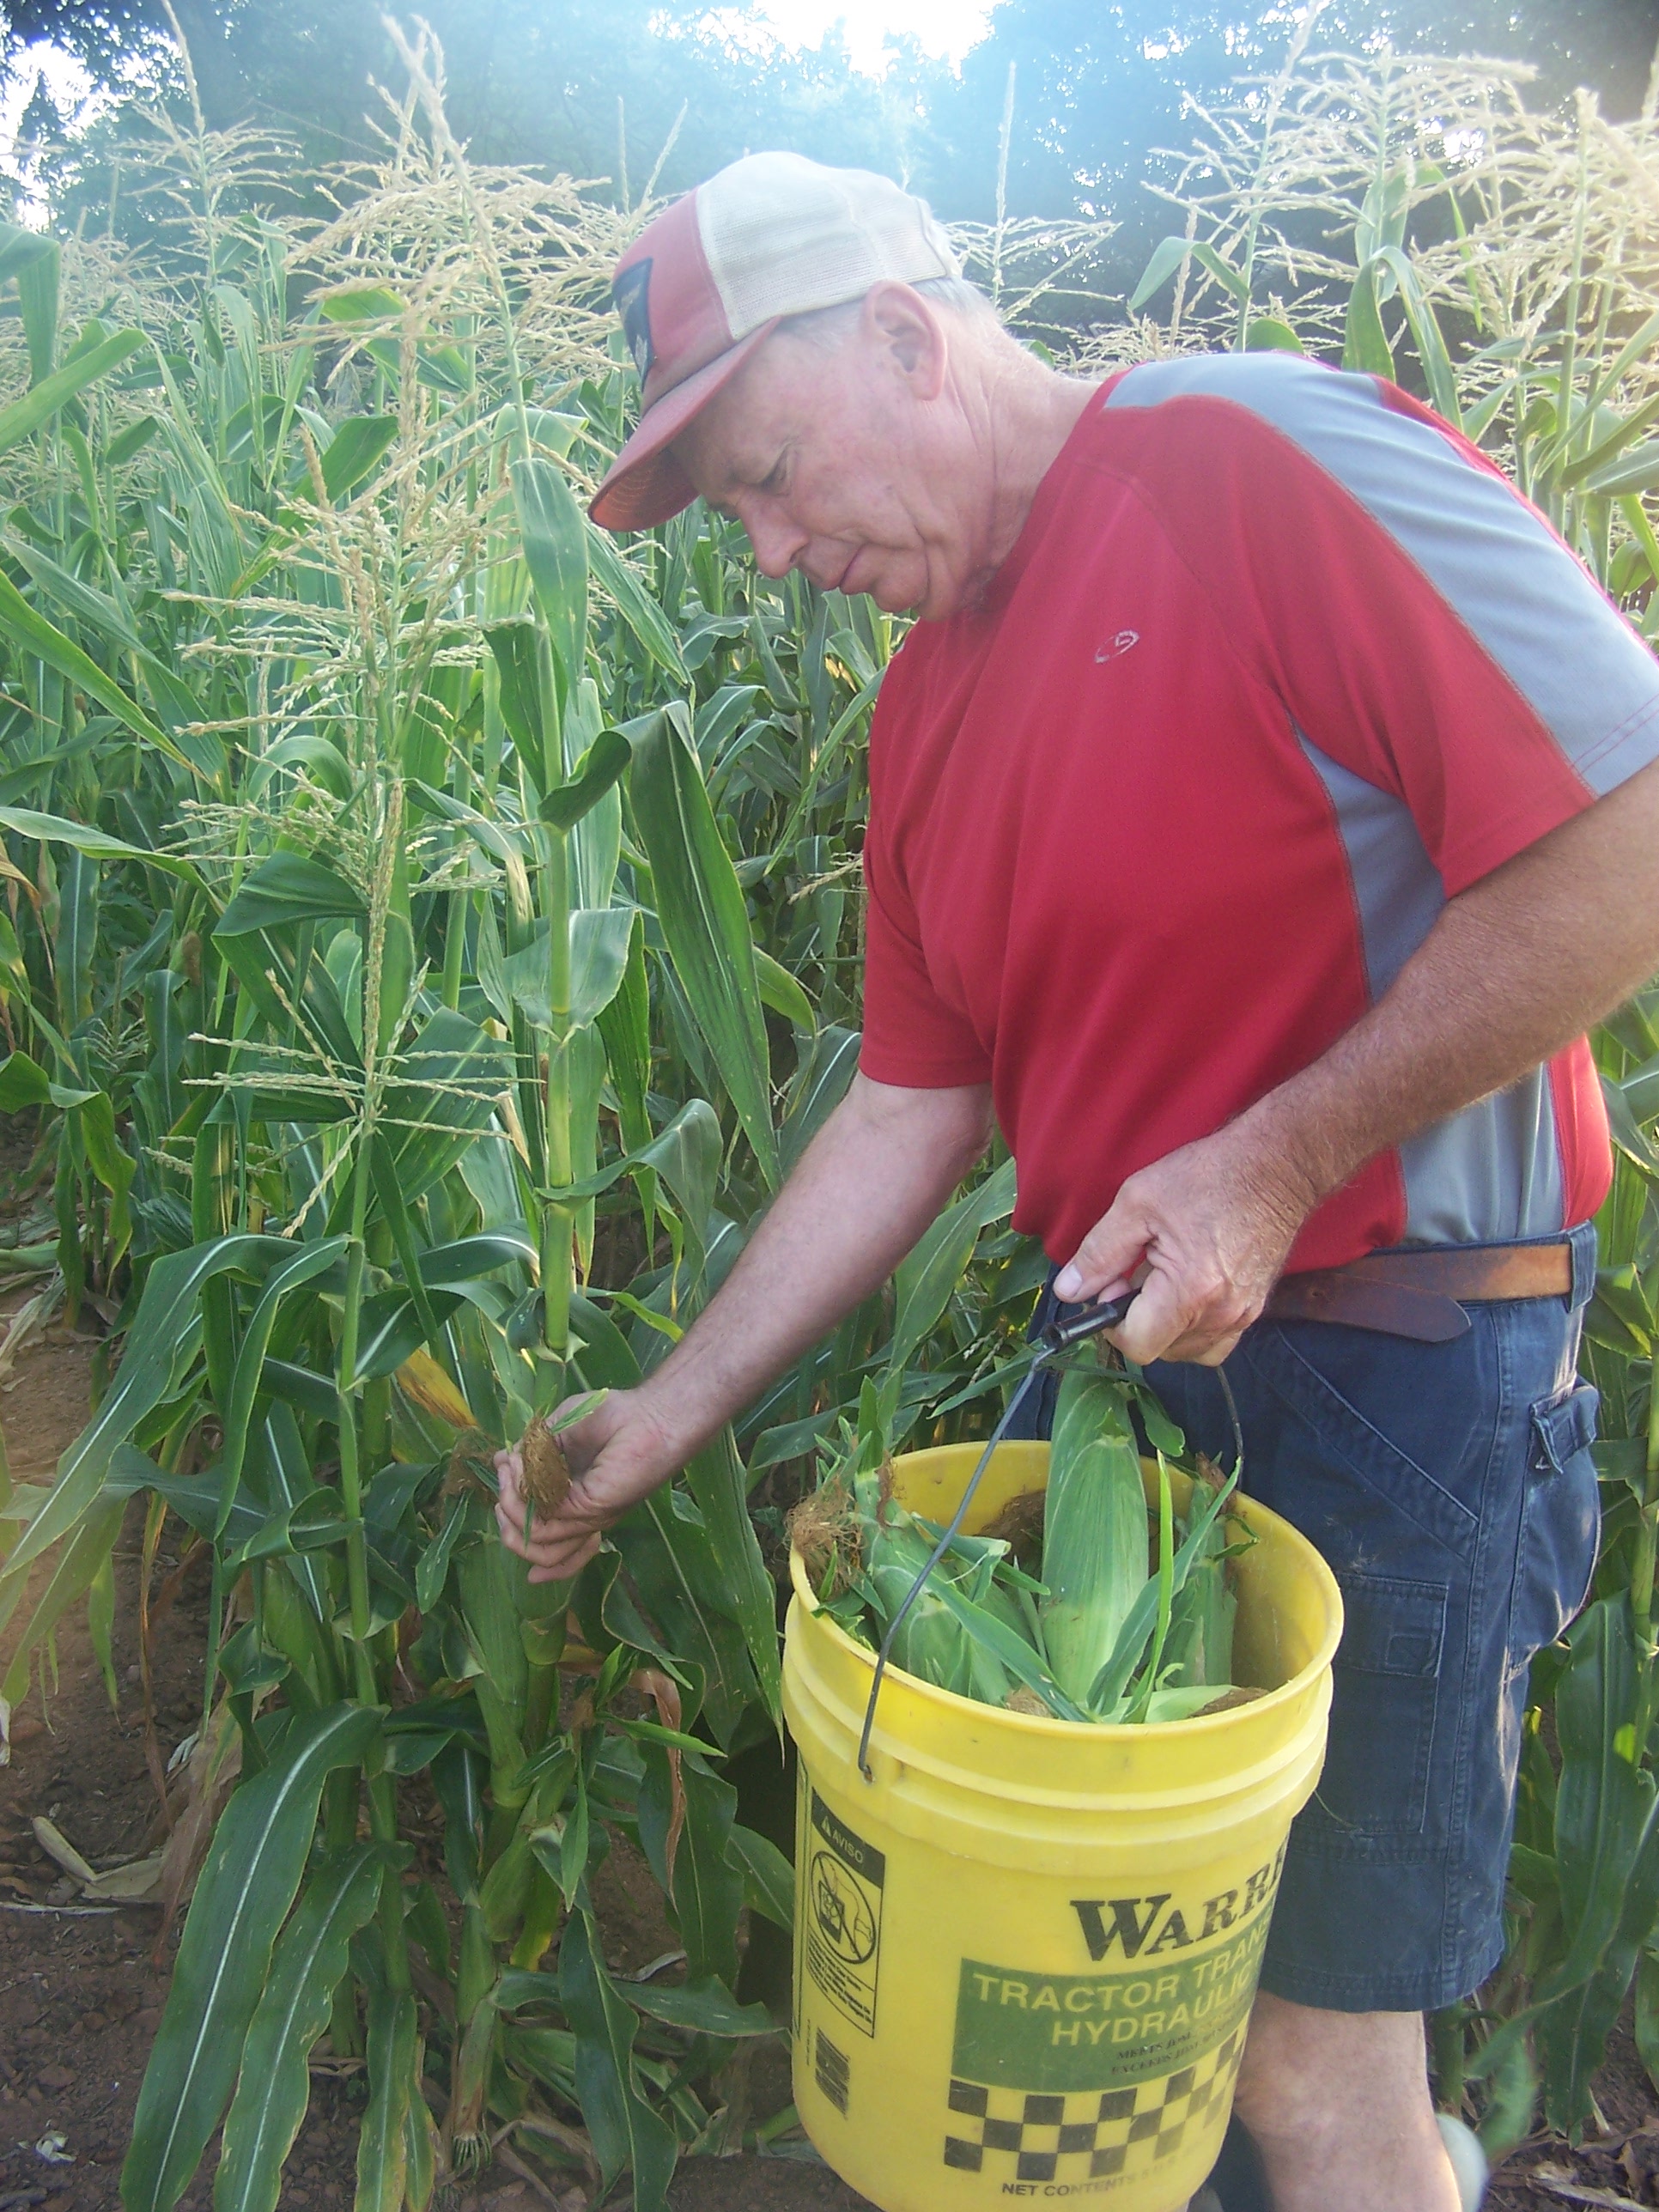
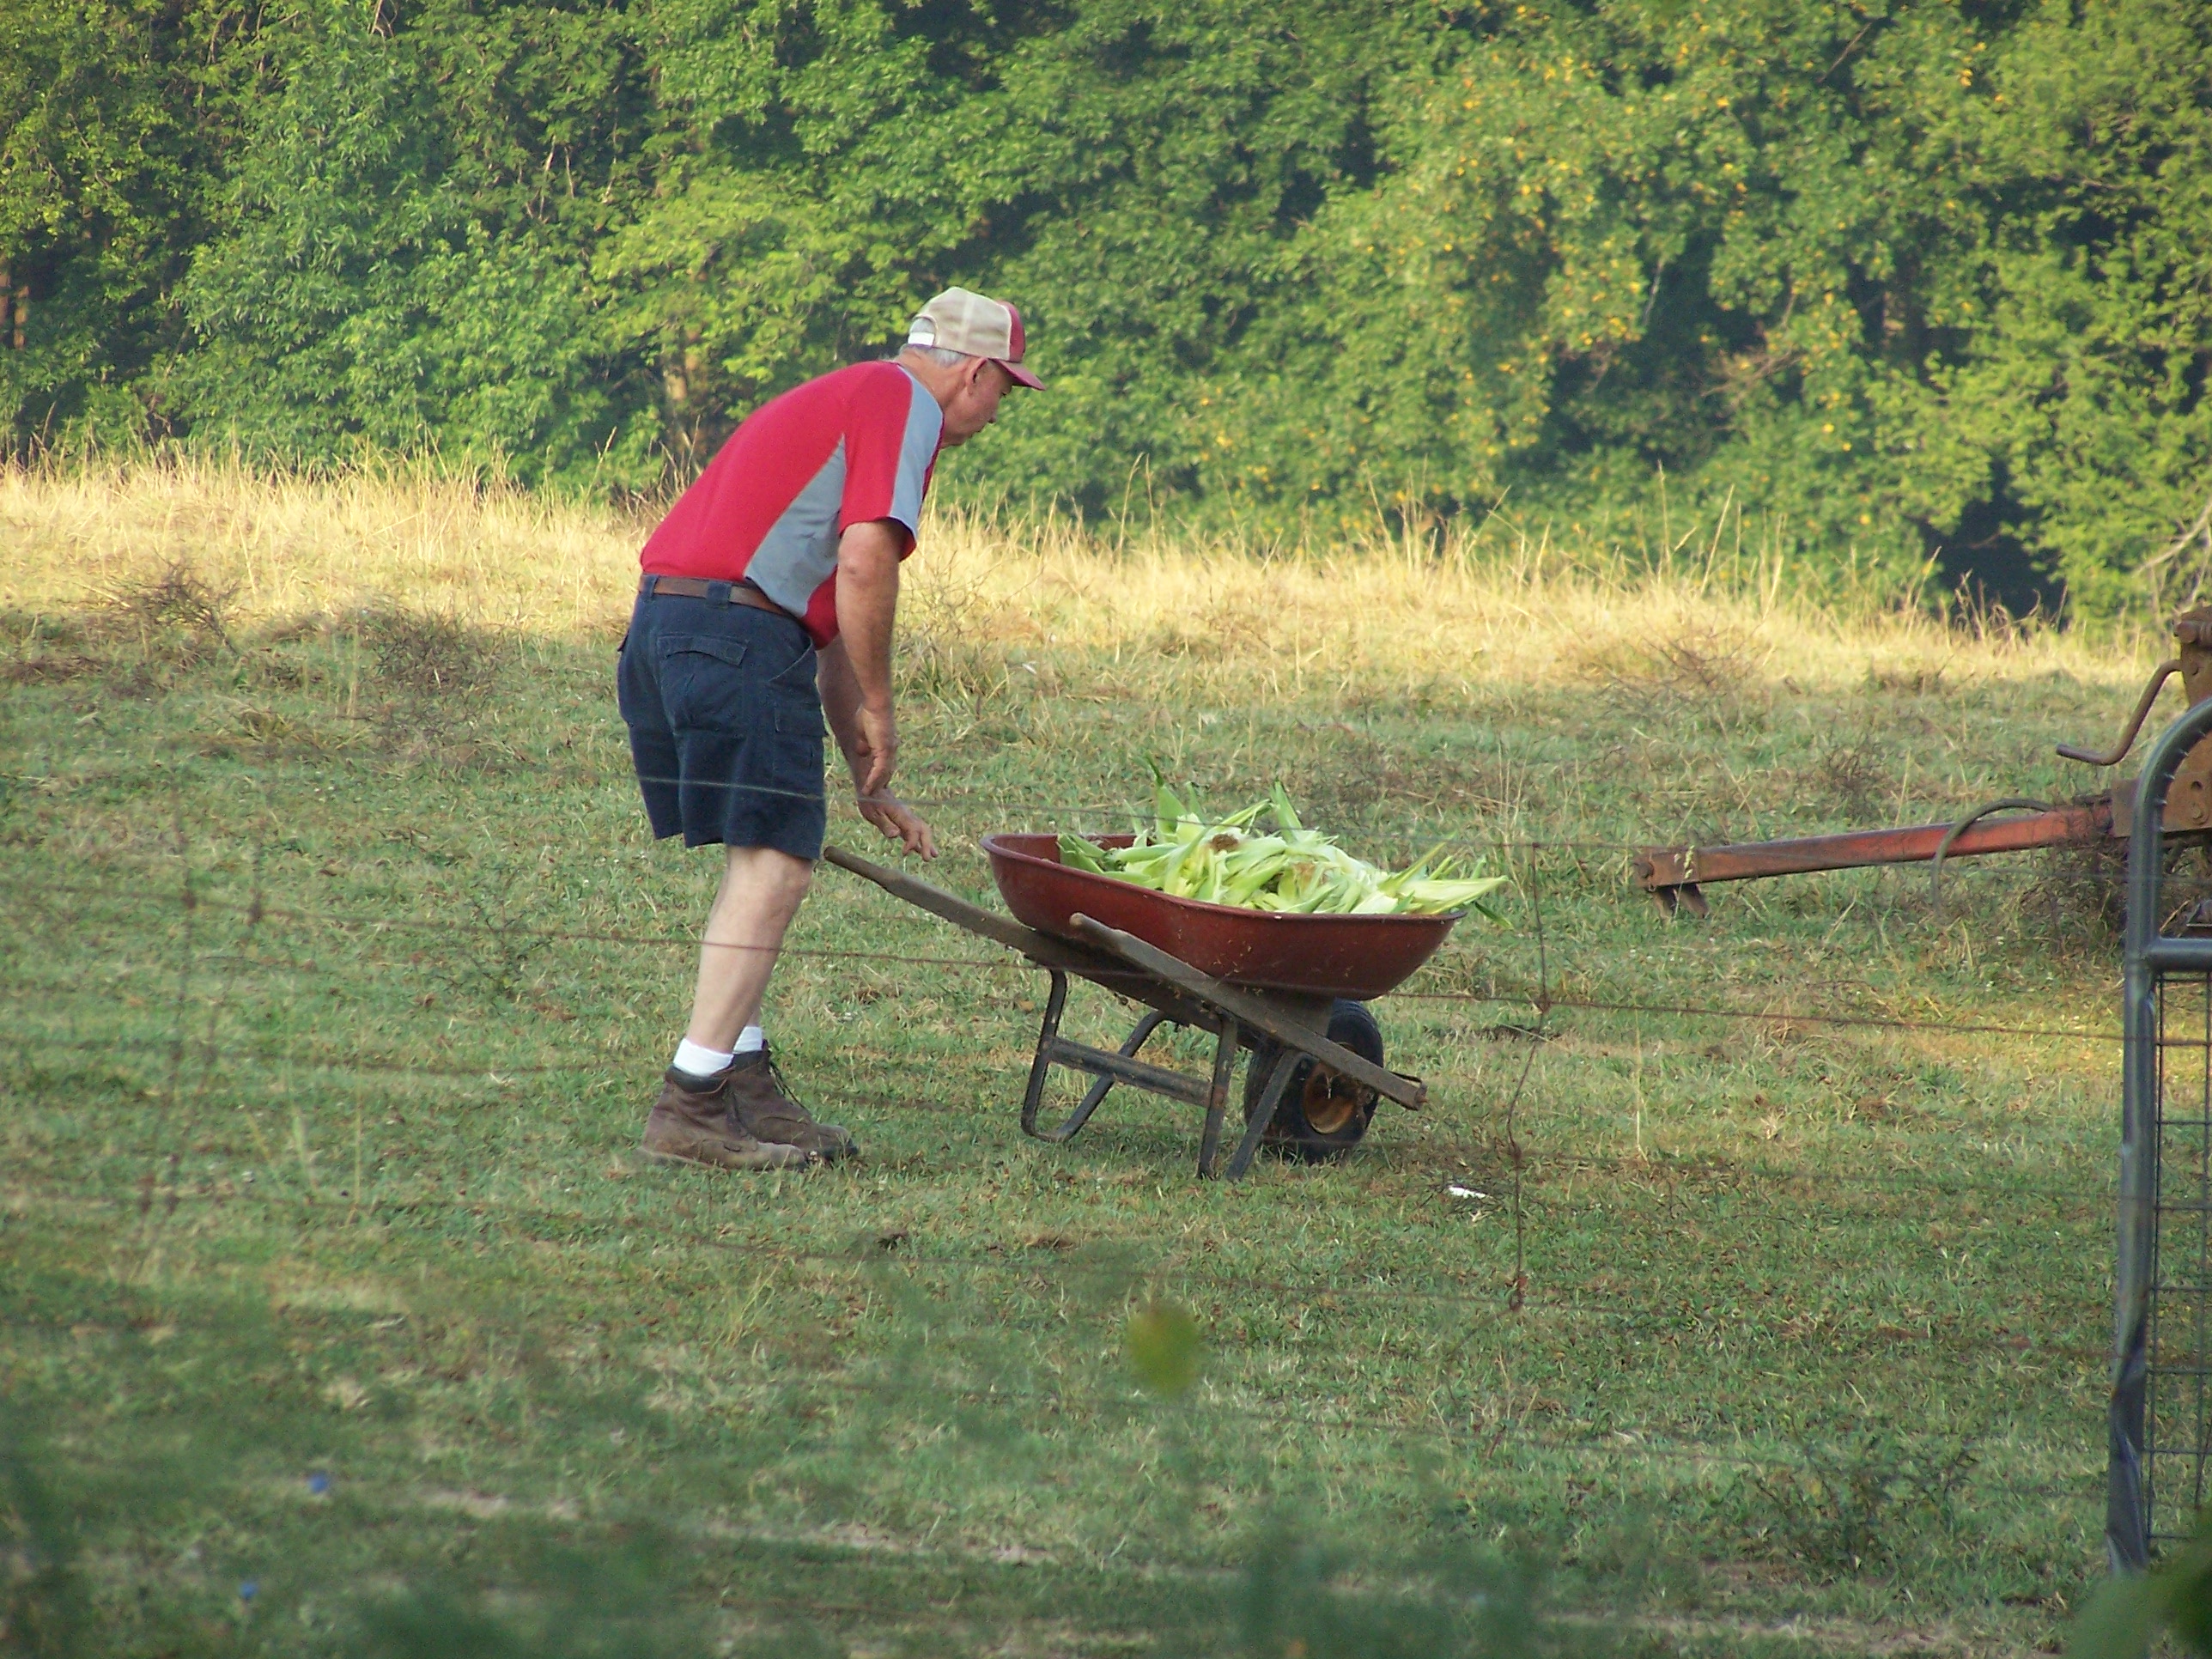
Sweet corn is the one thing Gene helps me with.  He usually pulls it and helps me shuck. Once we get it to the house he disappears fast! But that is ok. I figure at this point I am half done!  Here we are in action….Sweet corn is ready to pick when the tassel on the end of the ear is dark brown and the ear drops slightly away from the stalk.

Practice makes perfect and you will soon master the art. As you are learning you can pull the shuck (leaves) covering the ear back just enough to see. But remember you are opening the ear for bugs and worms.

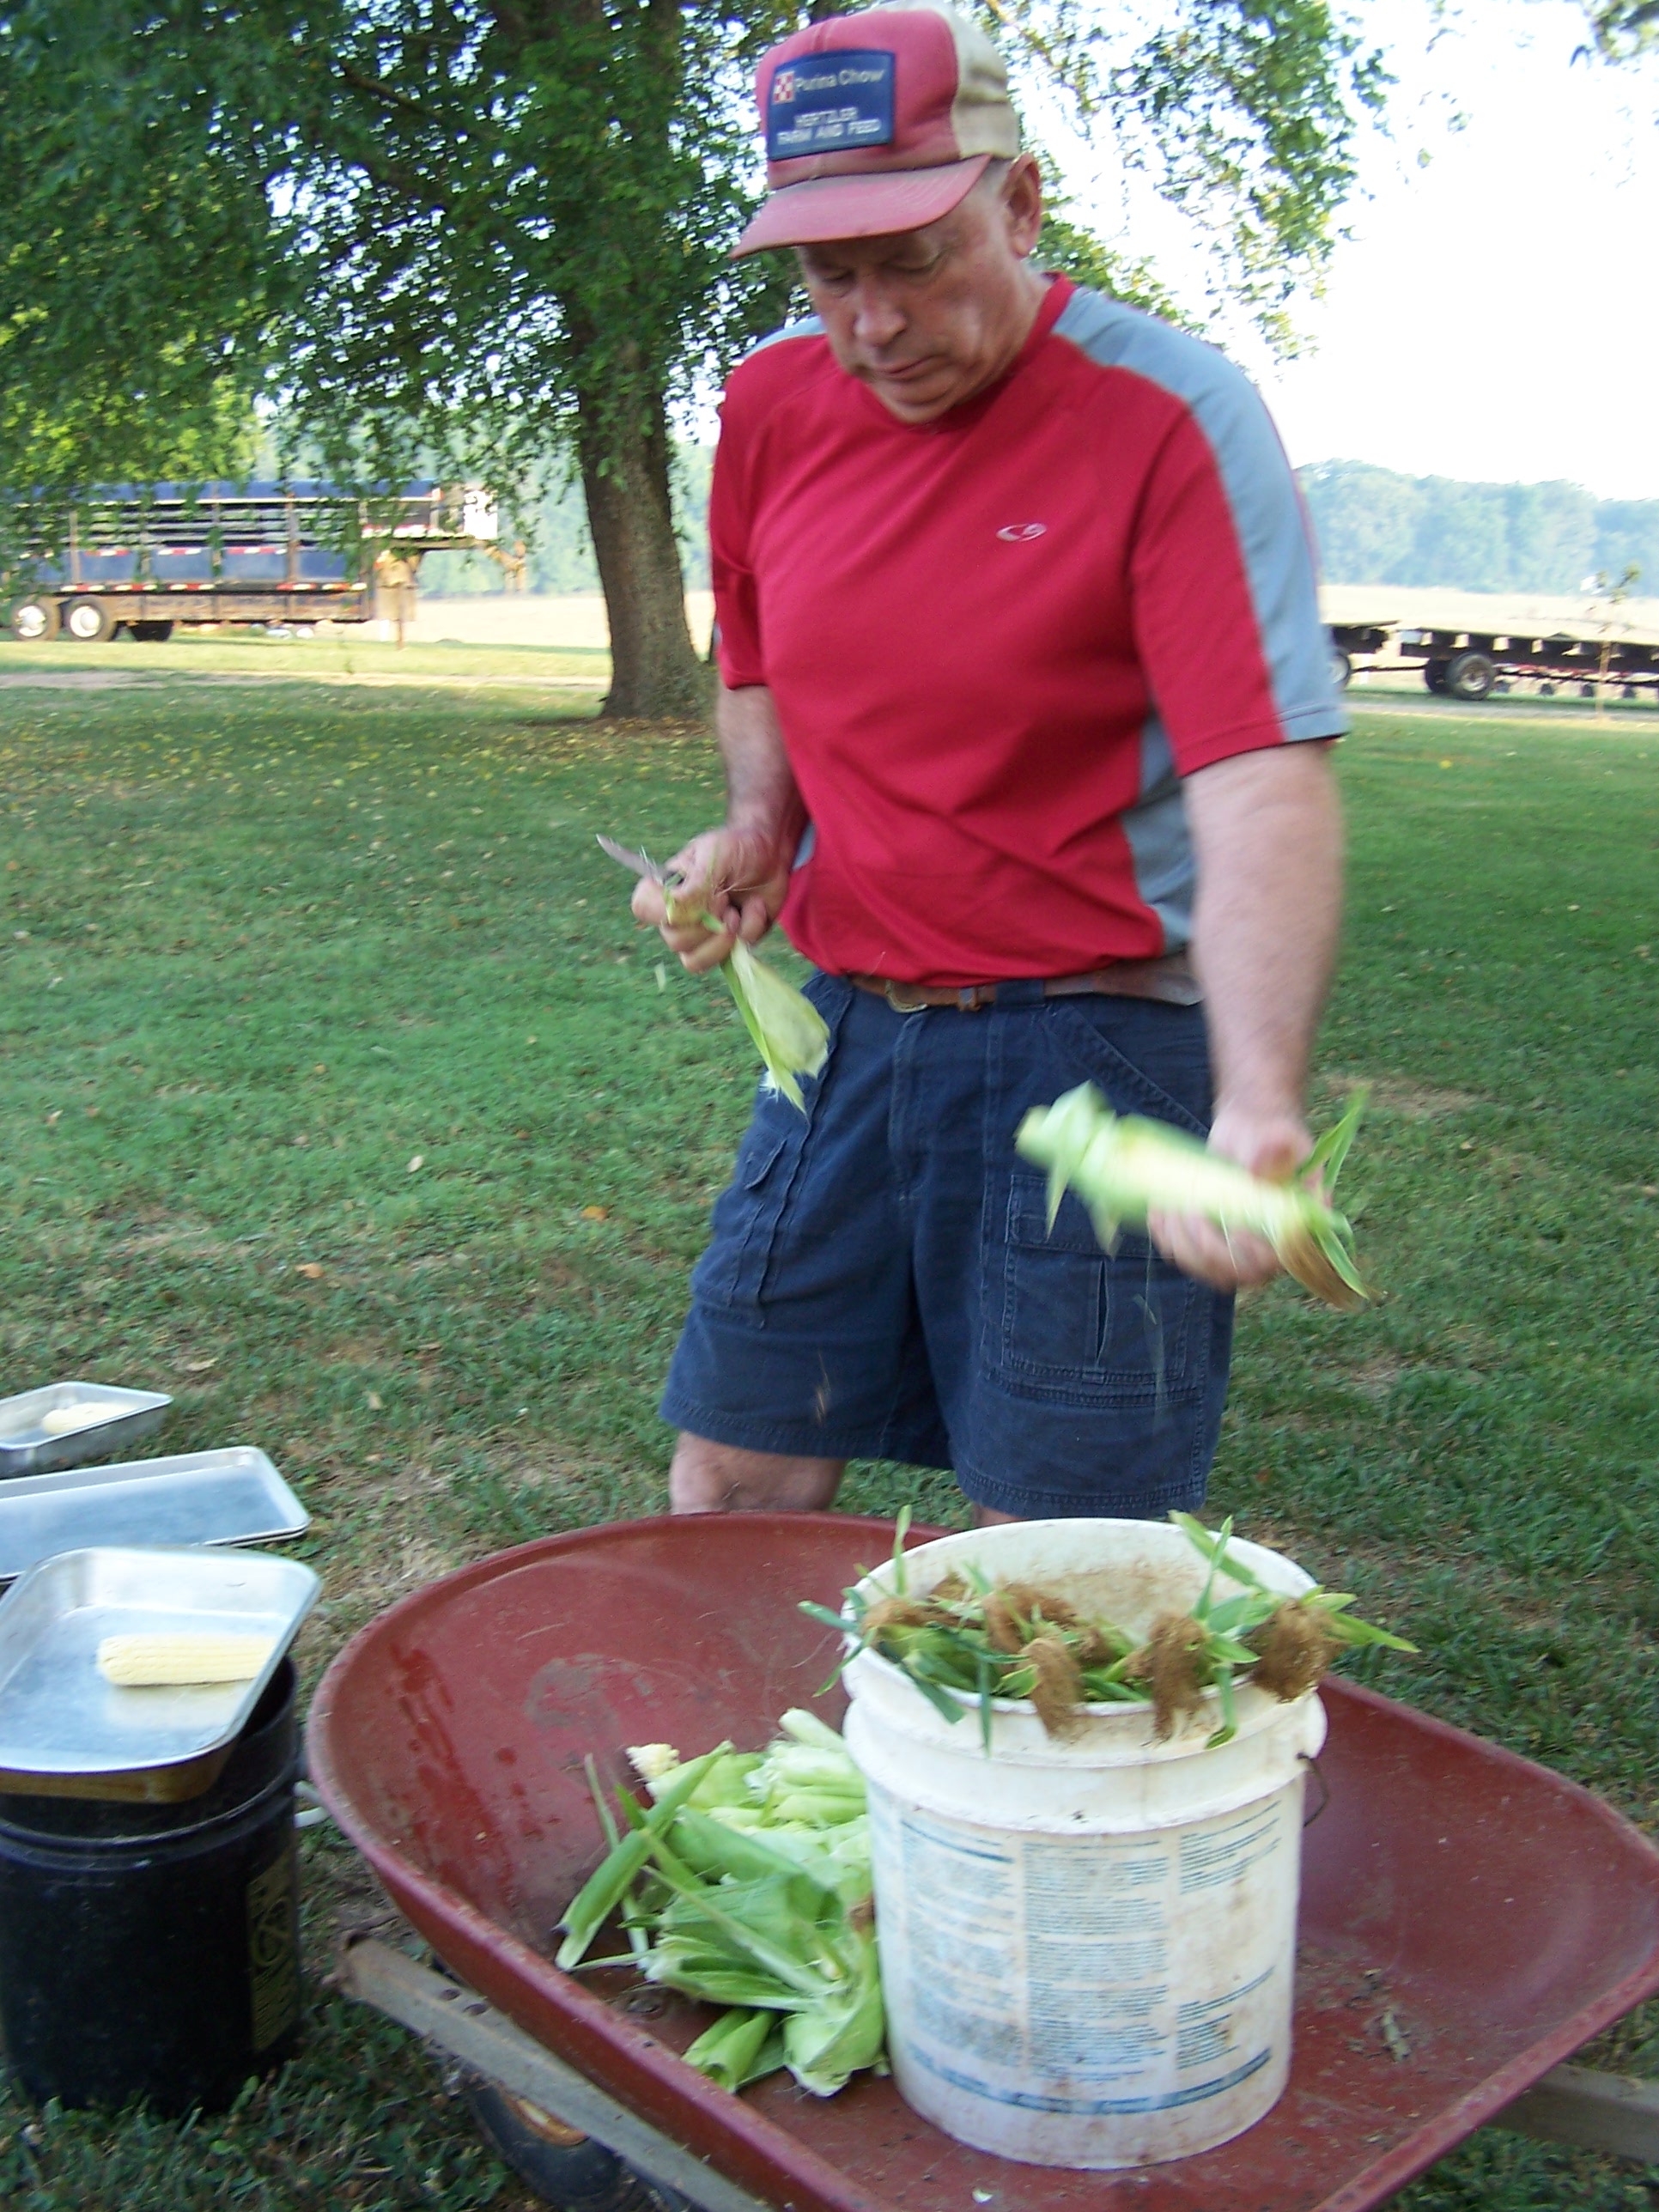
After the corn is pulled, we find a spot in the shade and shuck the ears.

Then we toss  the shucks over the fence to the curious cows to eat. They love it and it doesn’t take them long to figure out that they are getting a special treat.

They always say “run to the house” with the corn. The point of this statement is that you want to do sweet corn as fast as you can to retain optimum flavor and freshness.

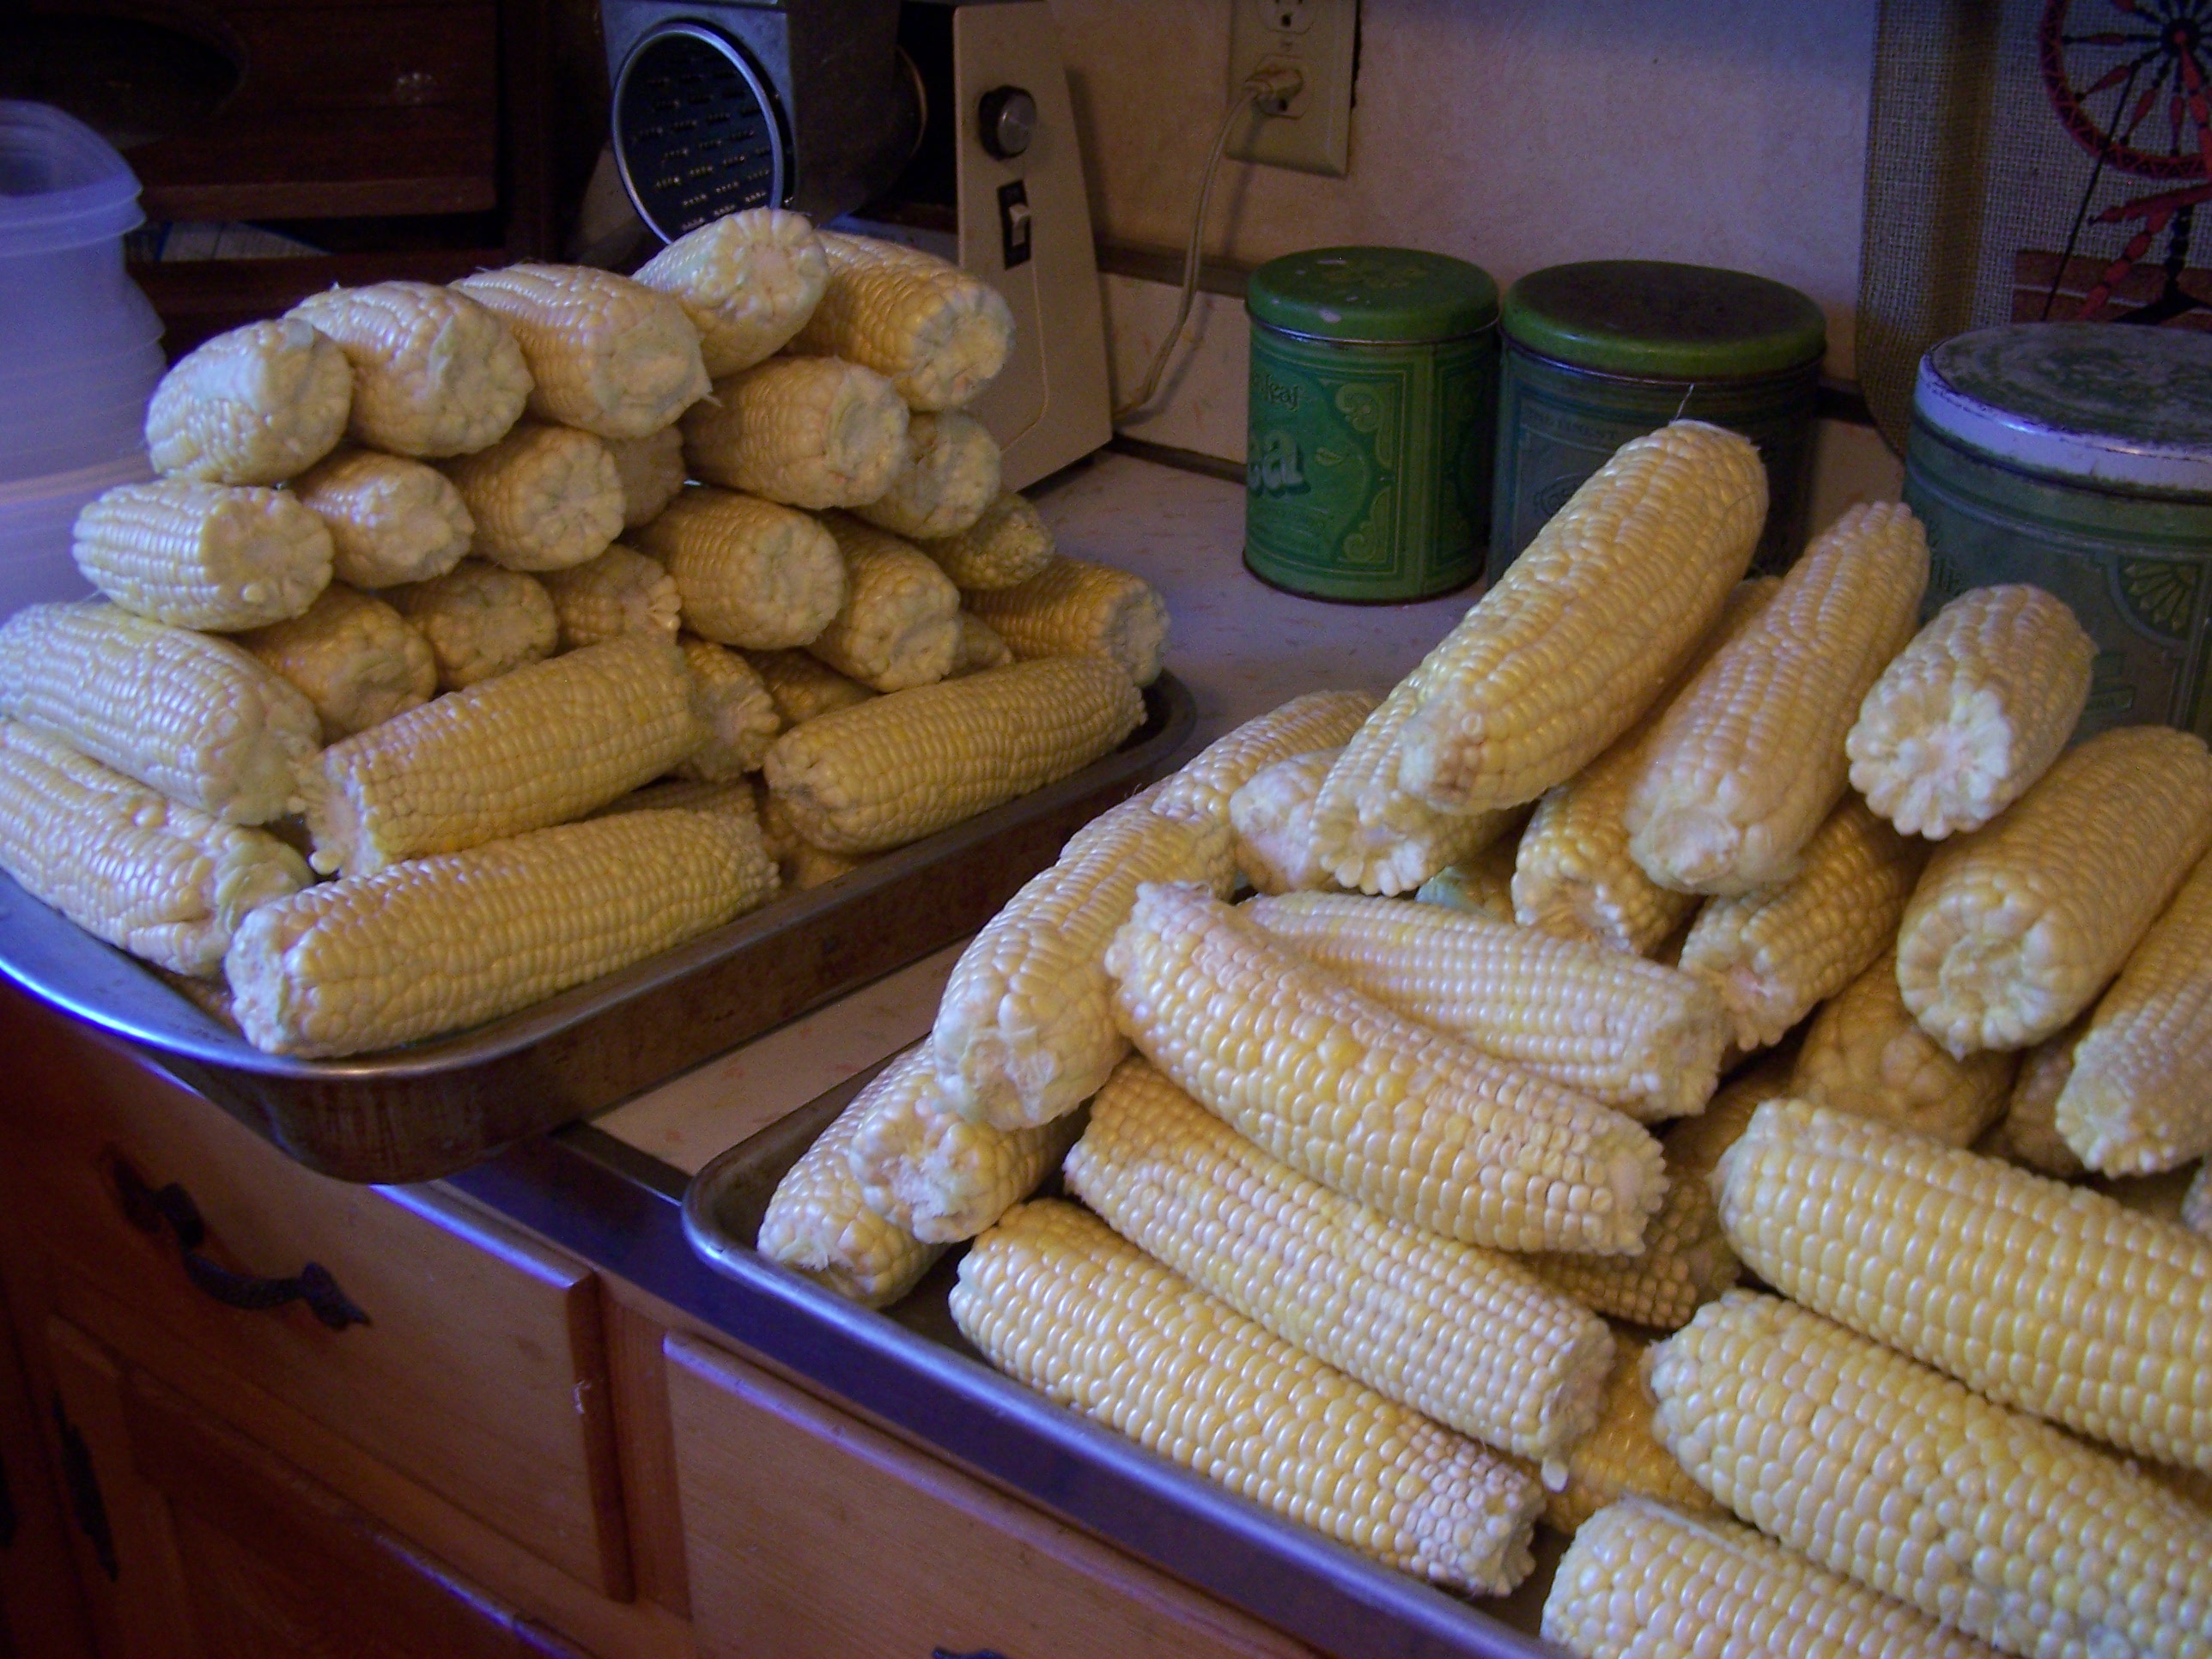
I wash the corn under running water at the laundry sink, rubbing each ear to remove the remaining silk and trim off any wormy spots. I stack the corn on trays and it is ready to begin the last step of the process. When I get to this point I figure I am half done.

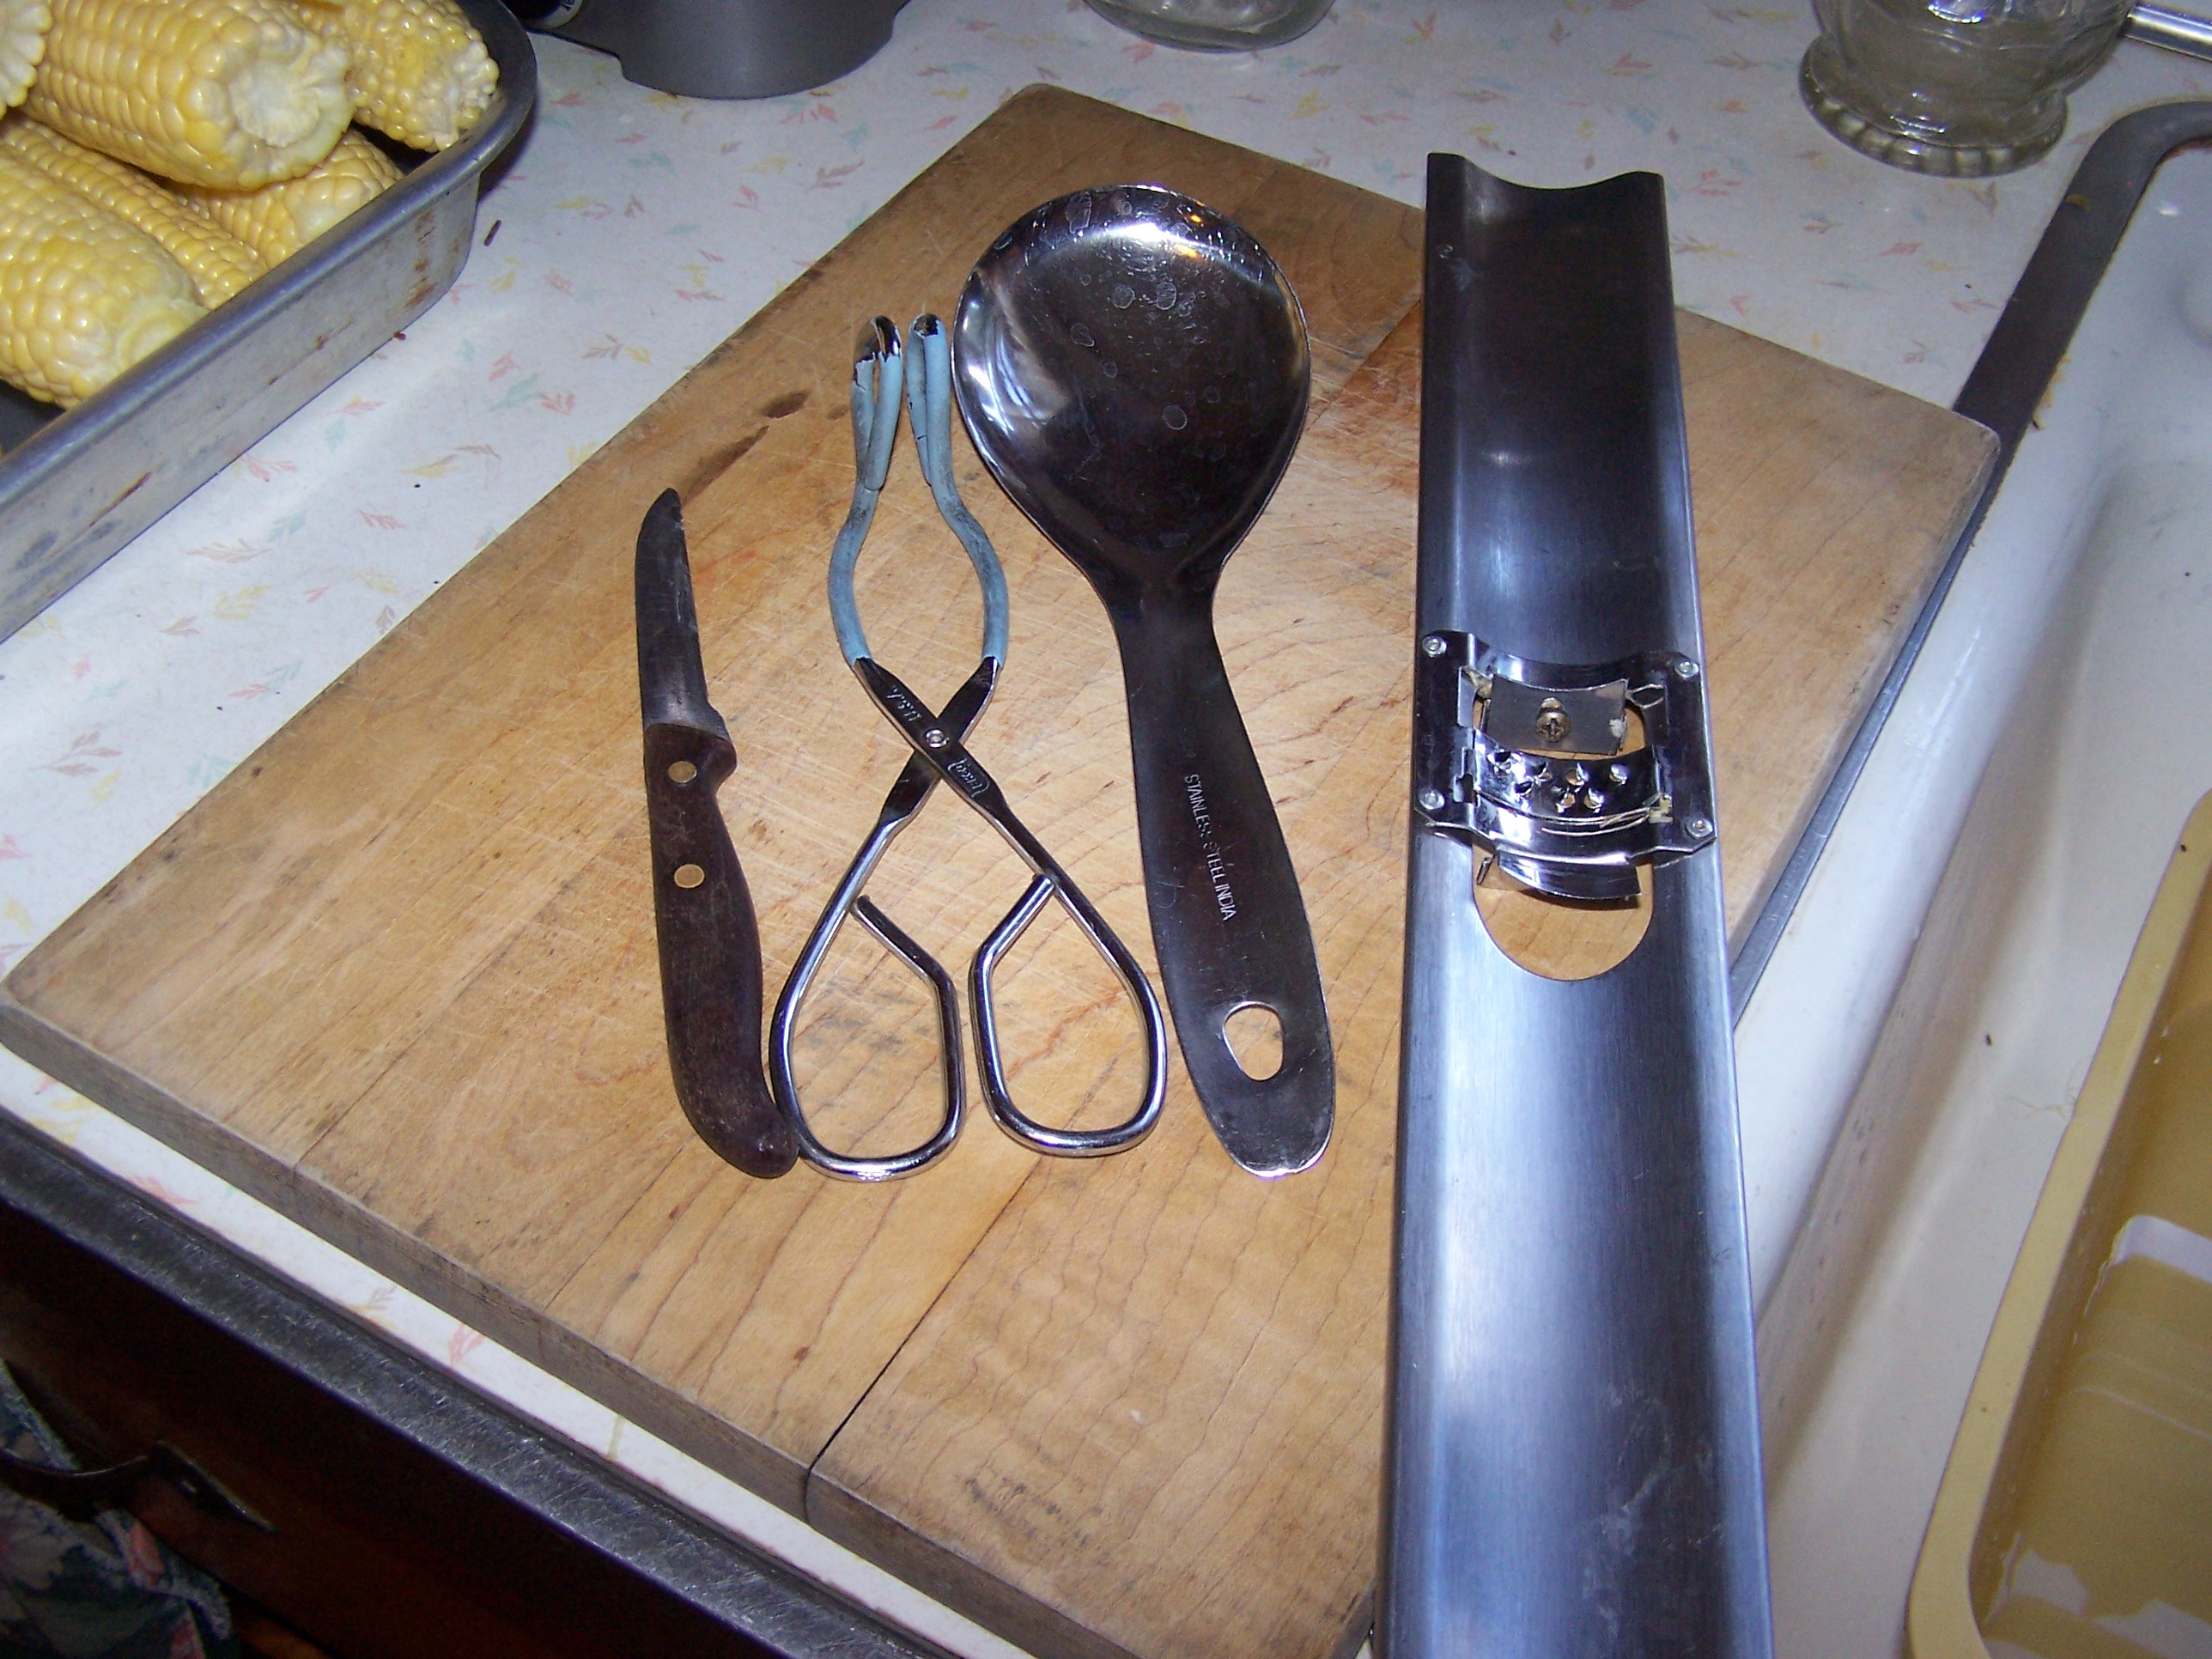
Freezing sweet corn is easy and does not require many utensils. I use a sharp knife, tongs for removing the corn from the hot water, a large spoon for filling my freezer boxes and a corn cutter.

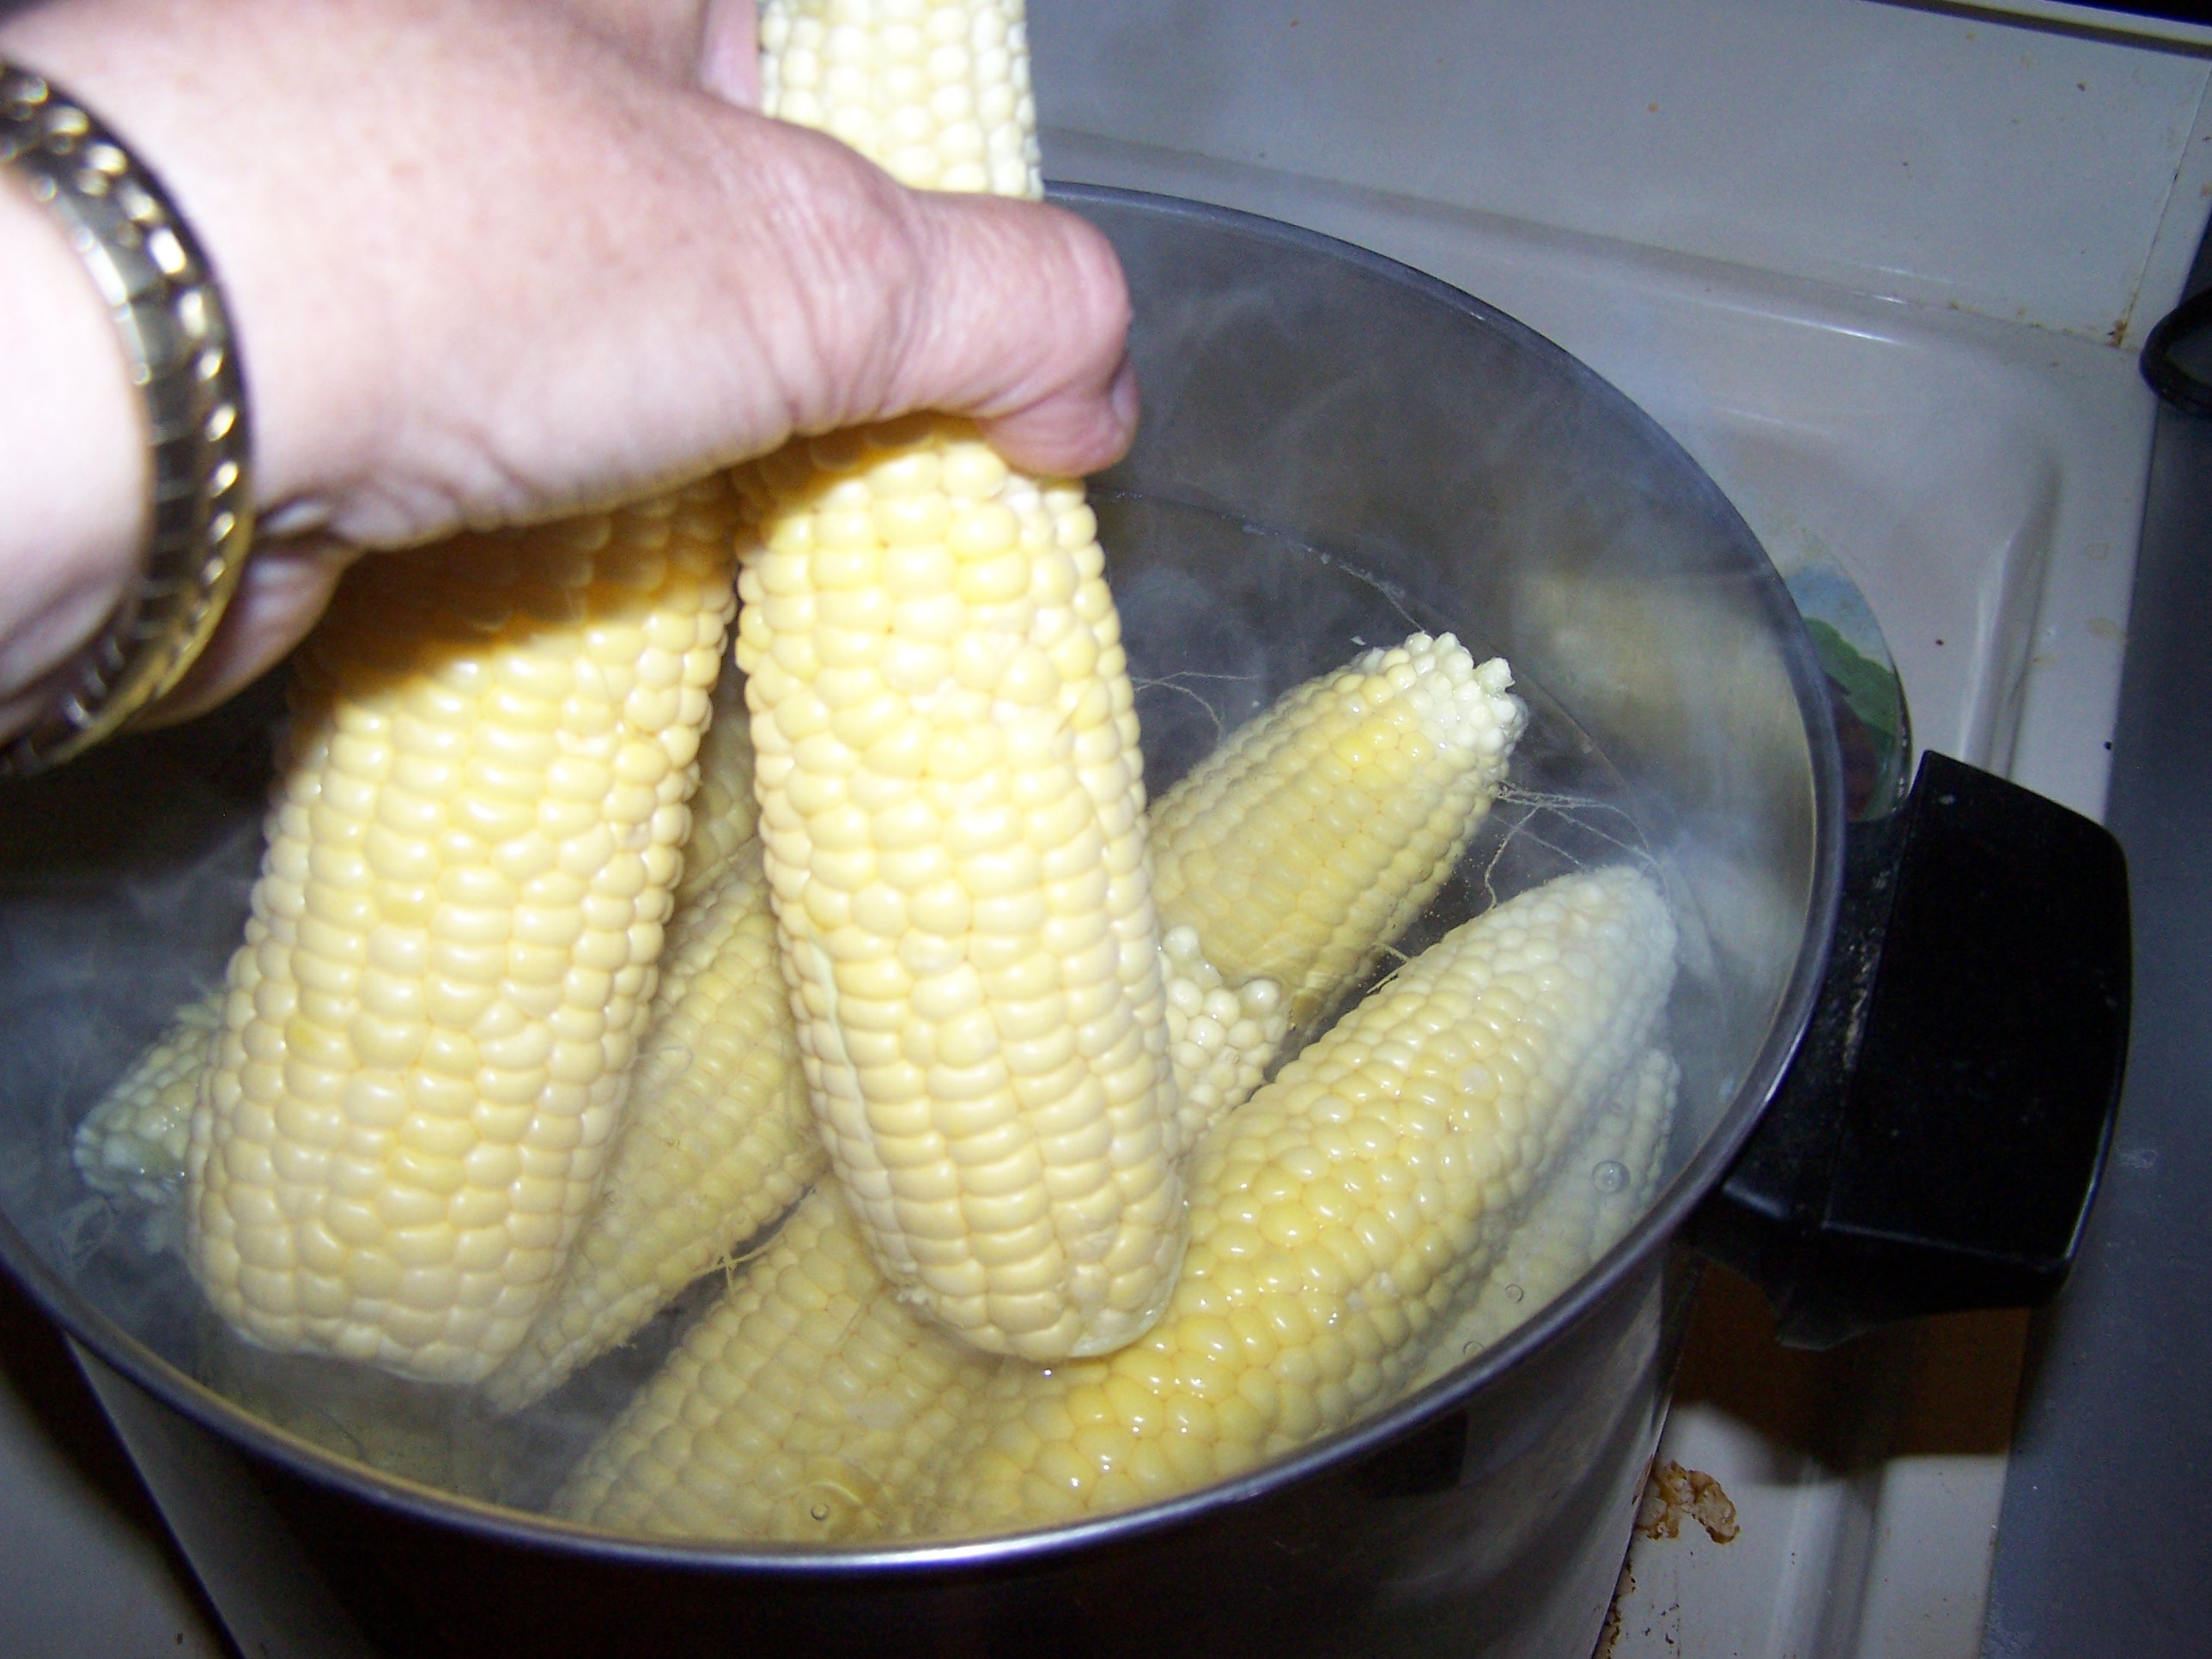
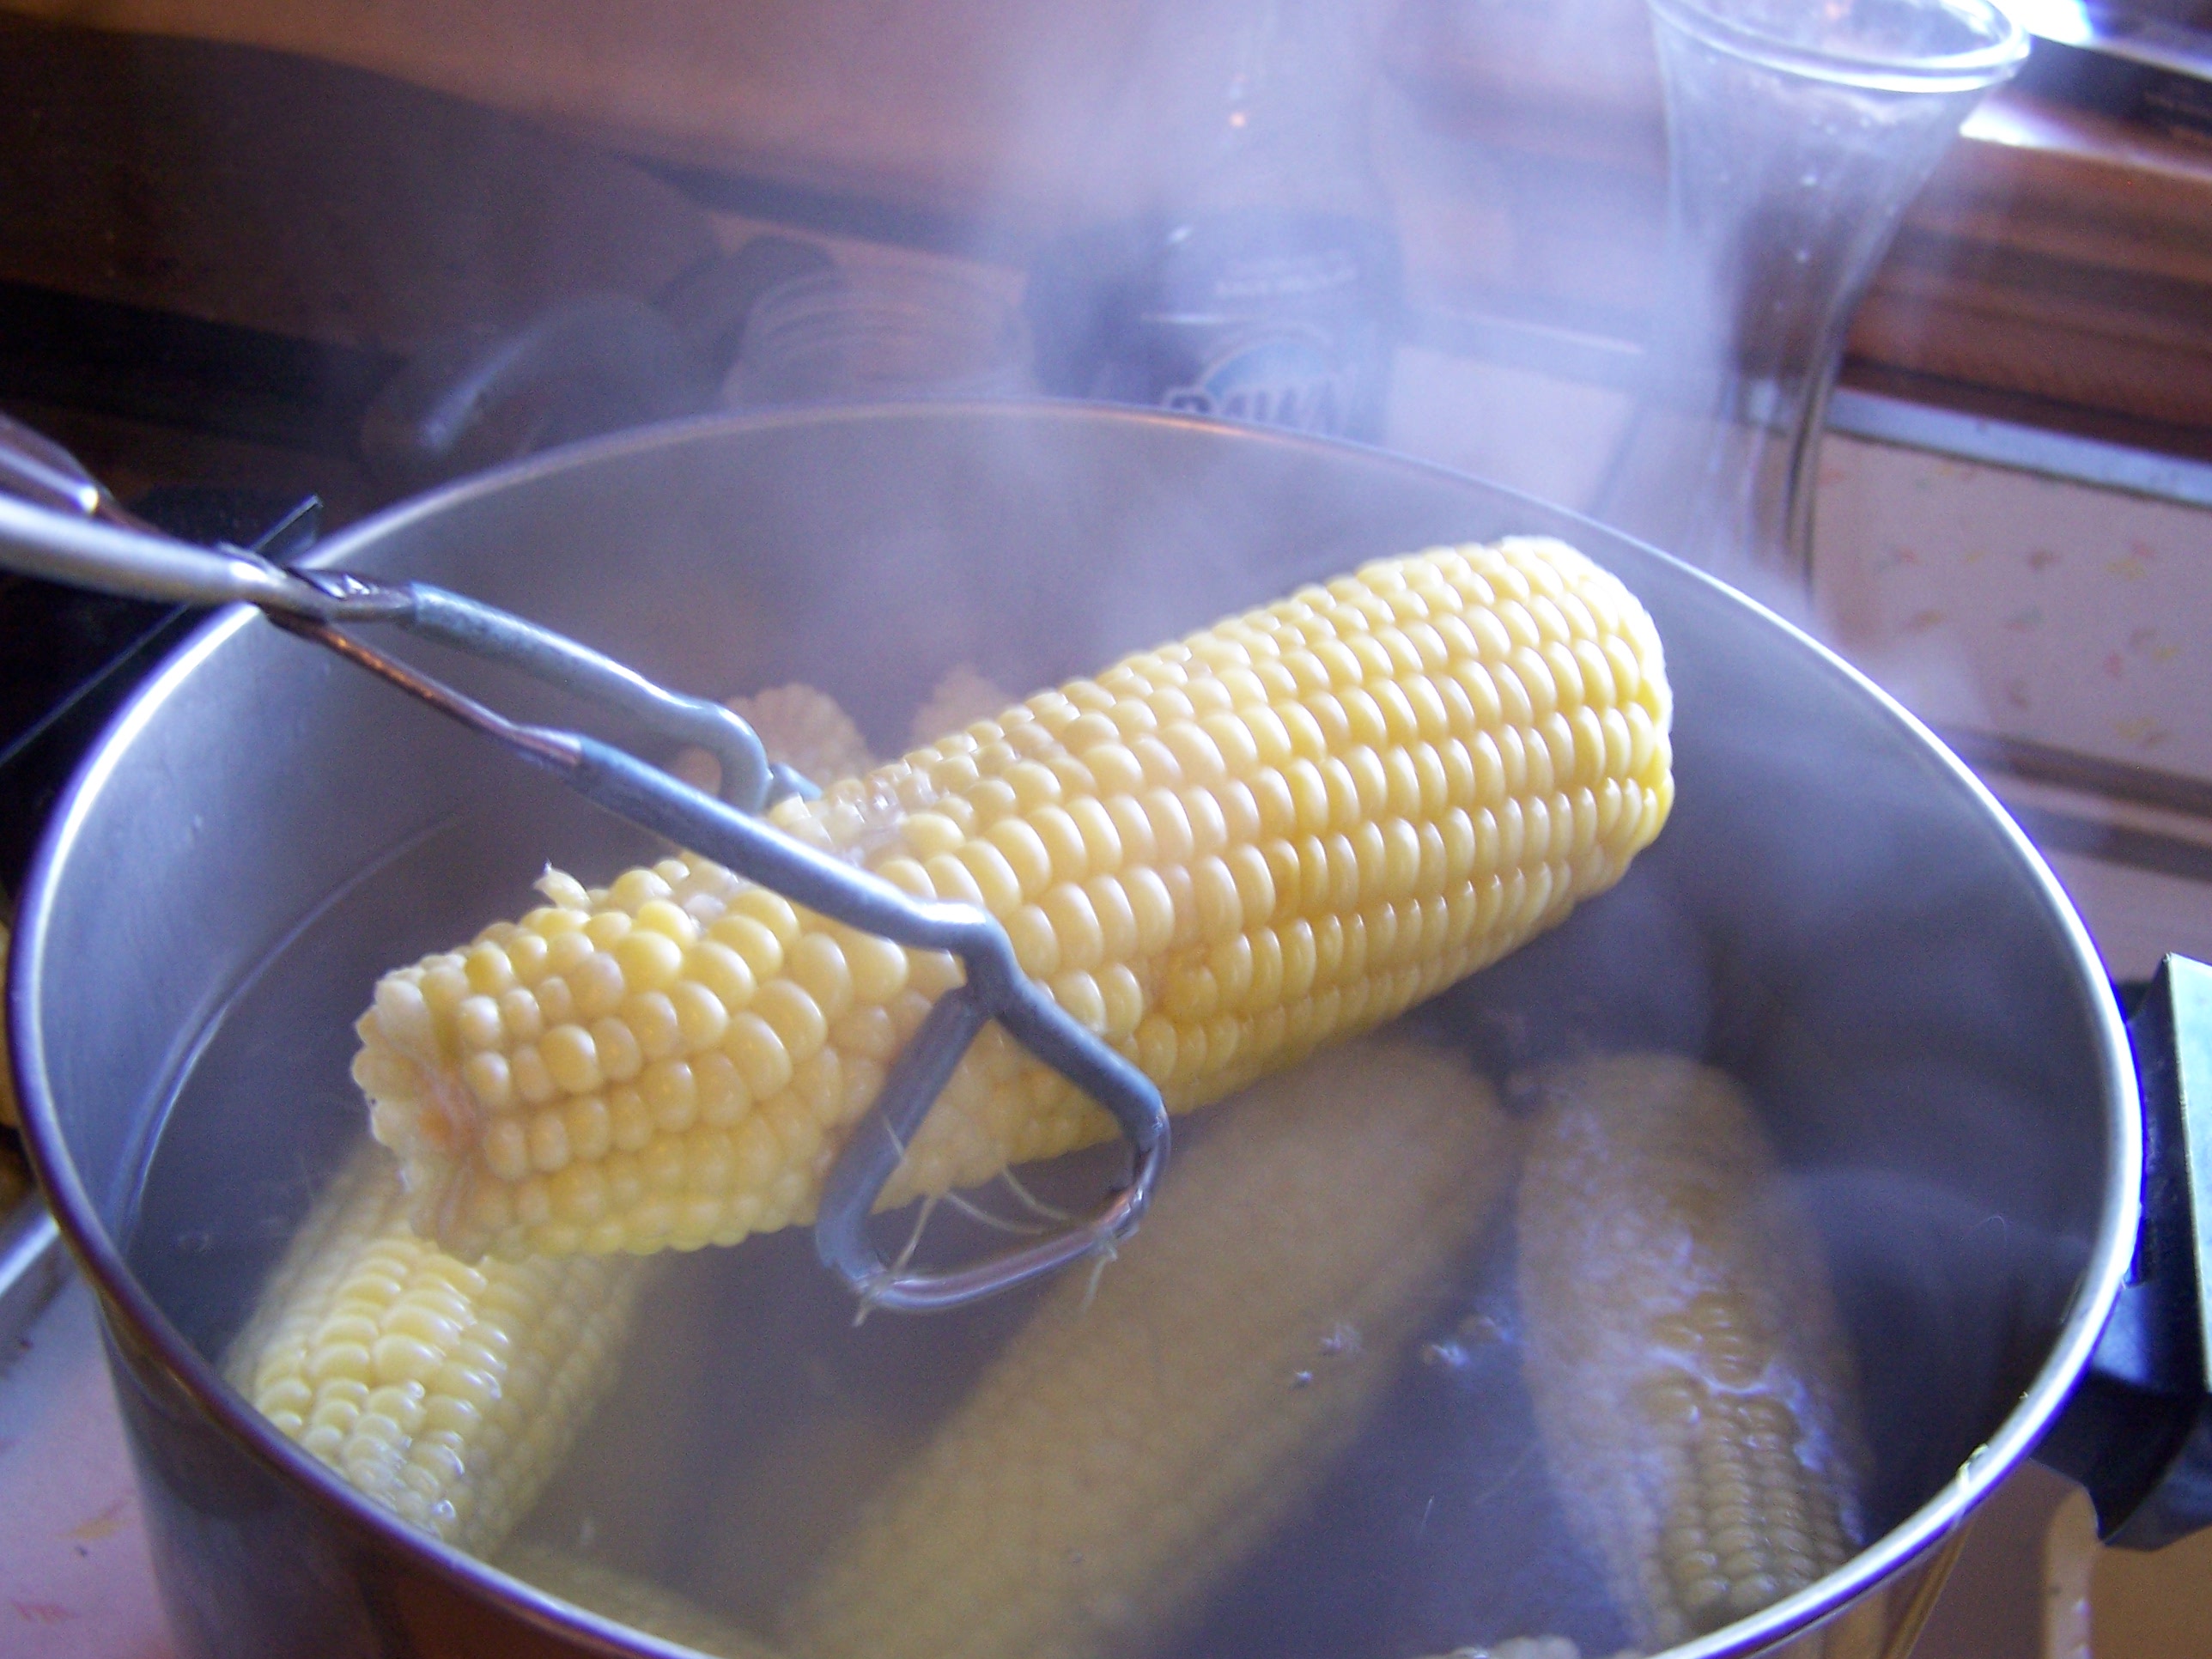
I put corn into a pot of boiling water and bring it back to a boil for about 1 minute.  My pot holds 10-15 ears, depending on the size of the ears.

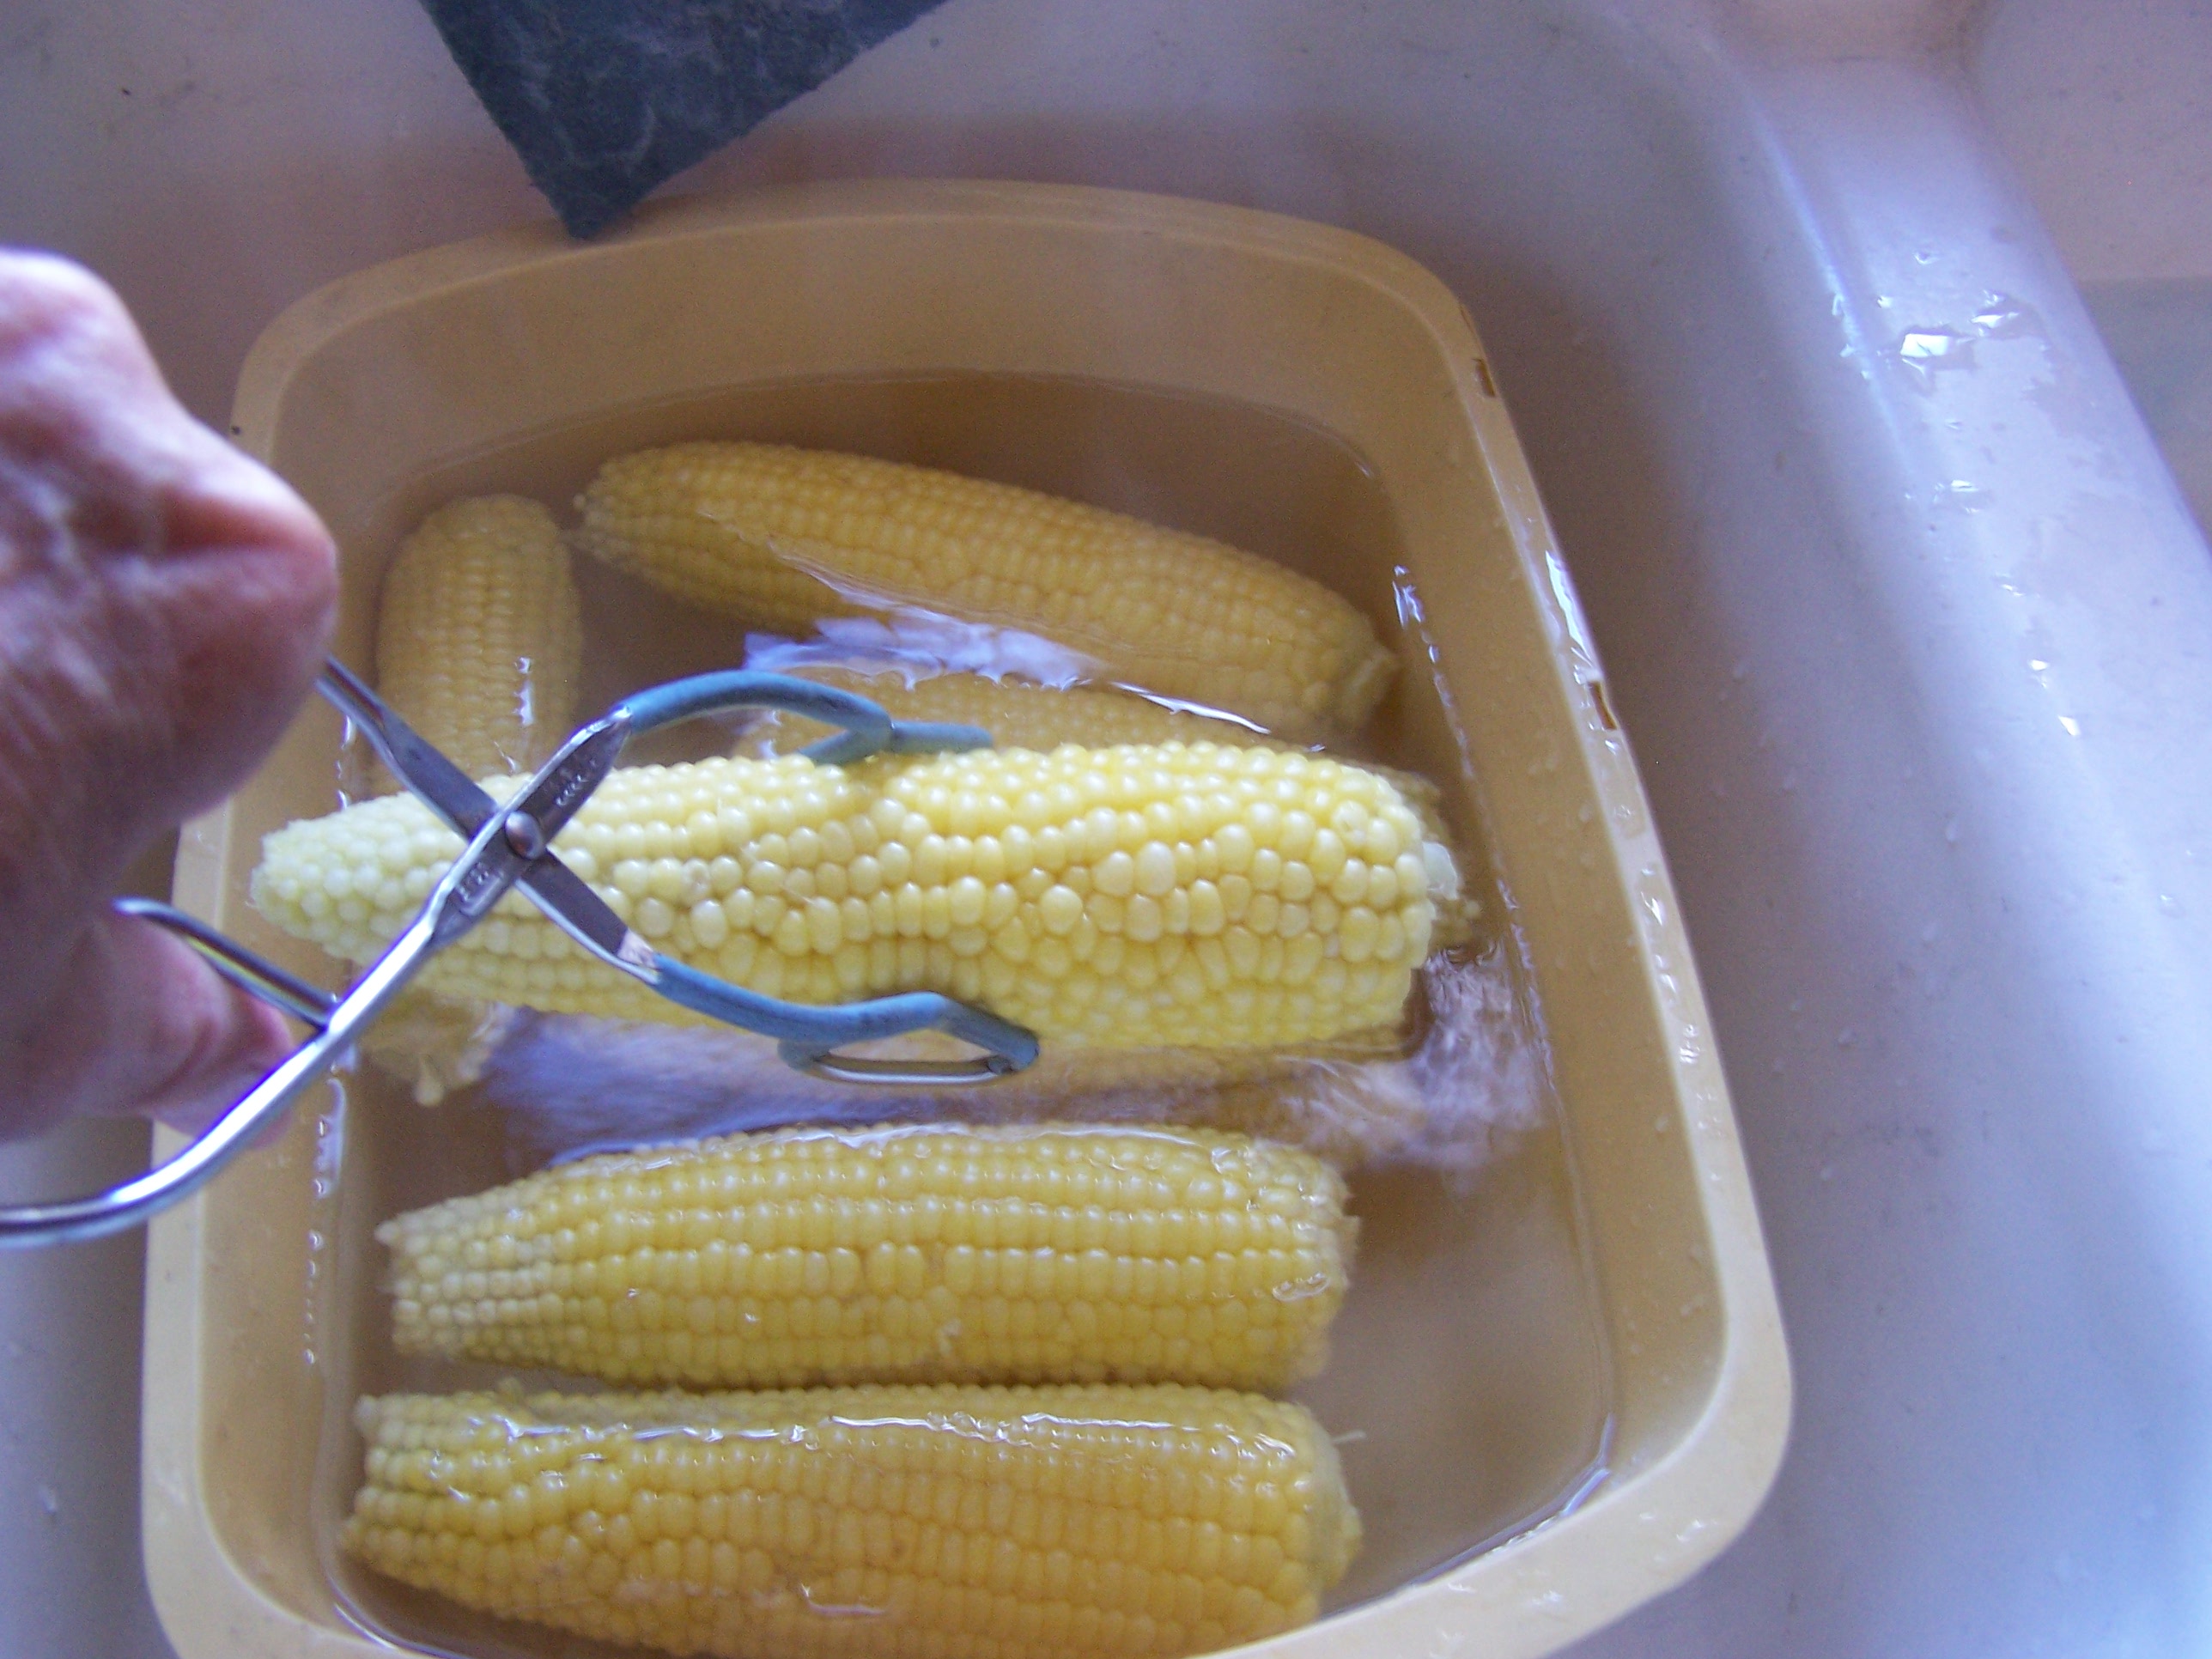
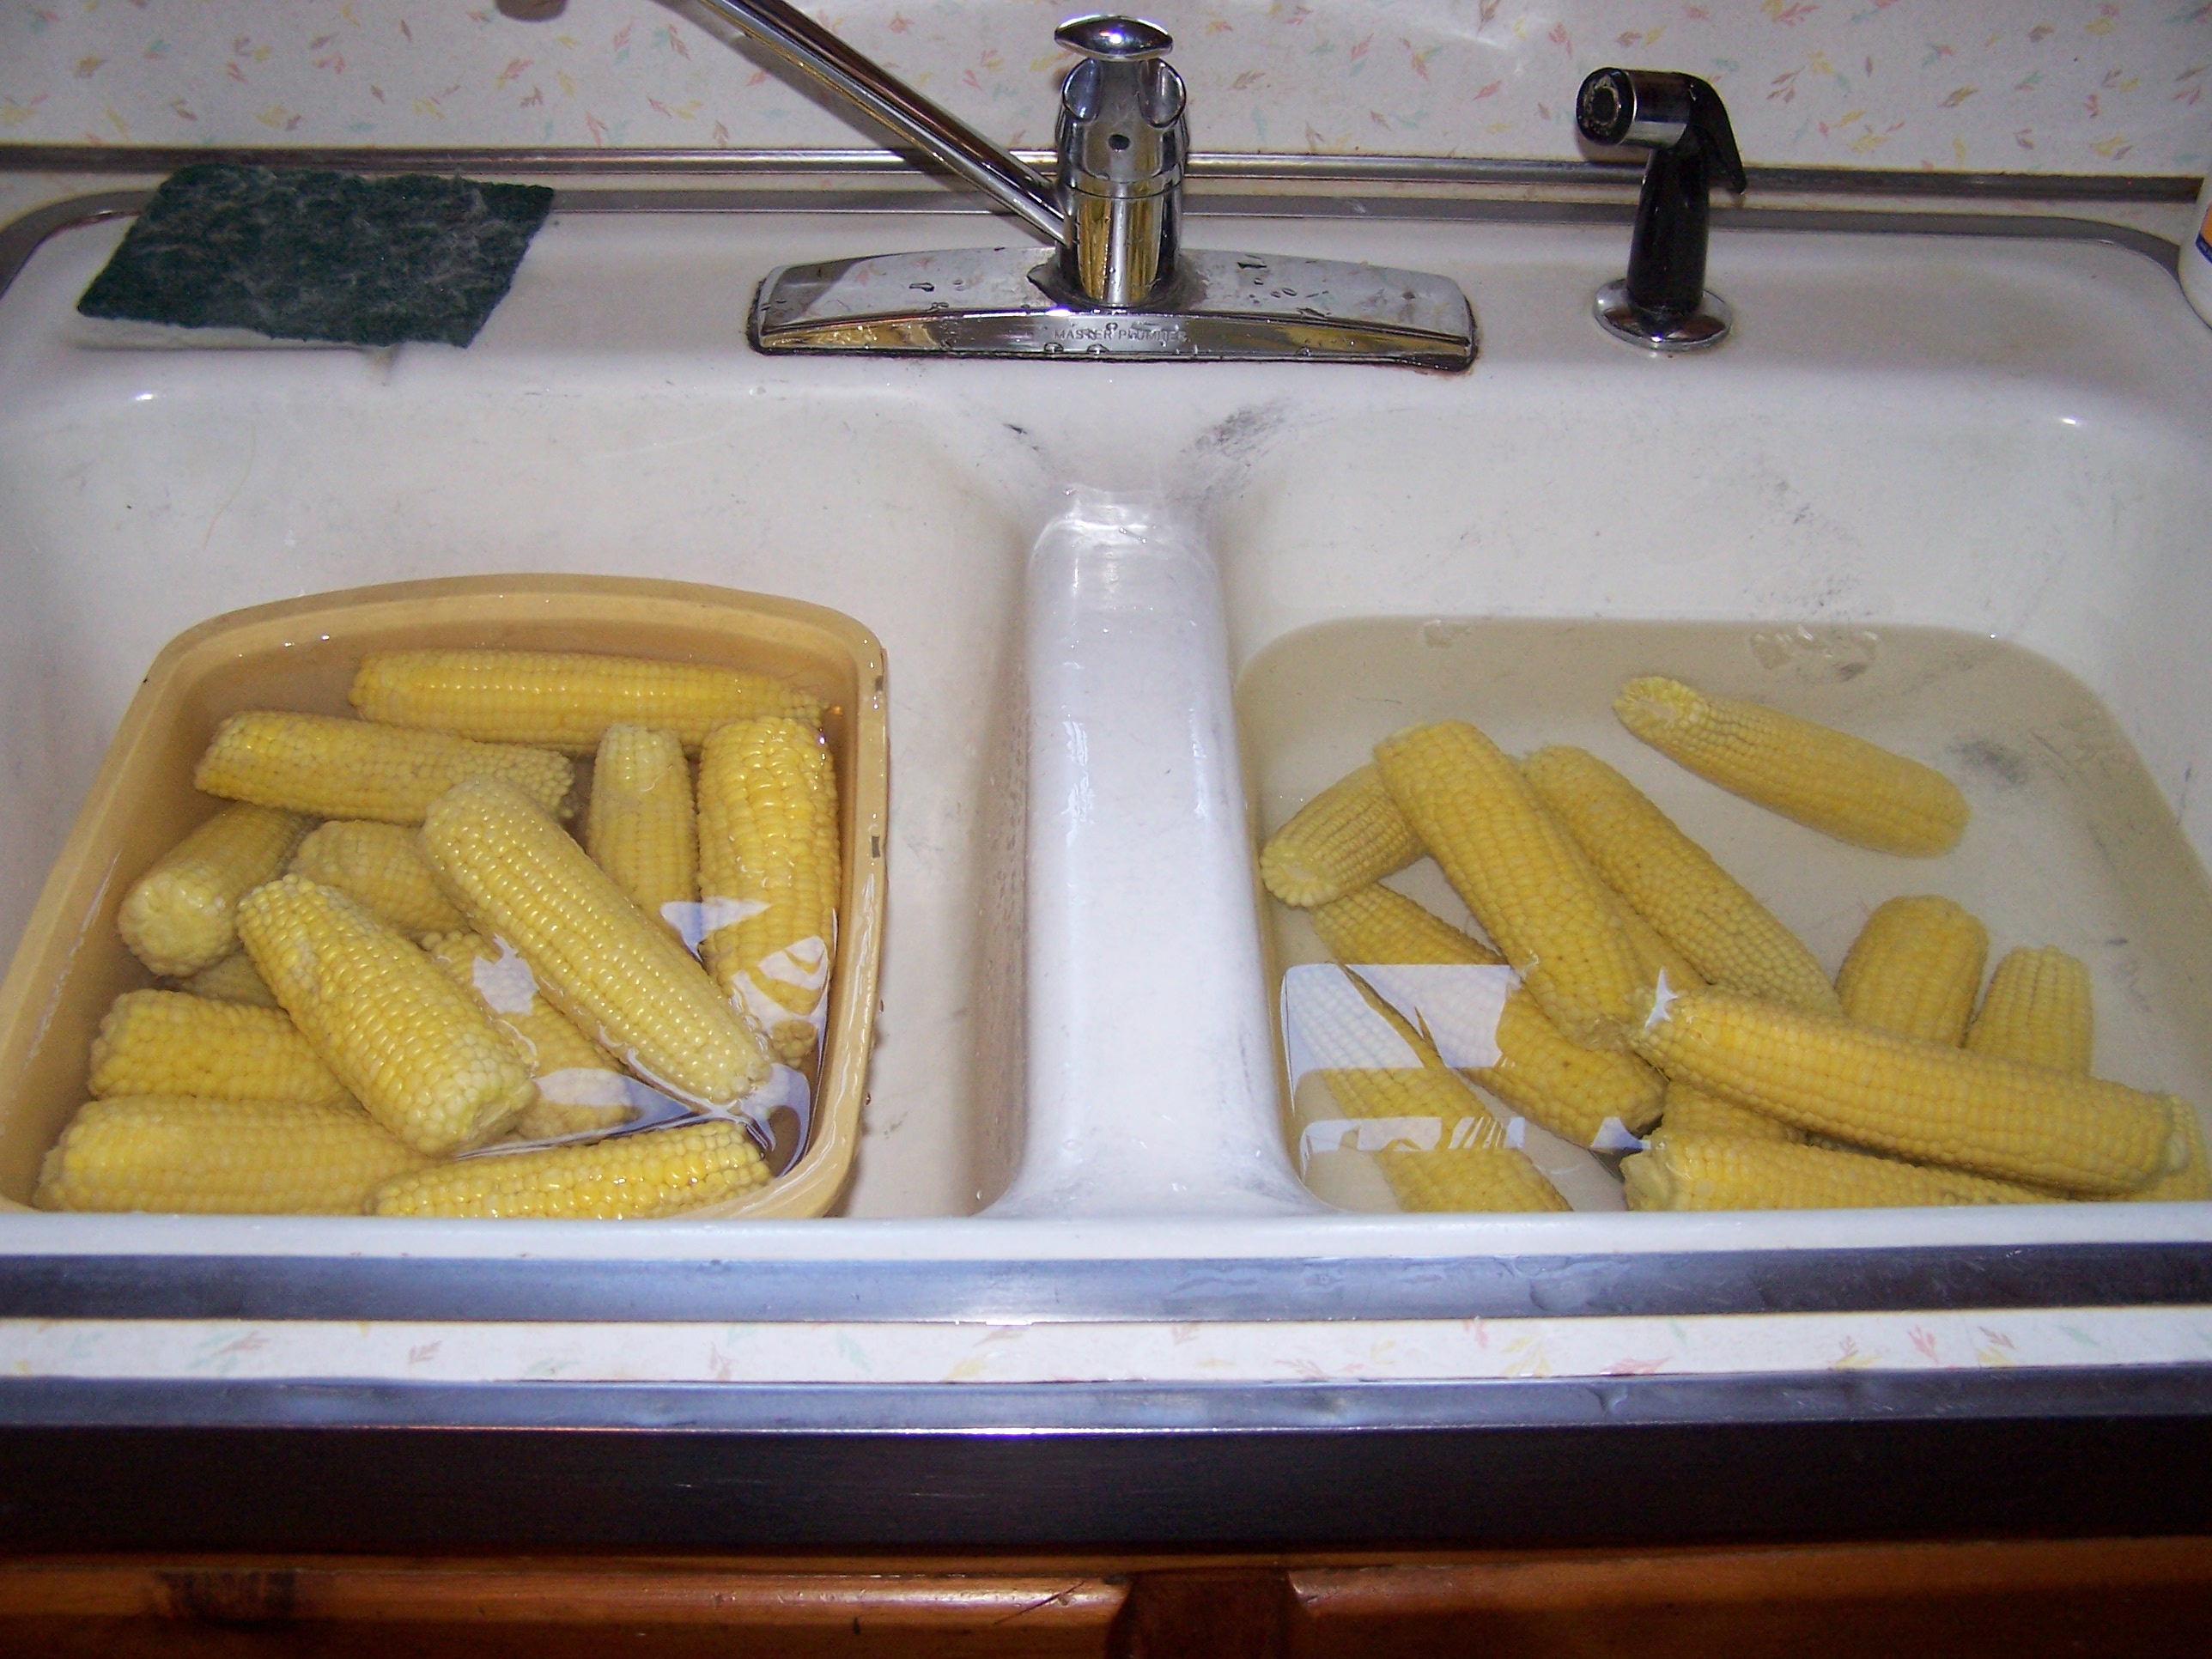
I remove the corn with the tongs and put into a dishpan of water in the sink.

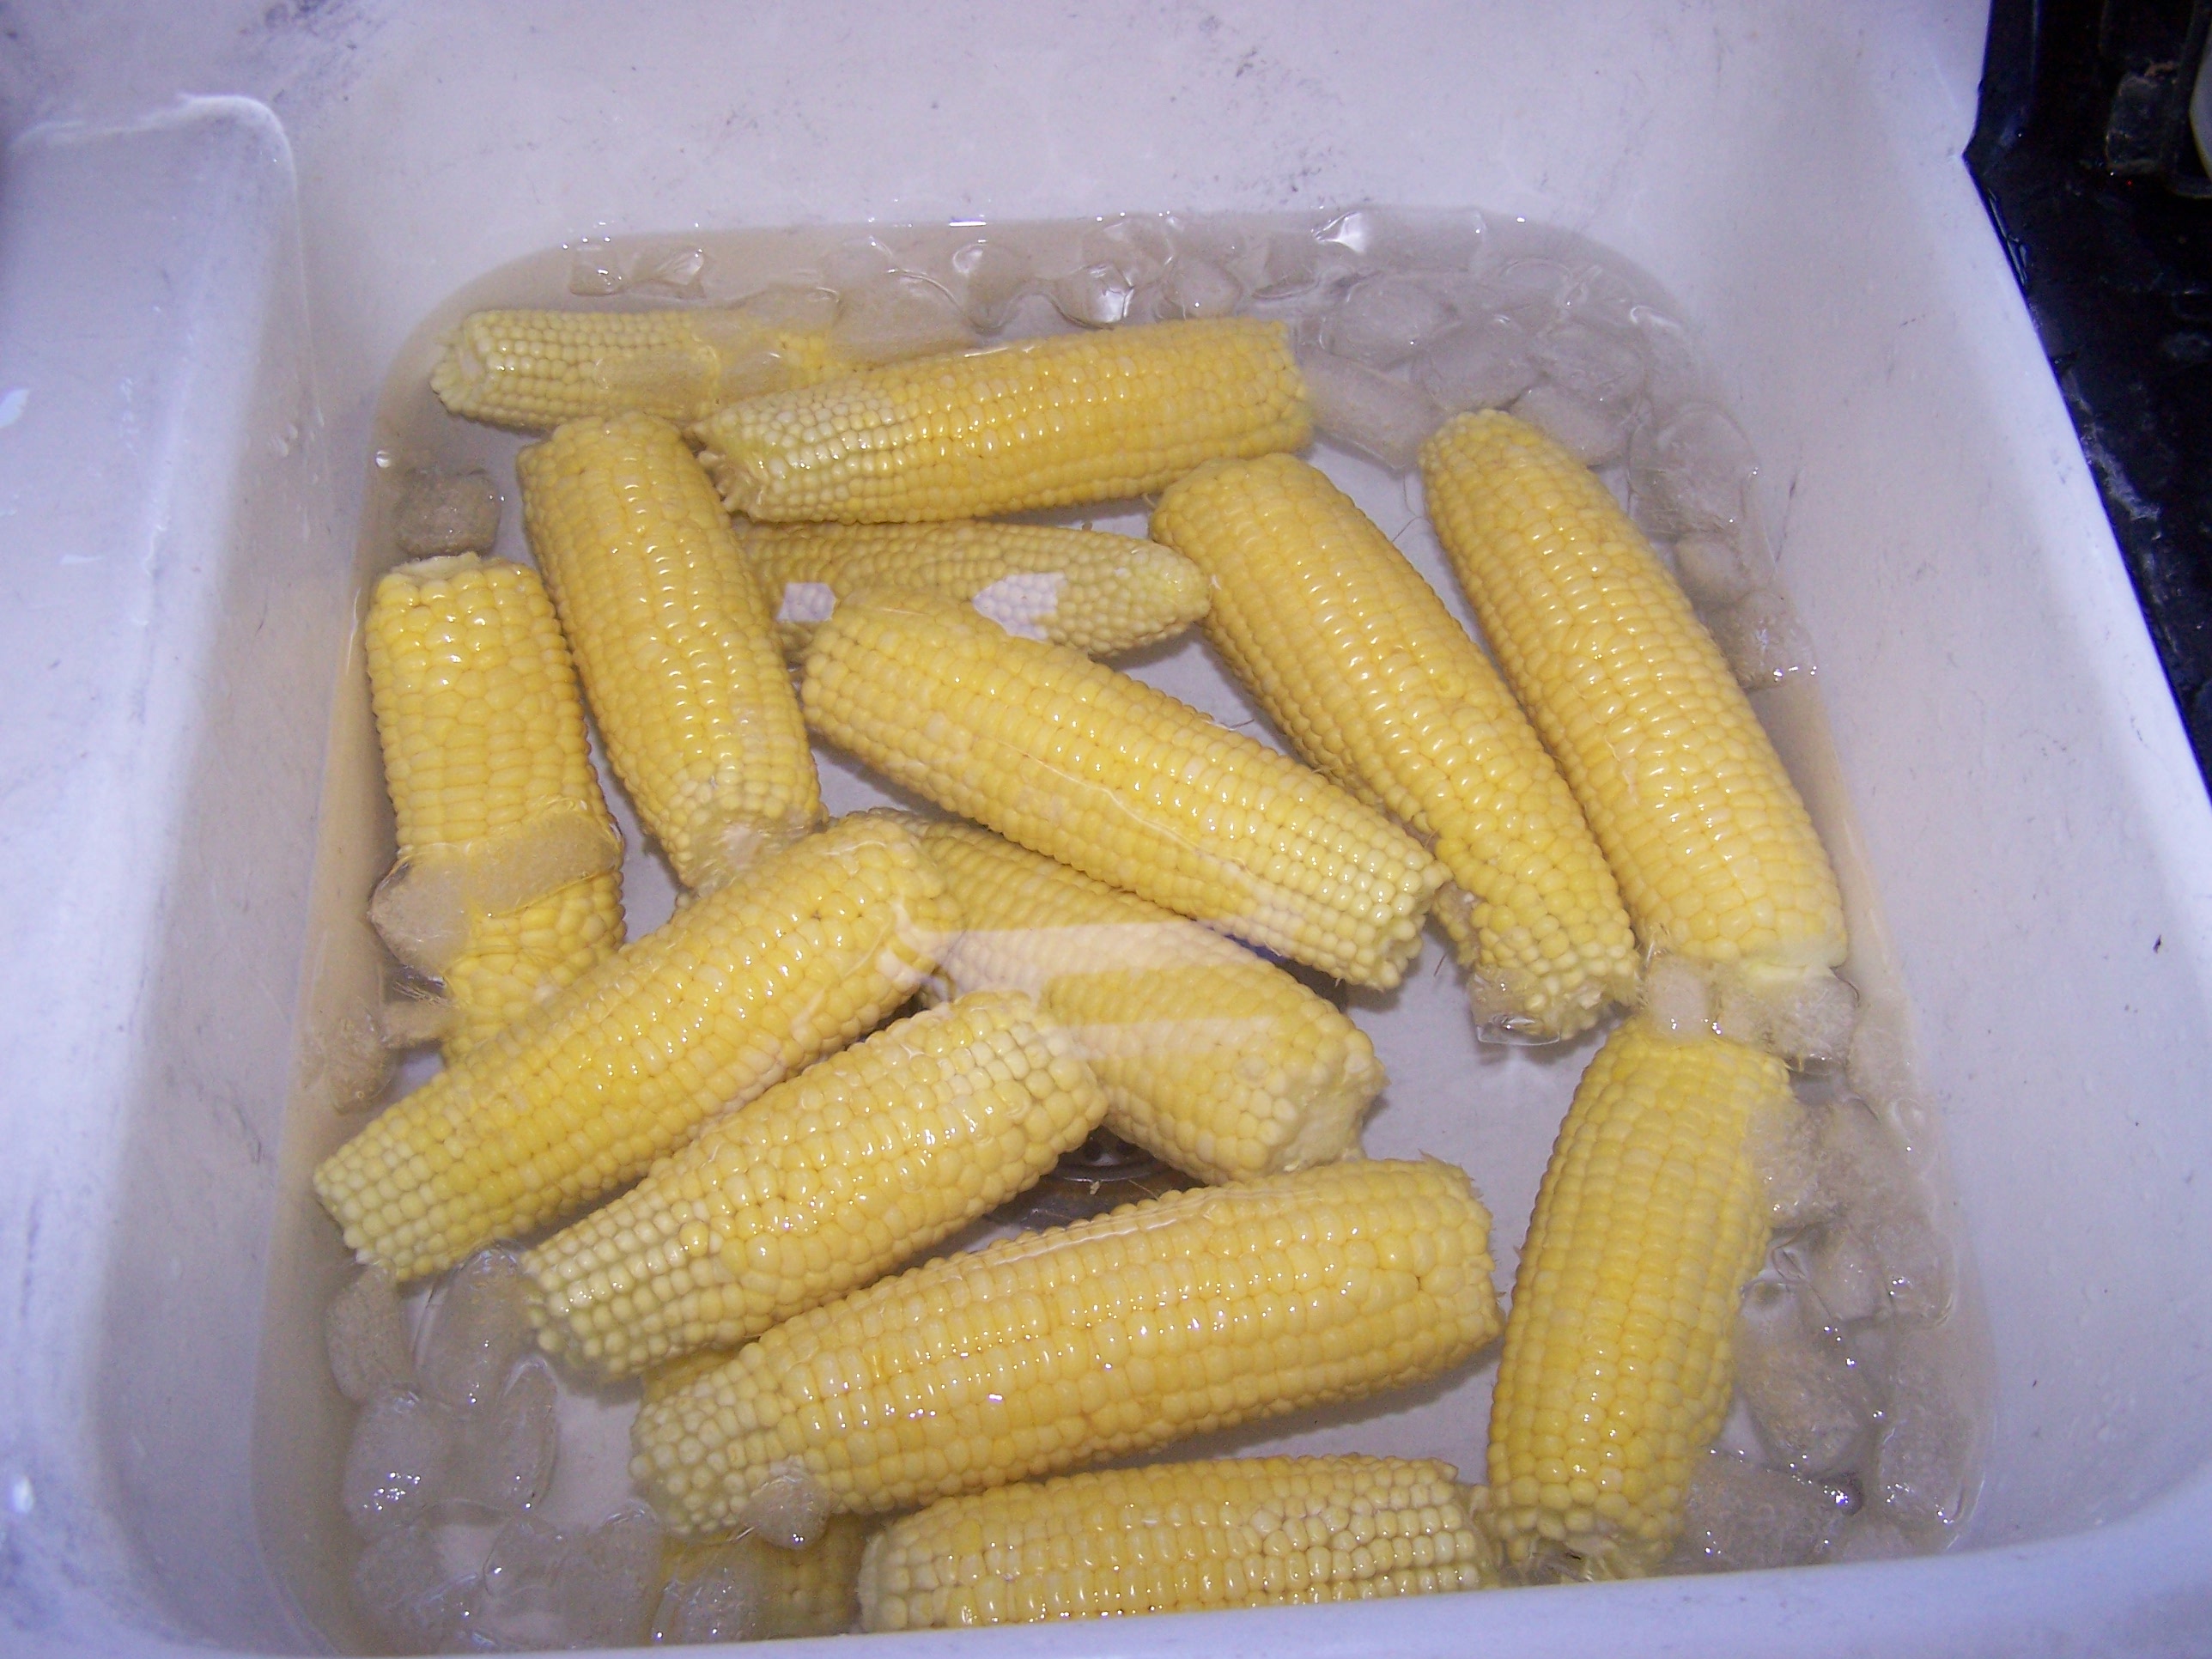
After cooling in this water a few minutes, I transfer the ears to the other side of the sink into ice water.  The reason I use tap water is simply to cool the corn some before putting into the ice water. It helps to save the ice.

After the corn has cooled several minutes I put it on a tray and it is ready to cut off the cob.

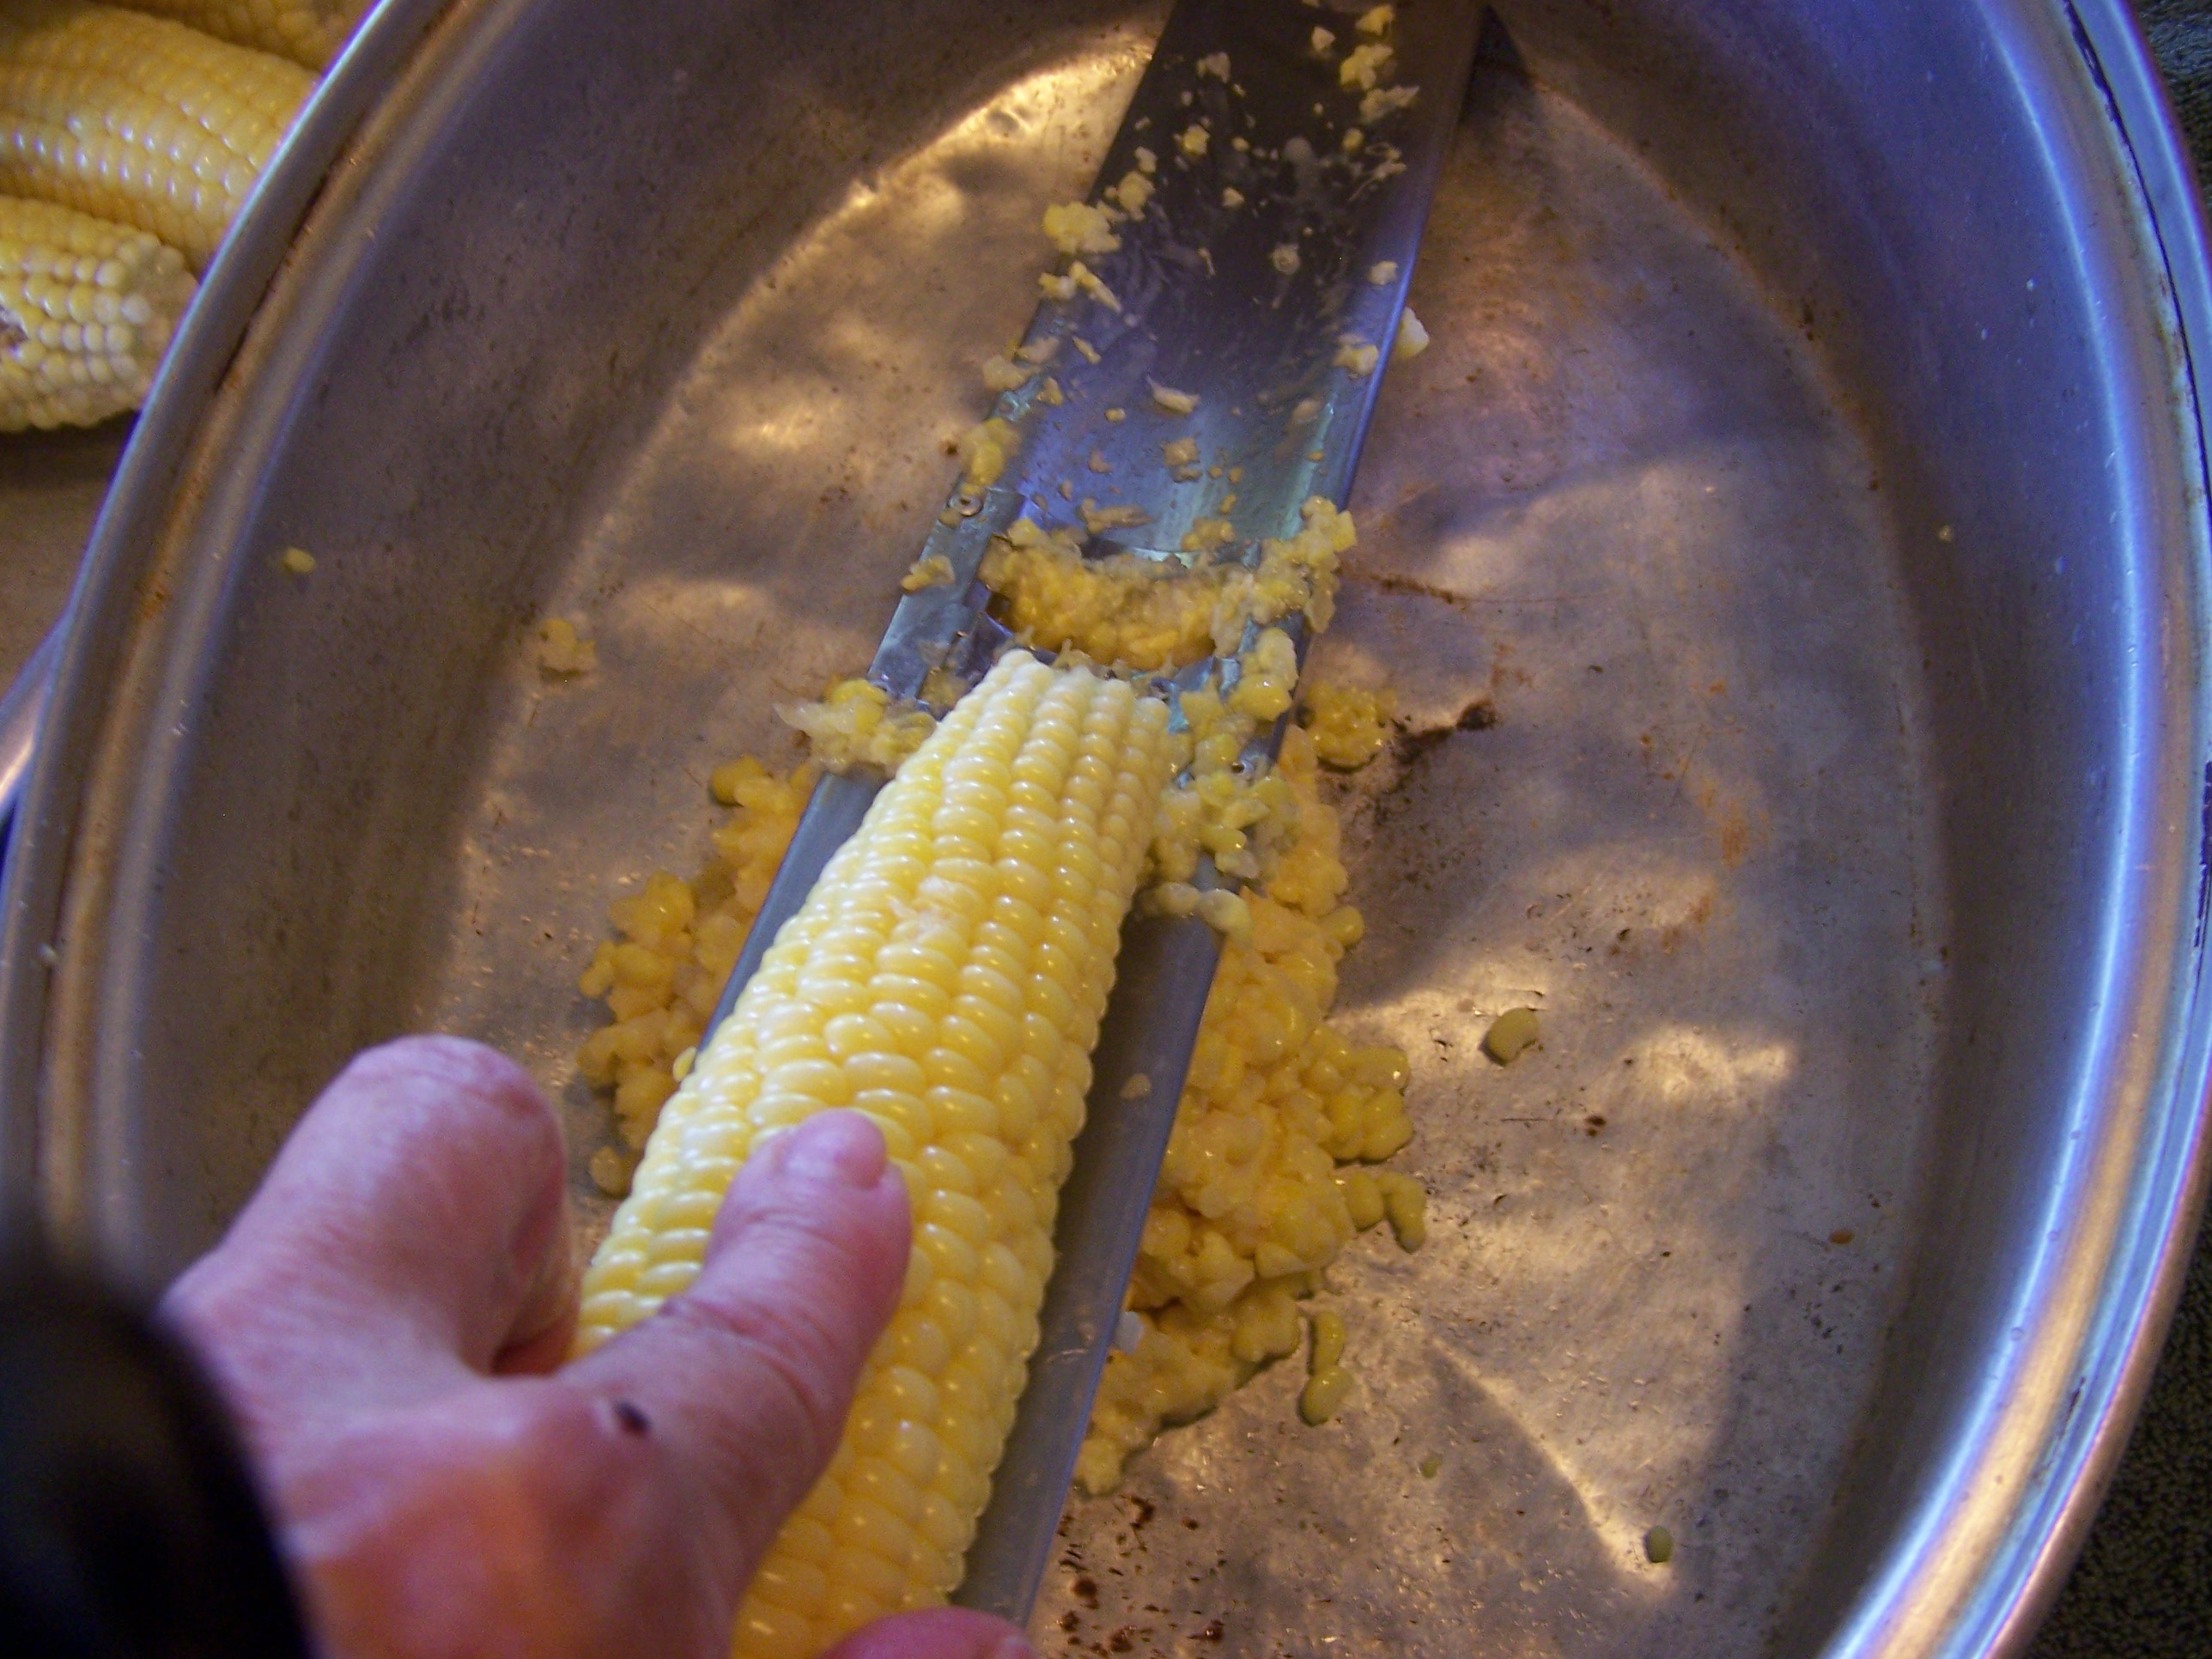
My large roasting pan is perfect for my corn cutter. I quickly run the corn over the blade, removing the corn from the cob.  This handy tool makes cutting corn sooooooooooooo easy!

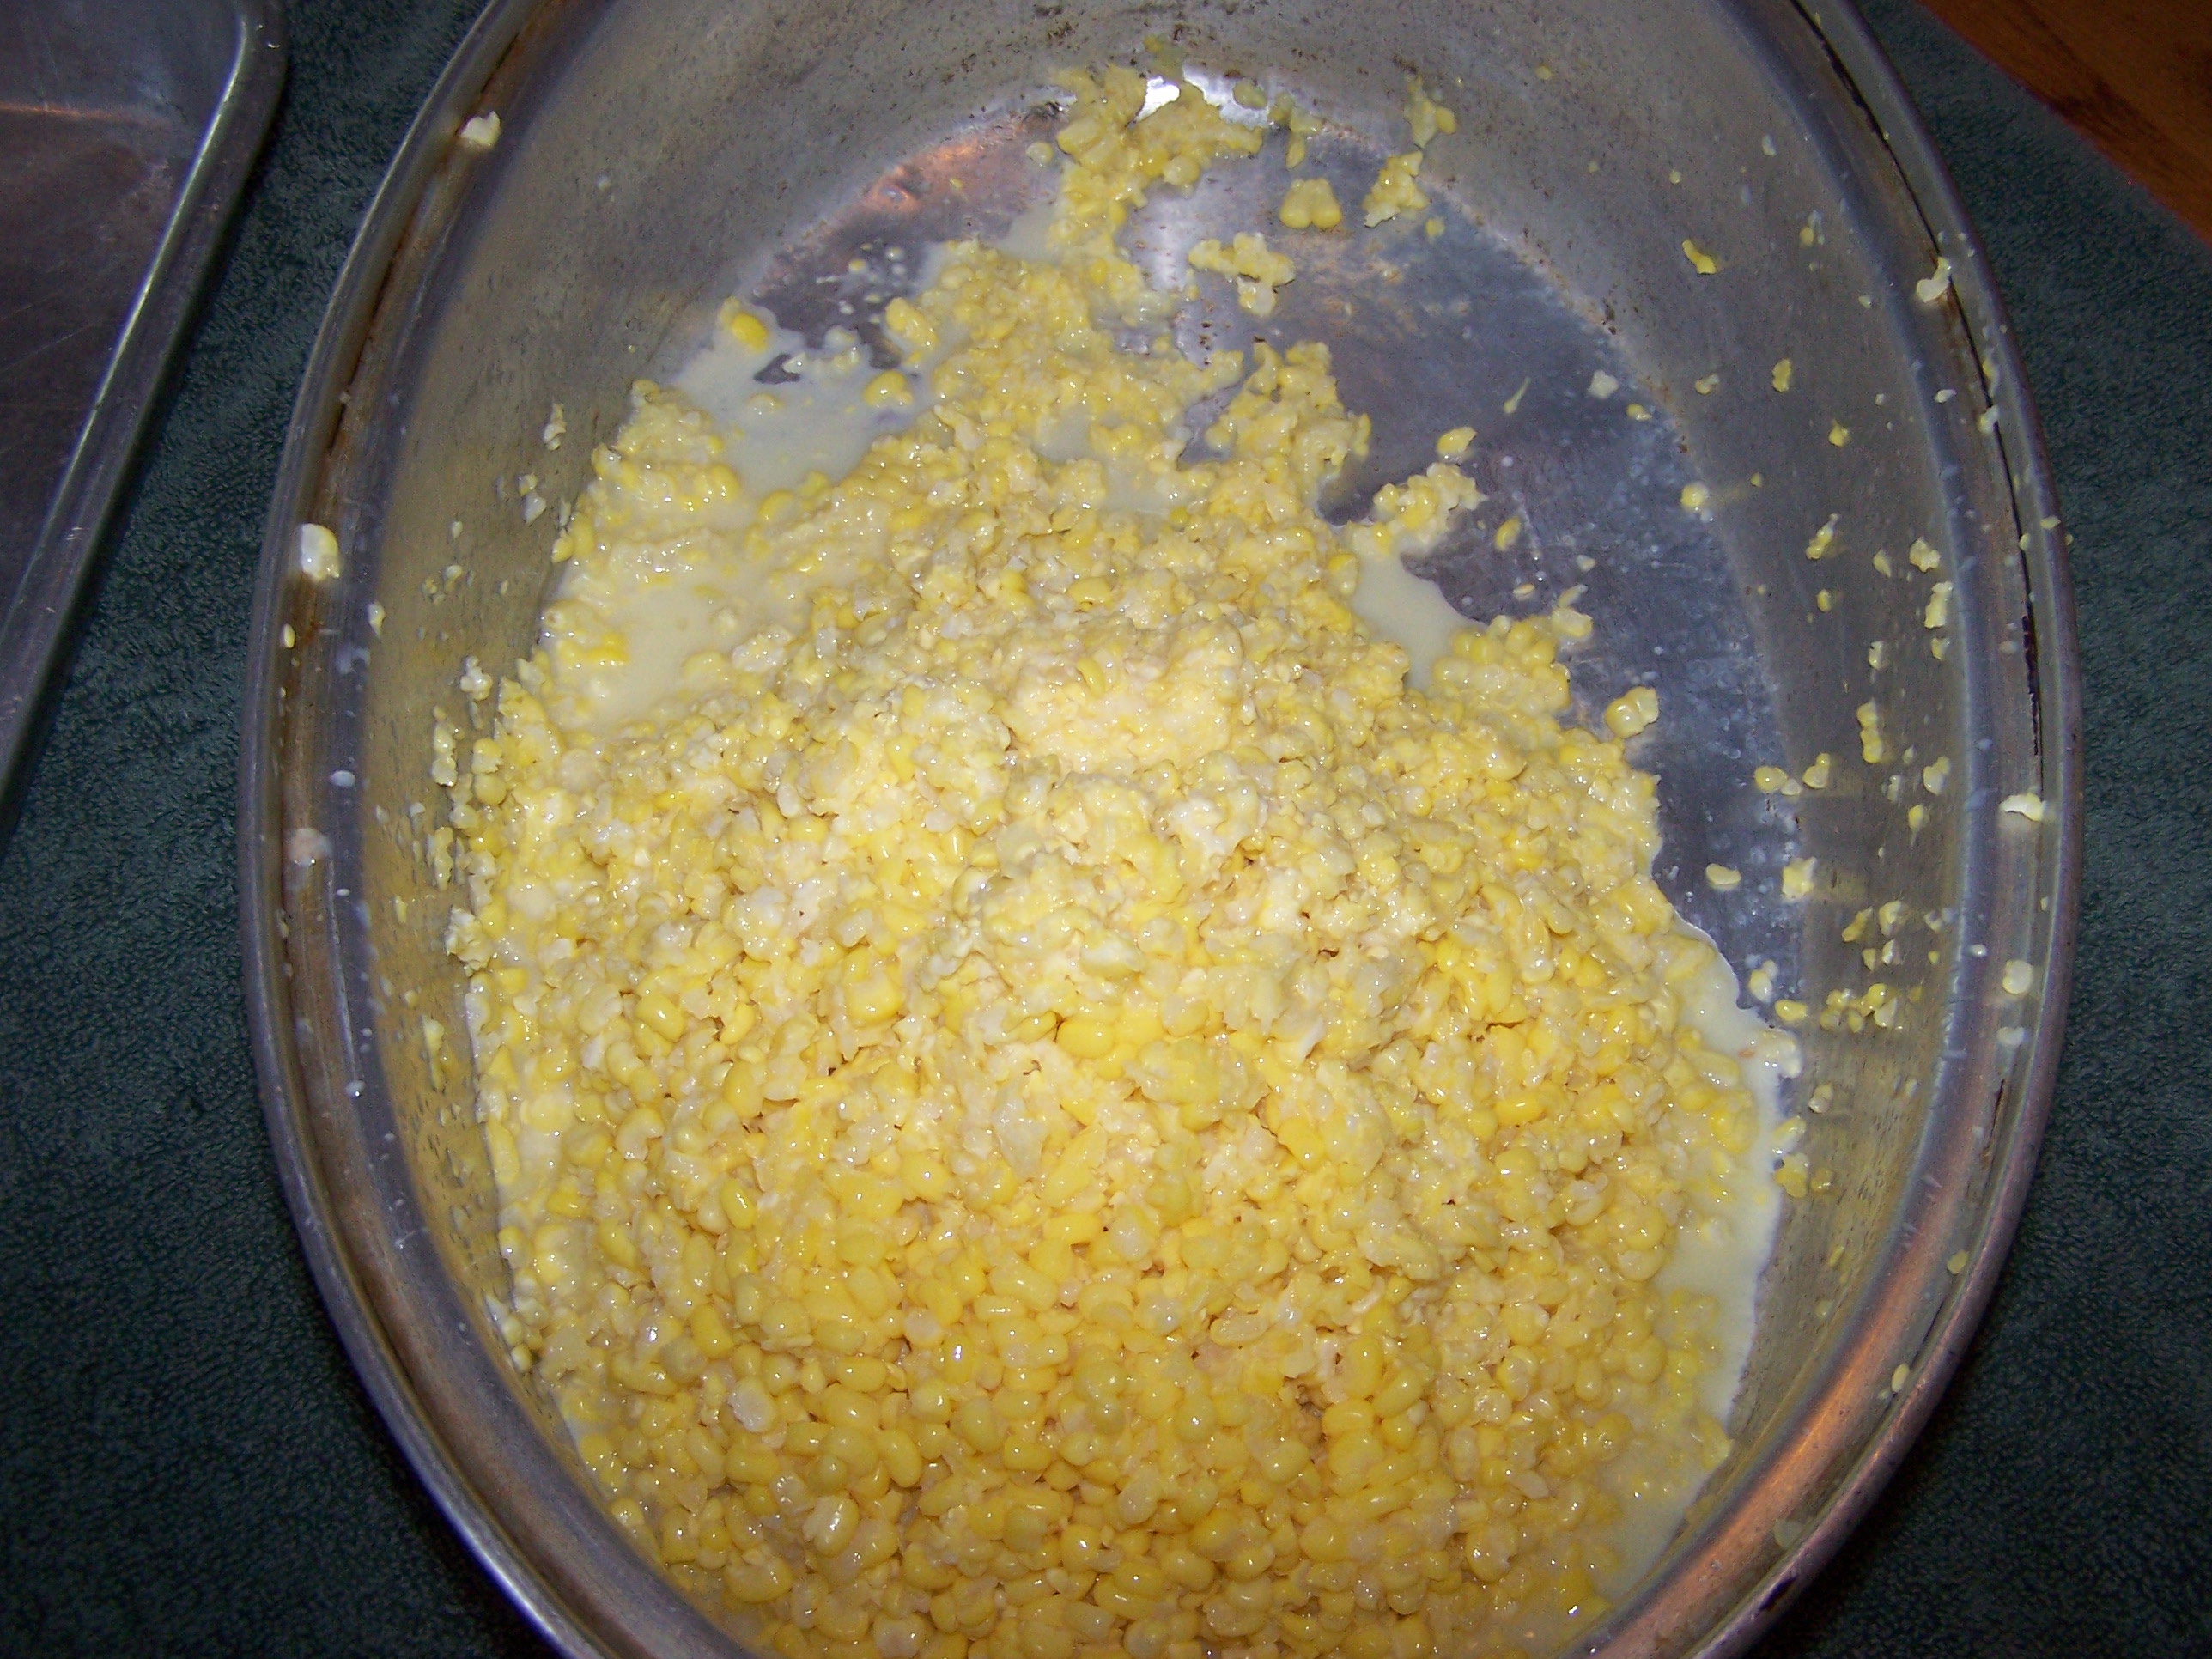
You can set the blade to “cream” the corn, cut it off  “whole” kernel or my preference a mix of the two.

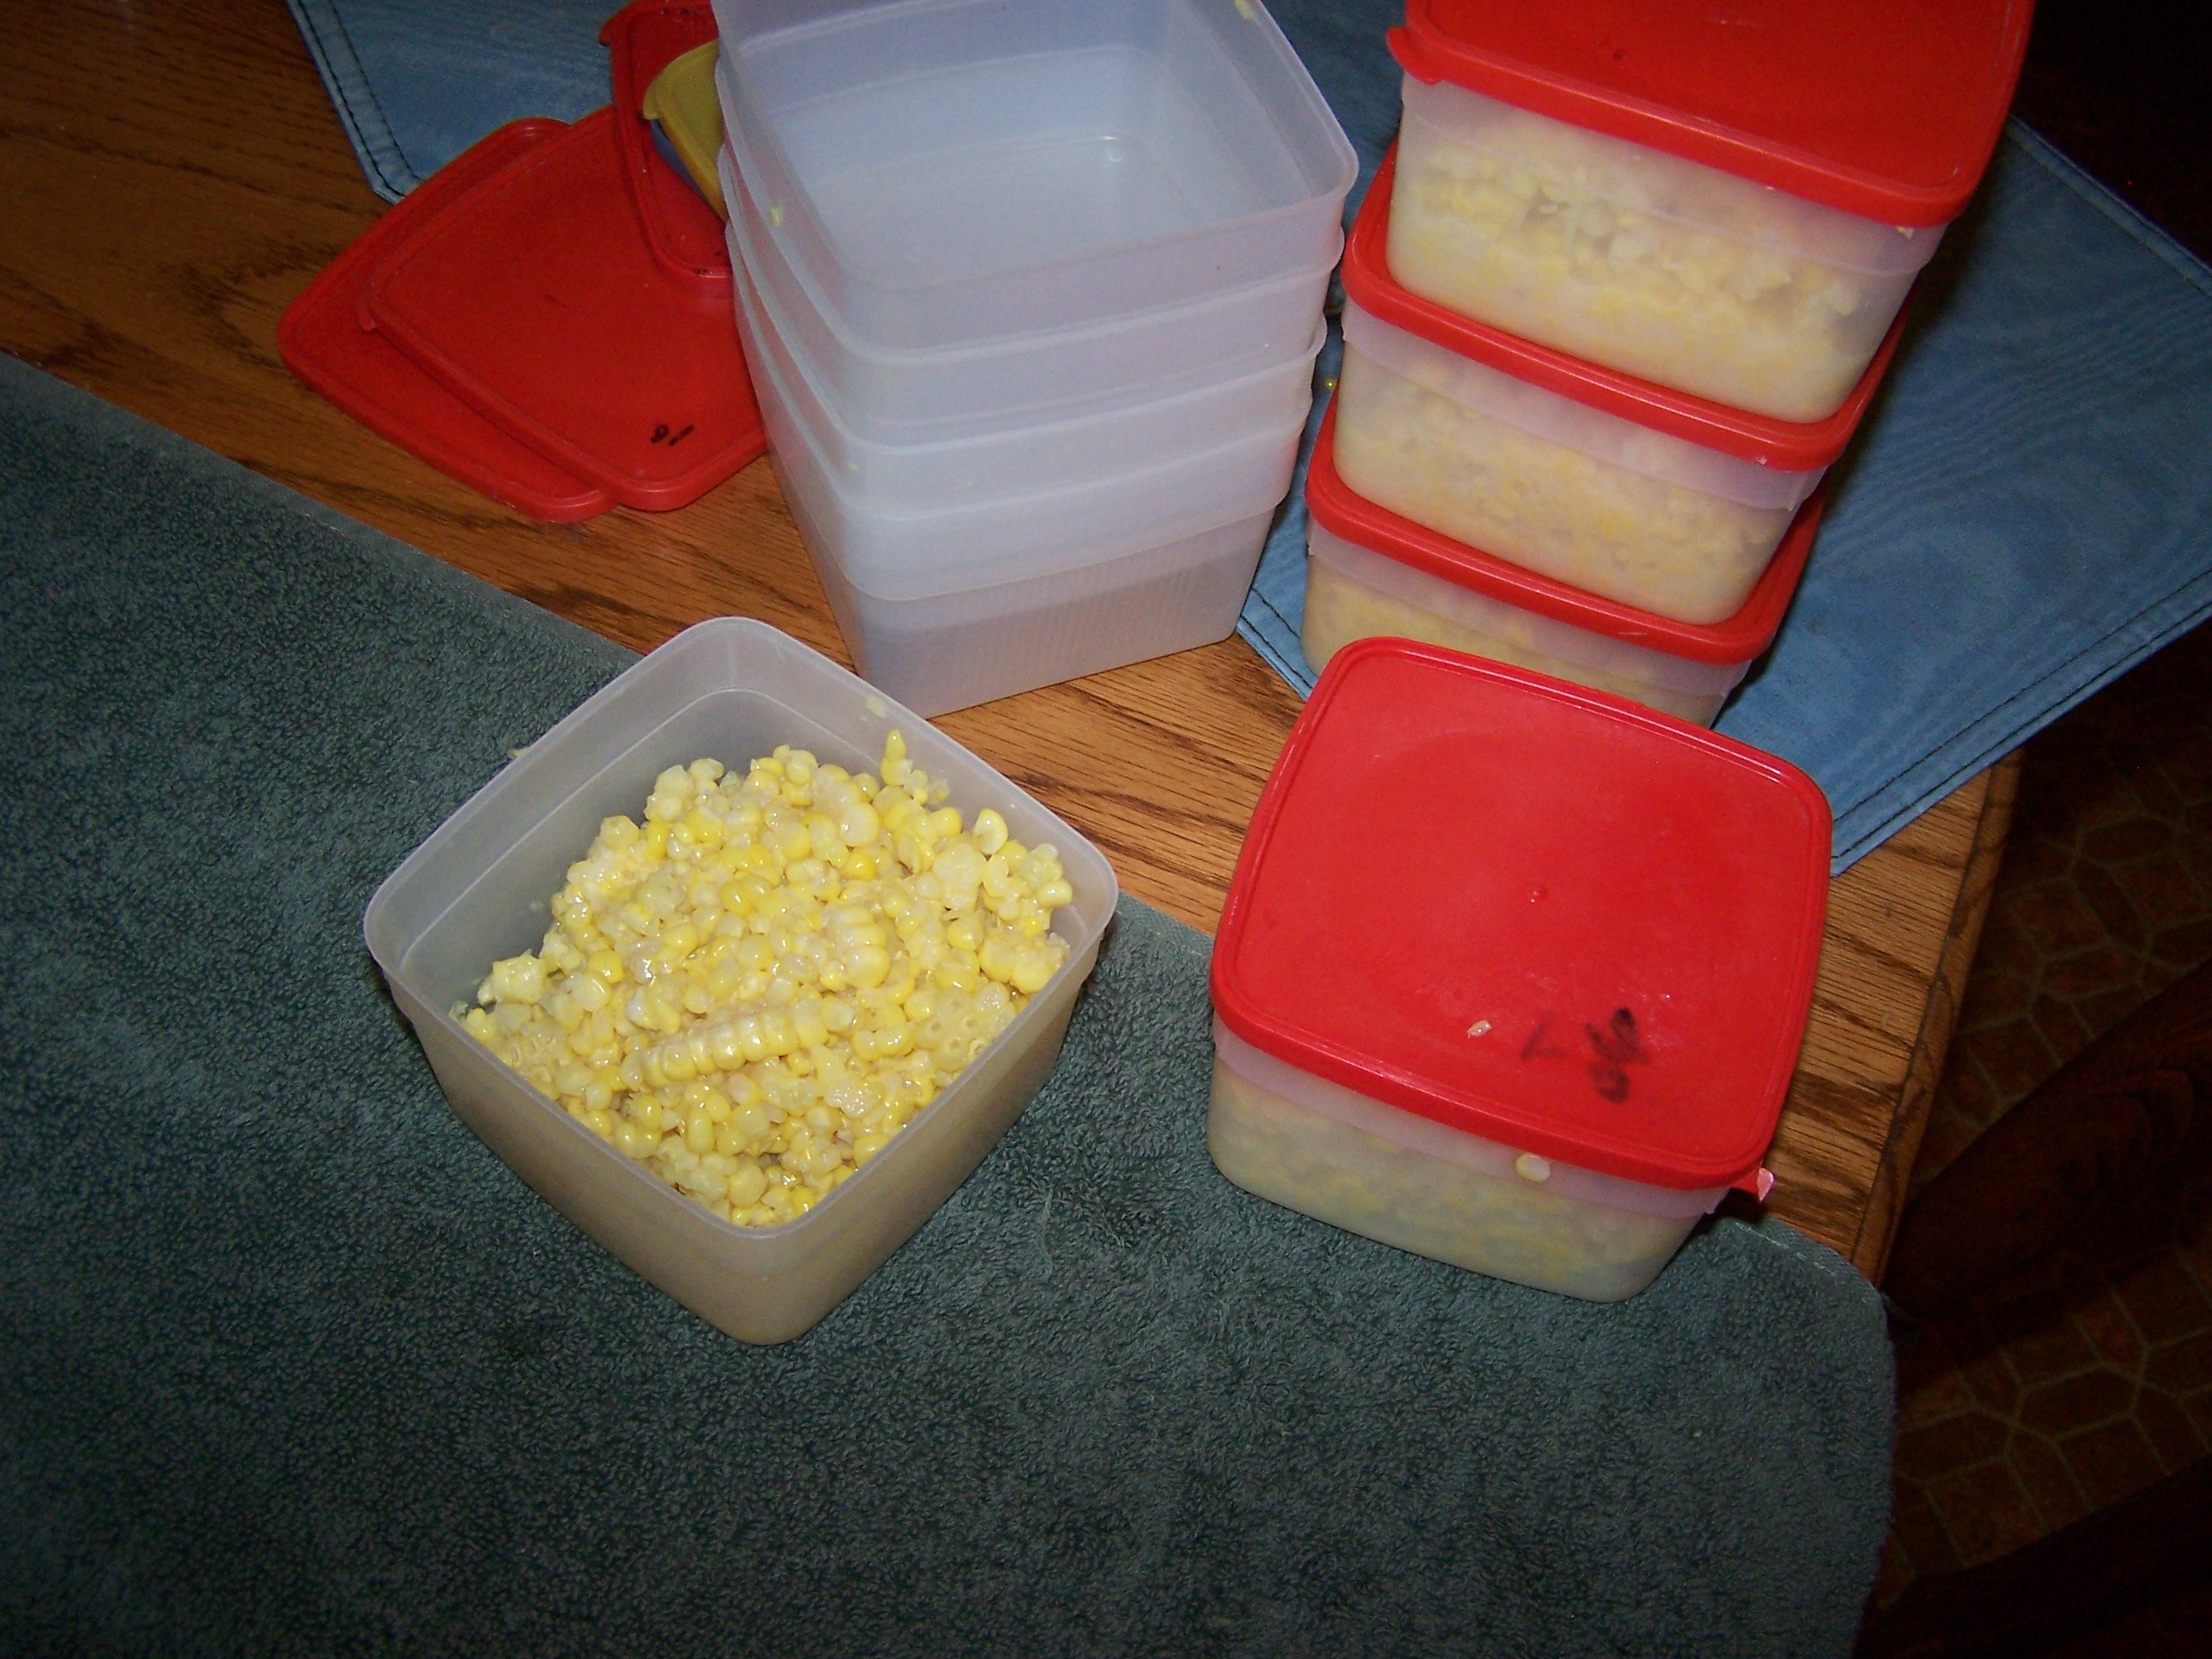
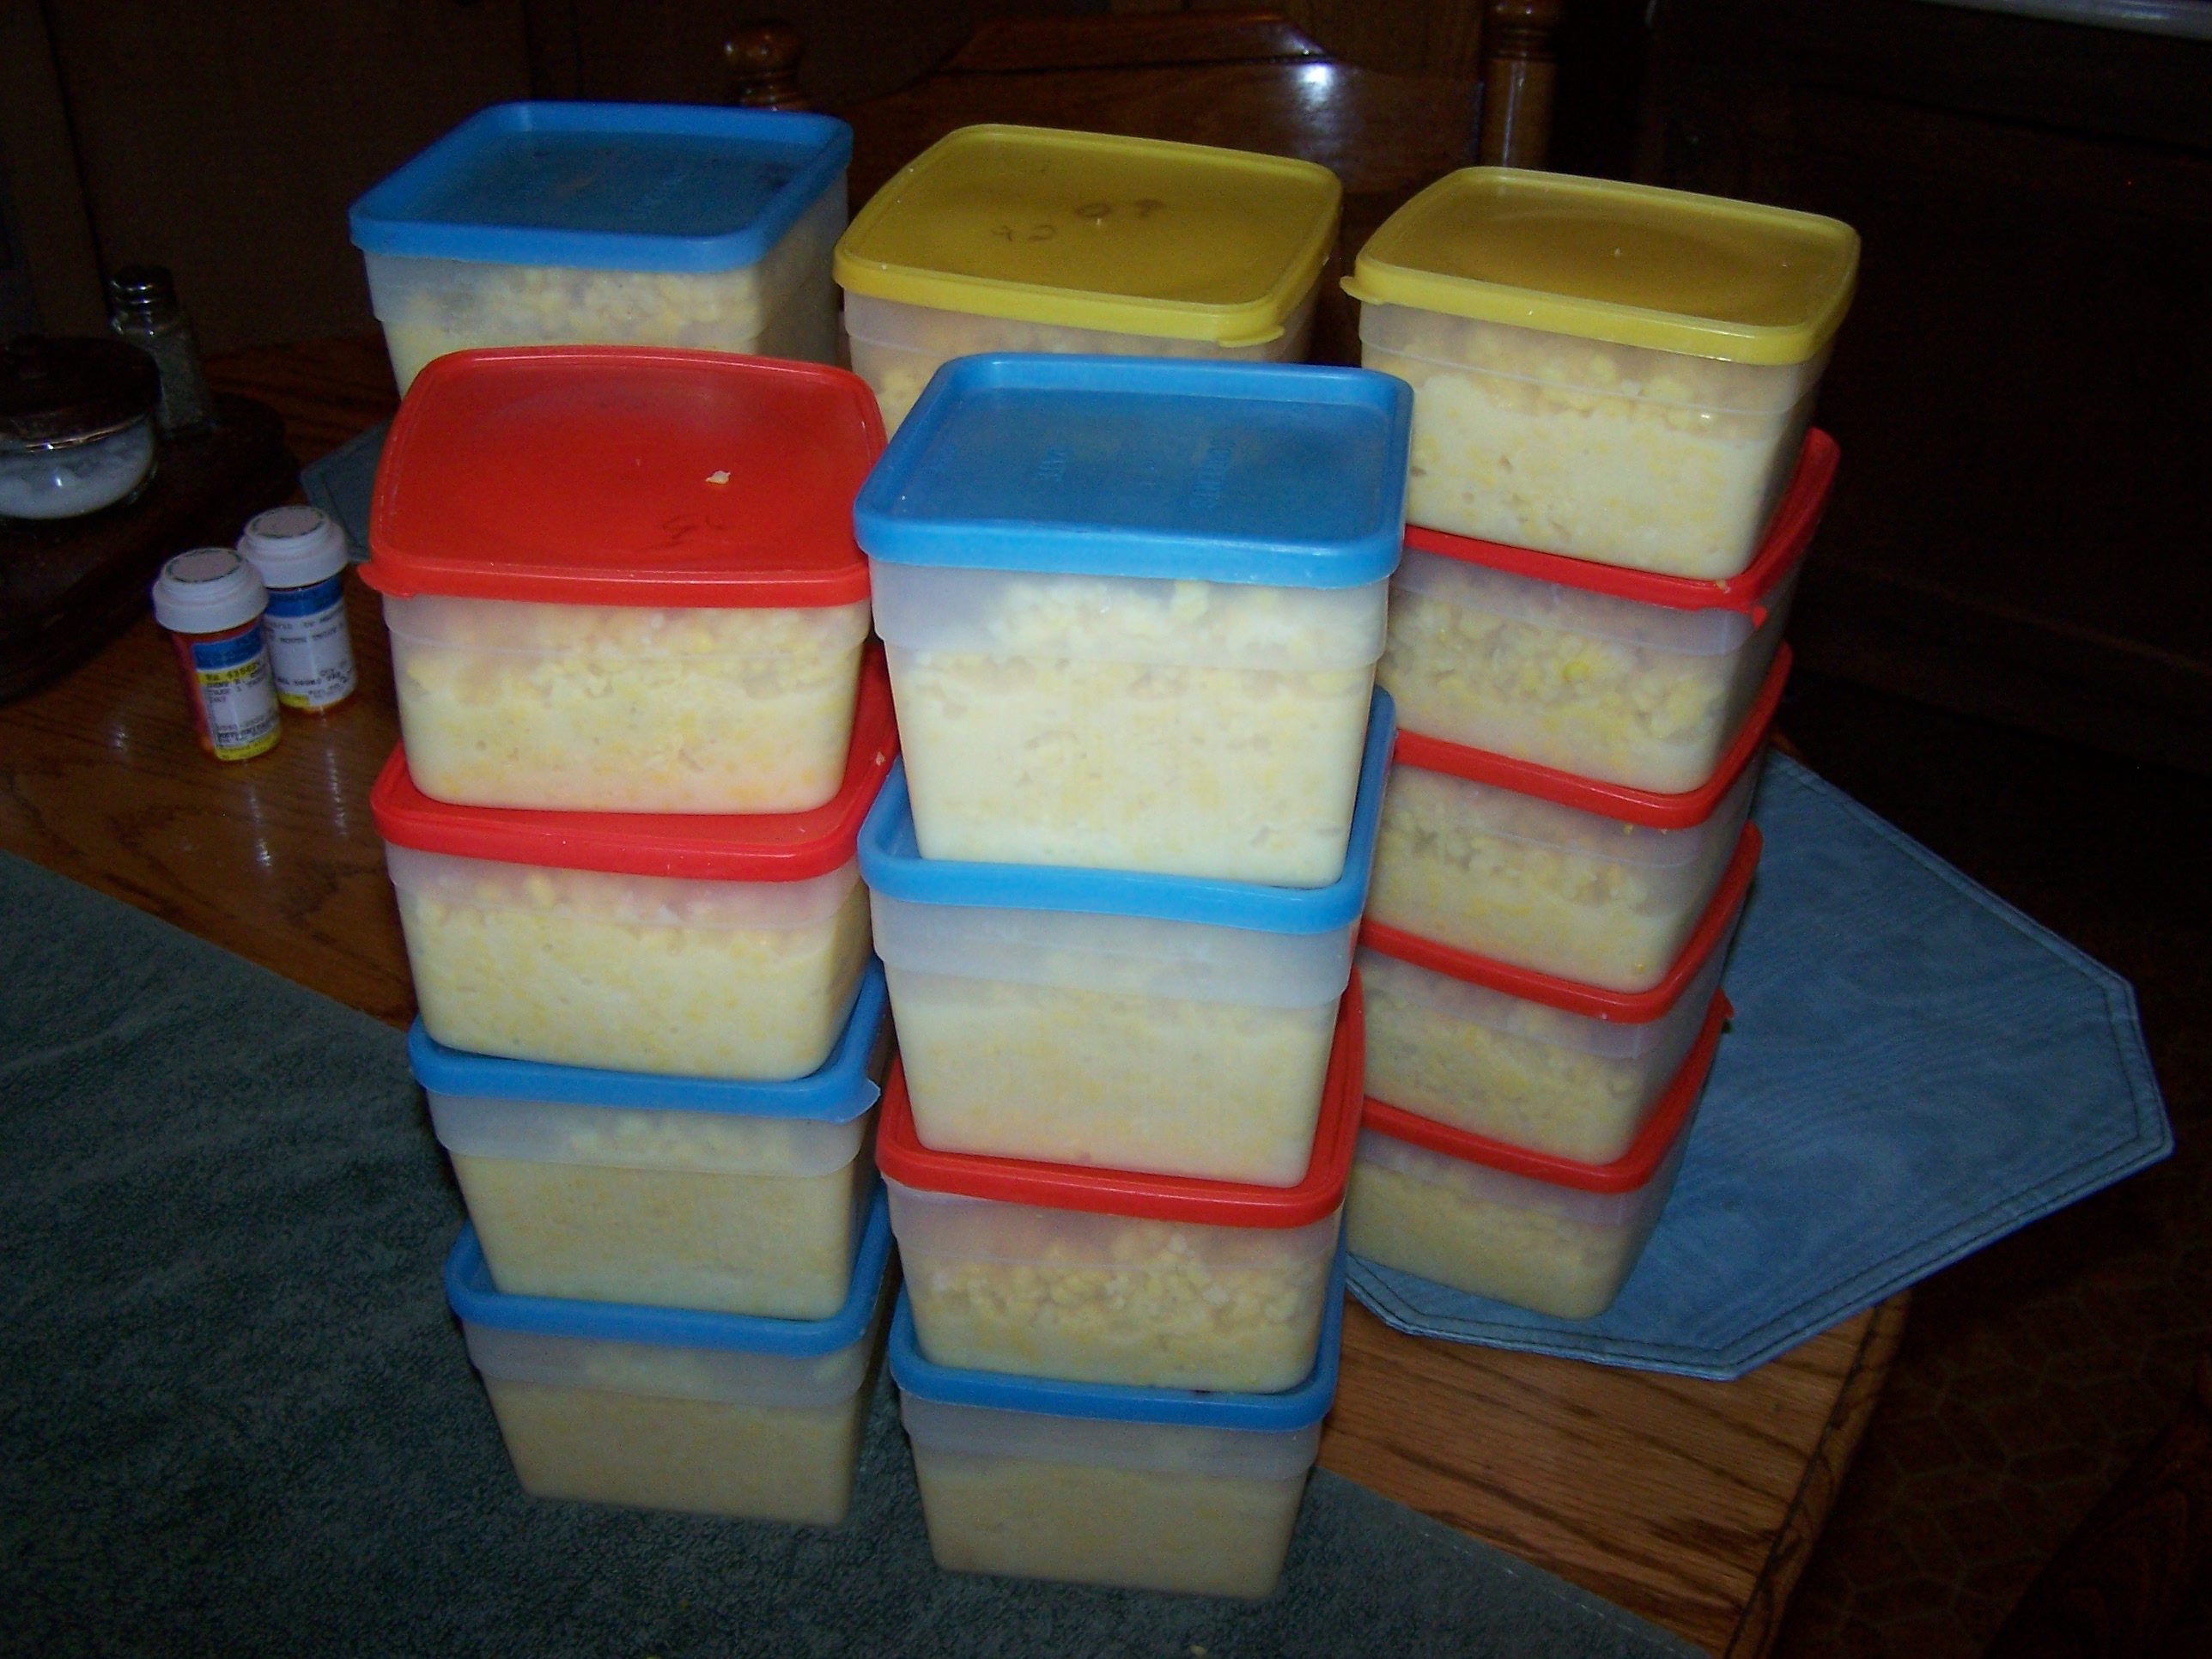
Then I spoon it into freezer boxes or freezer ziplock bags. I write the year on the top of the lids and it is ready for the freezer.

Today I picked  three 5-gallon buckets of  corn and it yielded 22 pints plus we had corn on the cob for supper.

If you prefer you can freeze the ears whole after it is blanched and cooled. I do not like to do this as it takes up unnecessary space in the freezer.

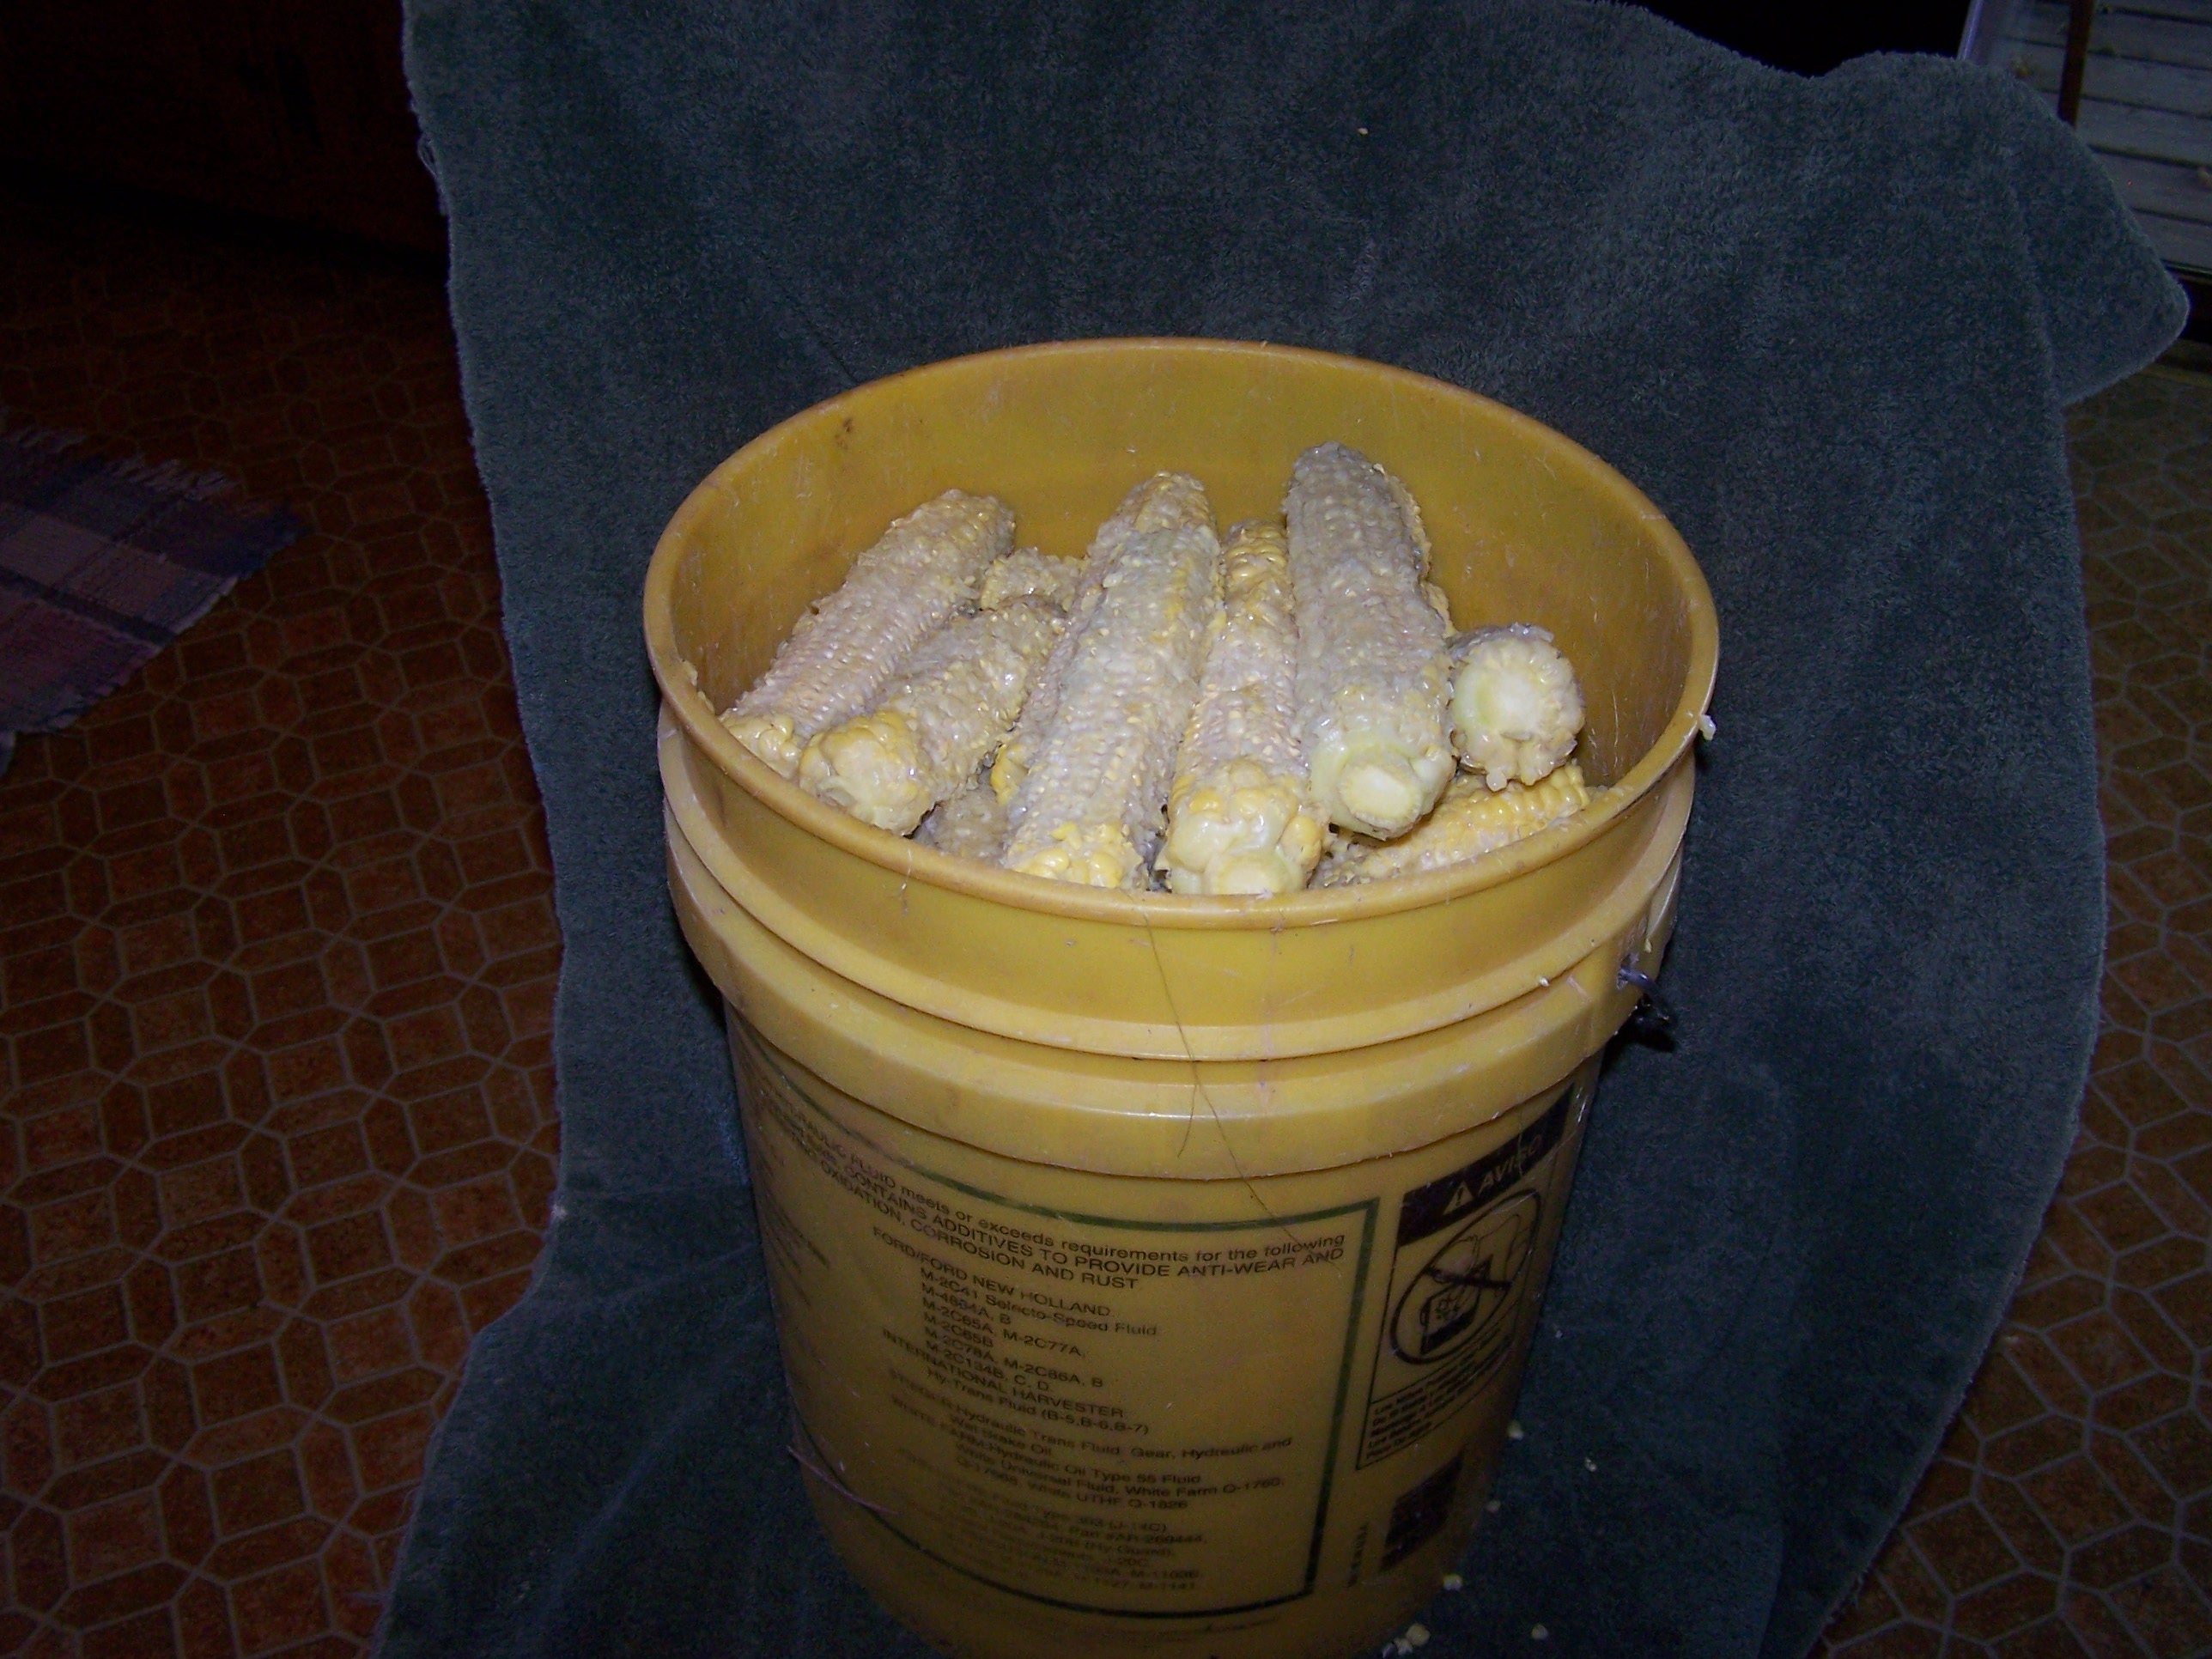
The cobs I toss into a 5-gallon bucket and take back to the garden where I will till them back into the soil, returning nutrients  and natural humus back to the soil.

As you can see the bucket is sitting on a chair to make it an easier height. I also put a towels over the chair and table as it makes clean up so much easier. Corn does splatter and it is sticky. One helpful hint for those of you who do not wash dirty dishes immediately. Do your dishes as soon as you are done or you will have twice the work on your hands.

*****

We sell corn cutters in our store -Hertzler Farm and Feed.  You may order a cutter by calling Hertzlers at 804-598-4021

Wood is $9.99 (plus shipping)

Stainless Steel is $12.99 (plus shipping) -This is my favorite and you can put it in the dishwasher.

*****

For more information on planting and growing corn check out my website Corn.htm

How to Can Snaps – Green Beans

The other day someone asked me again… how do you can? Is it hard? What equipment do I have to have? What vegetables do I can versus freeze?

Canning is very satisfying. It makes me feel like the Proverbs woman…”She gets up while it is still dark and provides food for her family…” (Proverbs 31:15a). The end result is food… quality, good food is put away and preserved for eating during the winter months and I did it!!!

I like to can snaps, tomatoes, peaches, jelly, pickles, tomato juice, meat (chicken and turkey) and applesauce. I prefer to freeze peas, okra, corn, broccoli, berries, edamame (soys), and limas.

I decided to picture document the process so even the novice can understand.

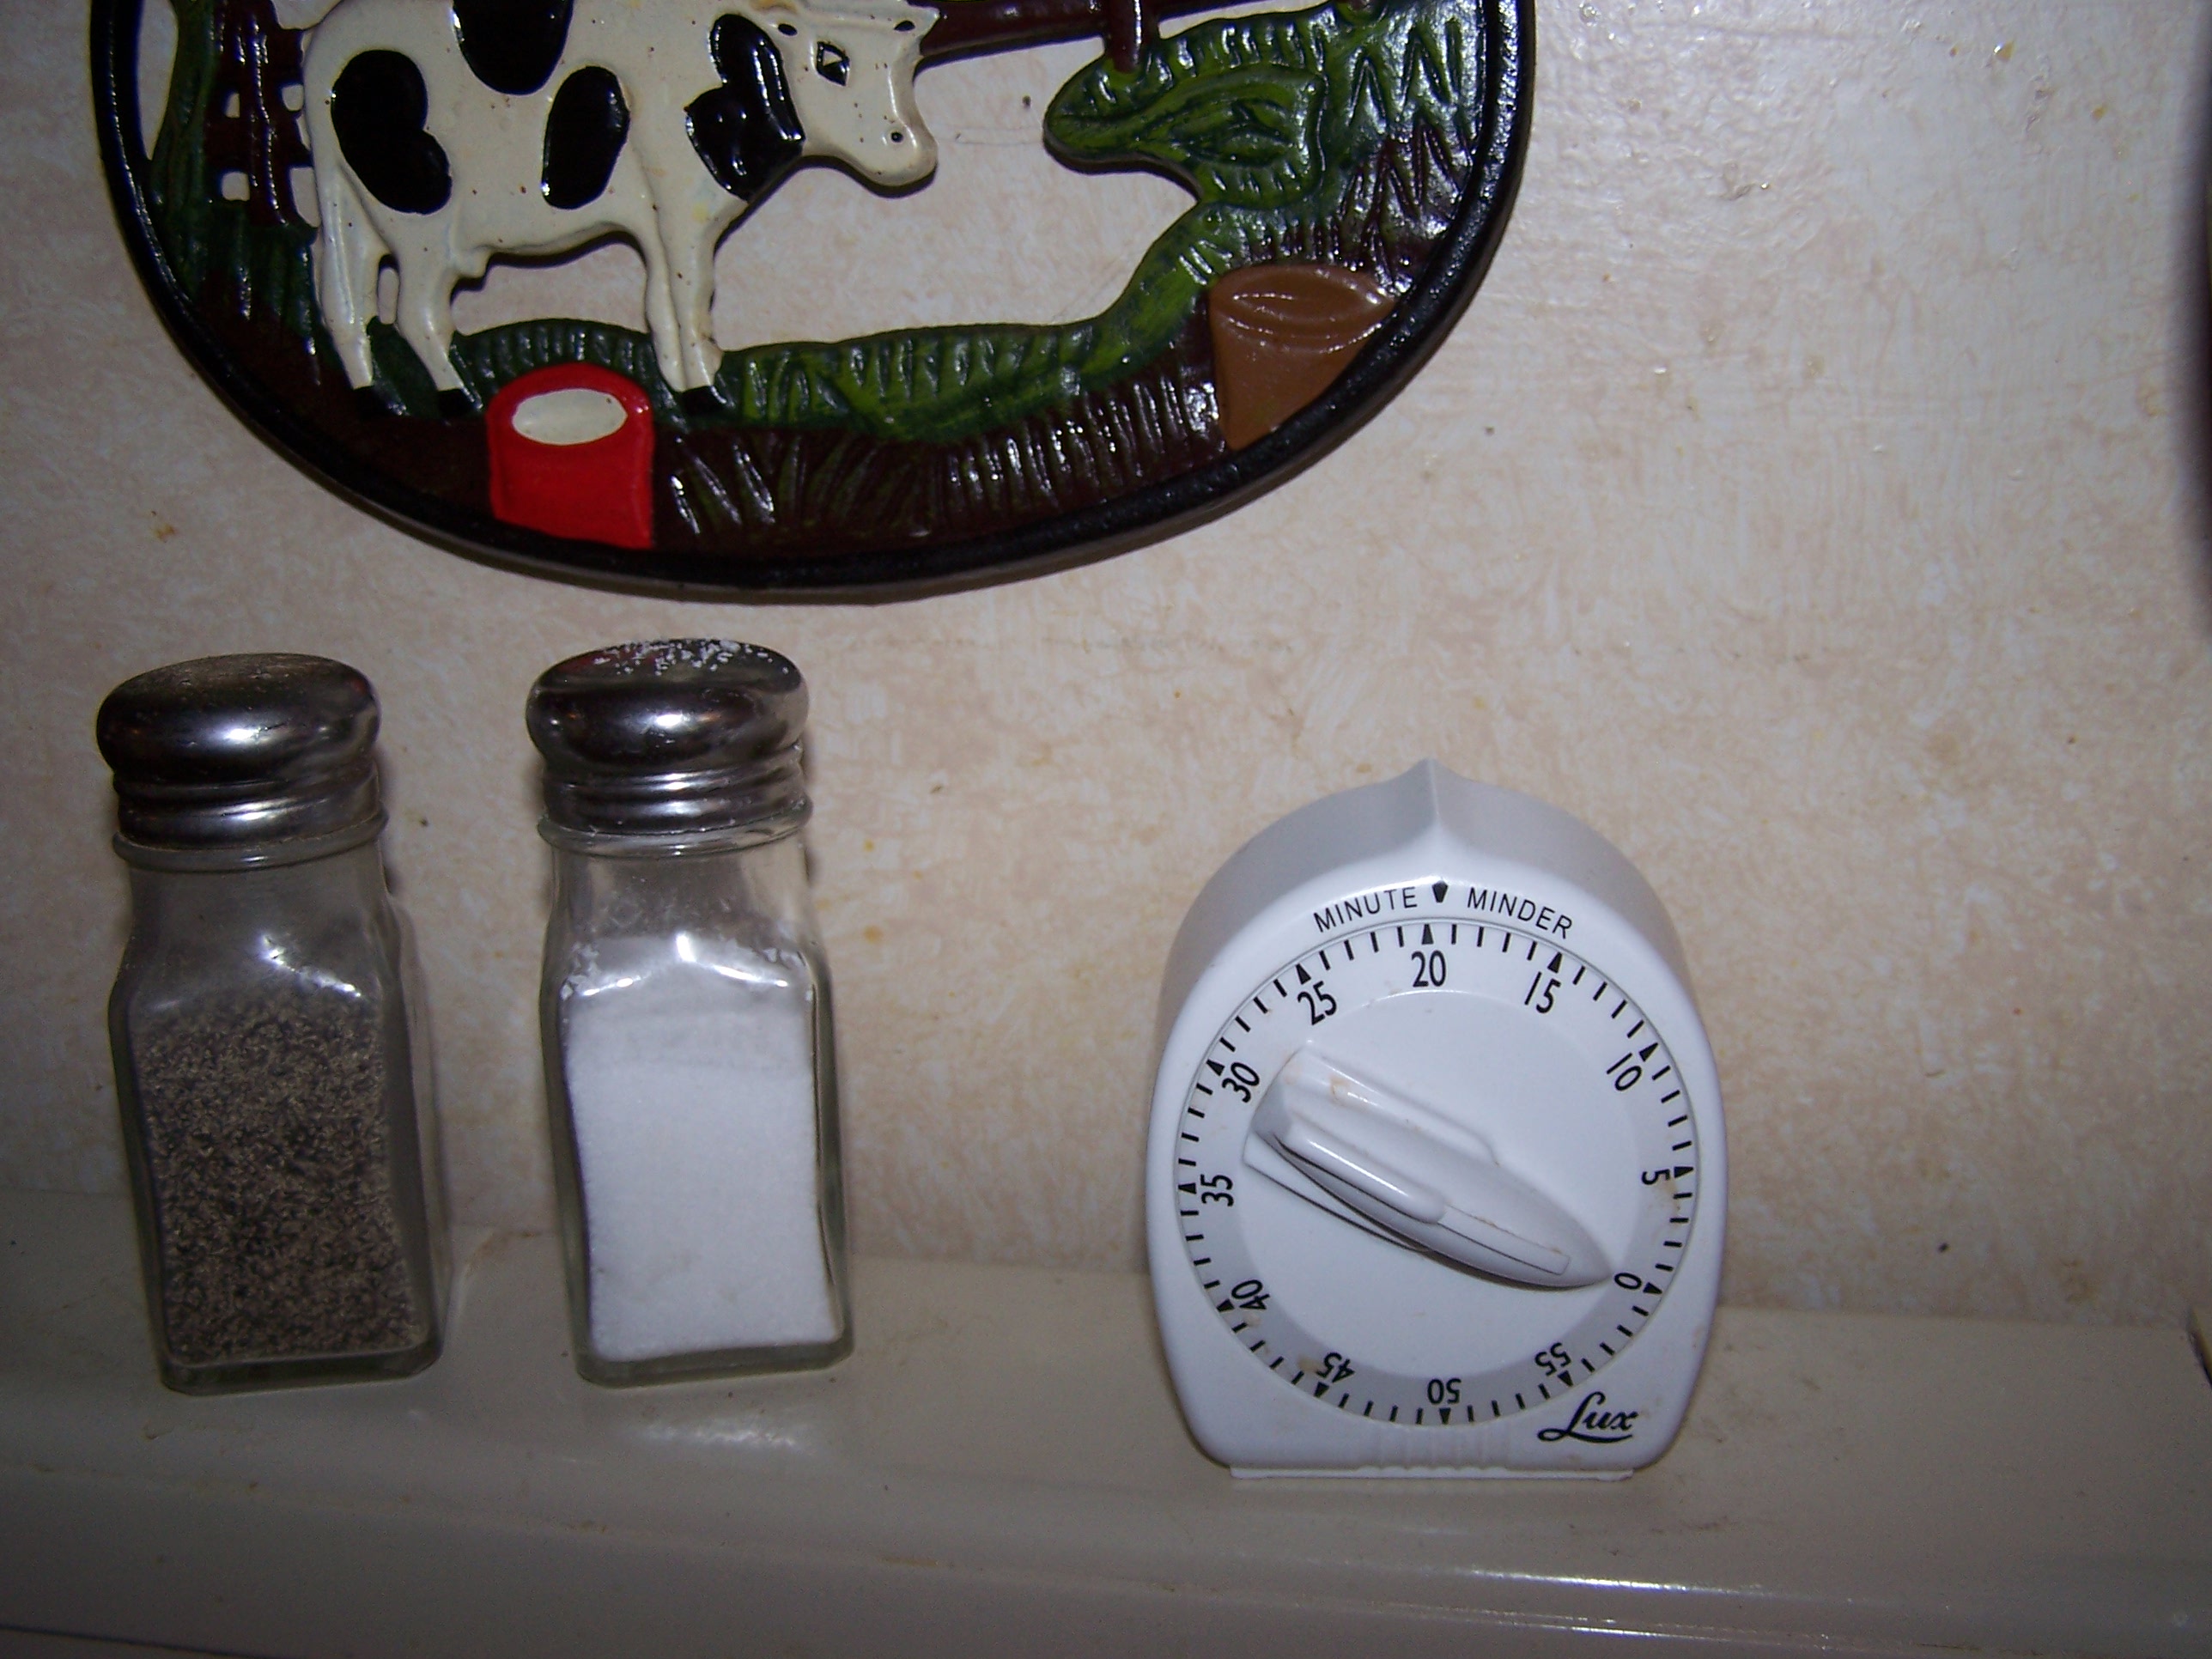
There are two kinds of pressure canners. One uses a gauge (my favorite) and the other jingles.  I will show you both.  Both are easy and safe to use.  You do not need to be afraid of a pressure canner.  If you follow directions, they are very safe. The one thing you DO NOT want to do is walk away from your canner and forget it or you may end up with a hole in your ceiling.  Always set a timer and if you need to leave the kitchen for a few minutes, take the timer with you. Even you go to the office to check fb-take the timer. It will remind you that you need to check your canner every few minutes.  It is too easy to let time slip away or to forget.

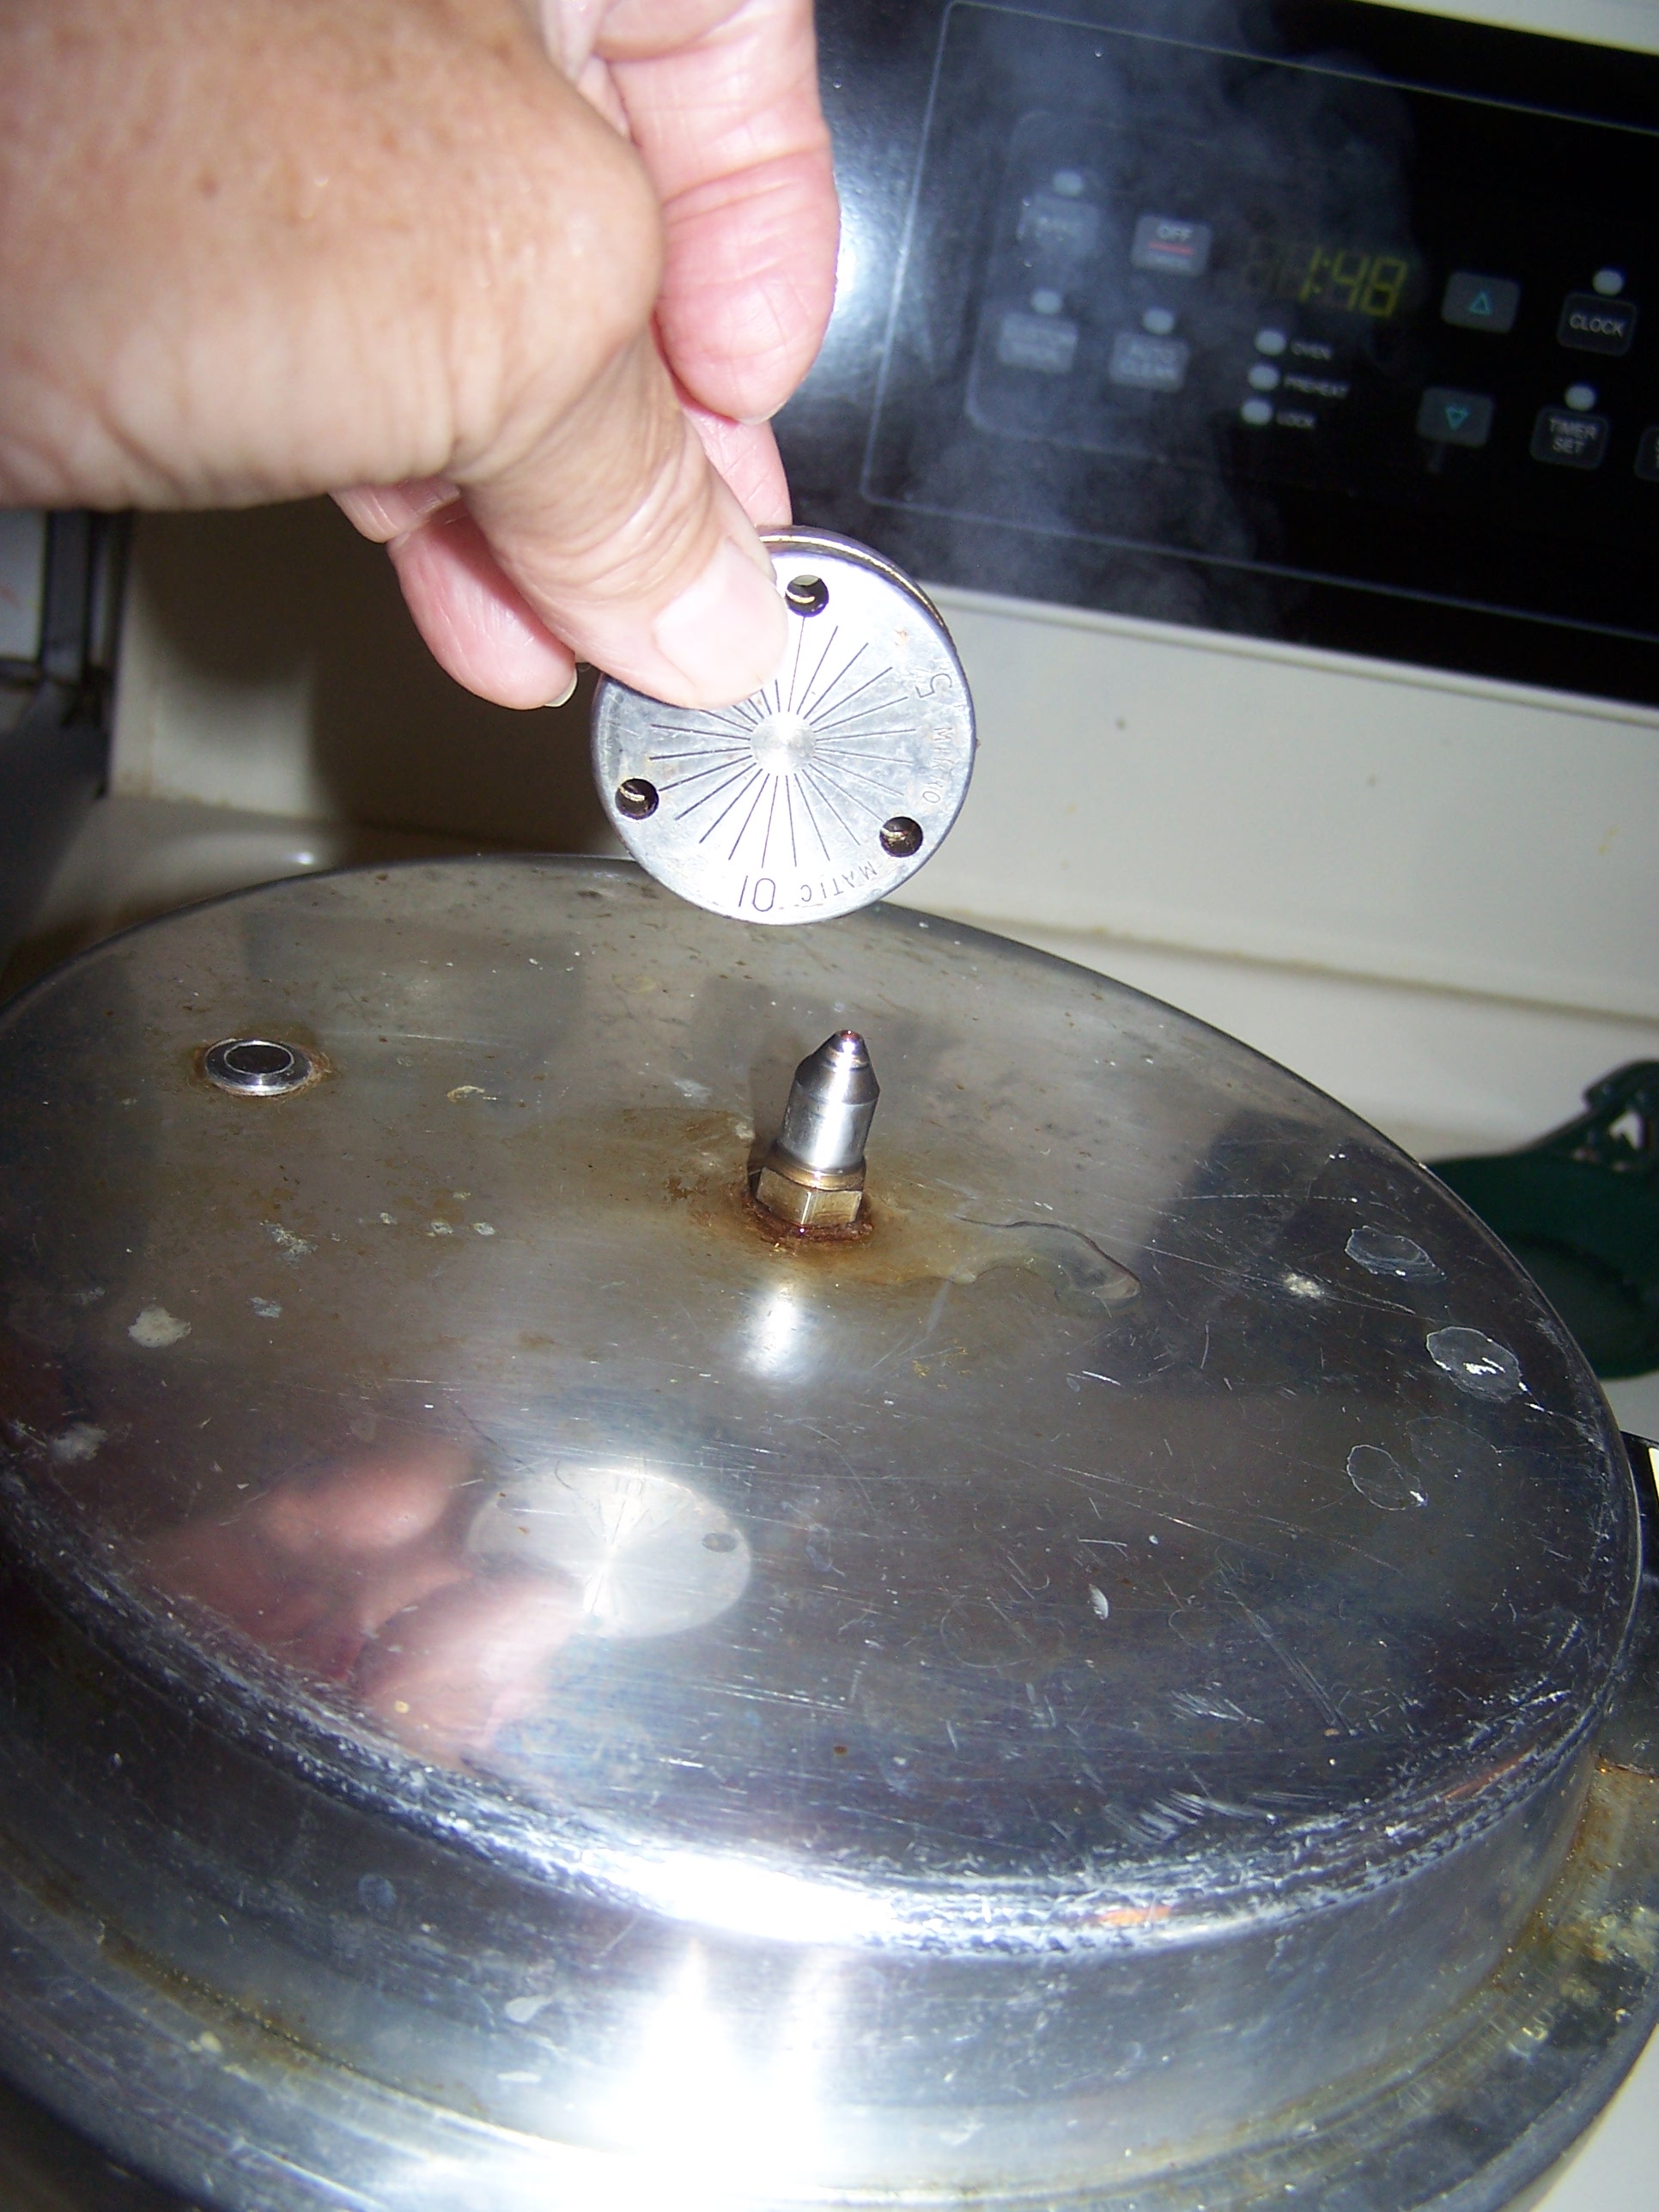
My main canner uses a gauge. It has a gauge with the pounds of pressure and you adjust the temperature to keep the gauge at the setting you need.  The kind that jingles has a weight with difference holes for the pounds of pressure.  When the pressure in the canner gets to the desired pressure, it jingles, releasing some pressure from the canner to keep it at the proper setting.

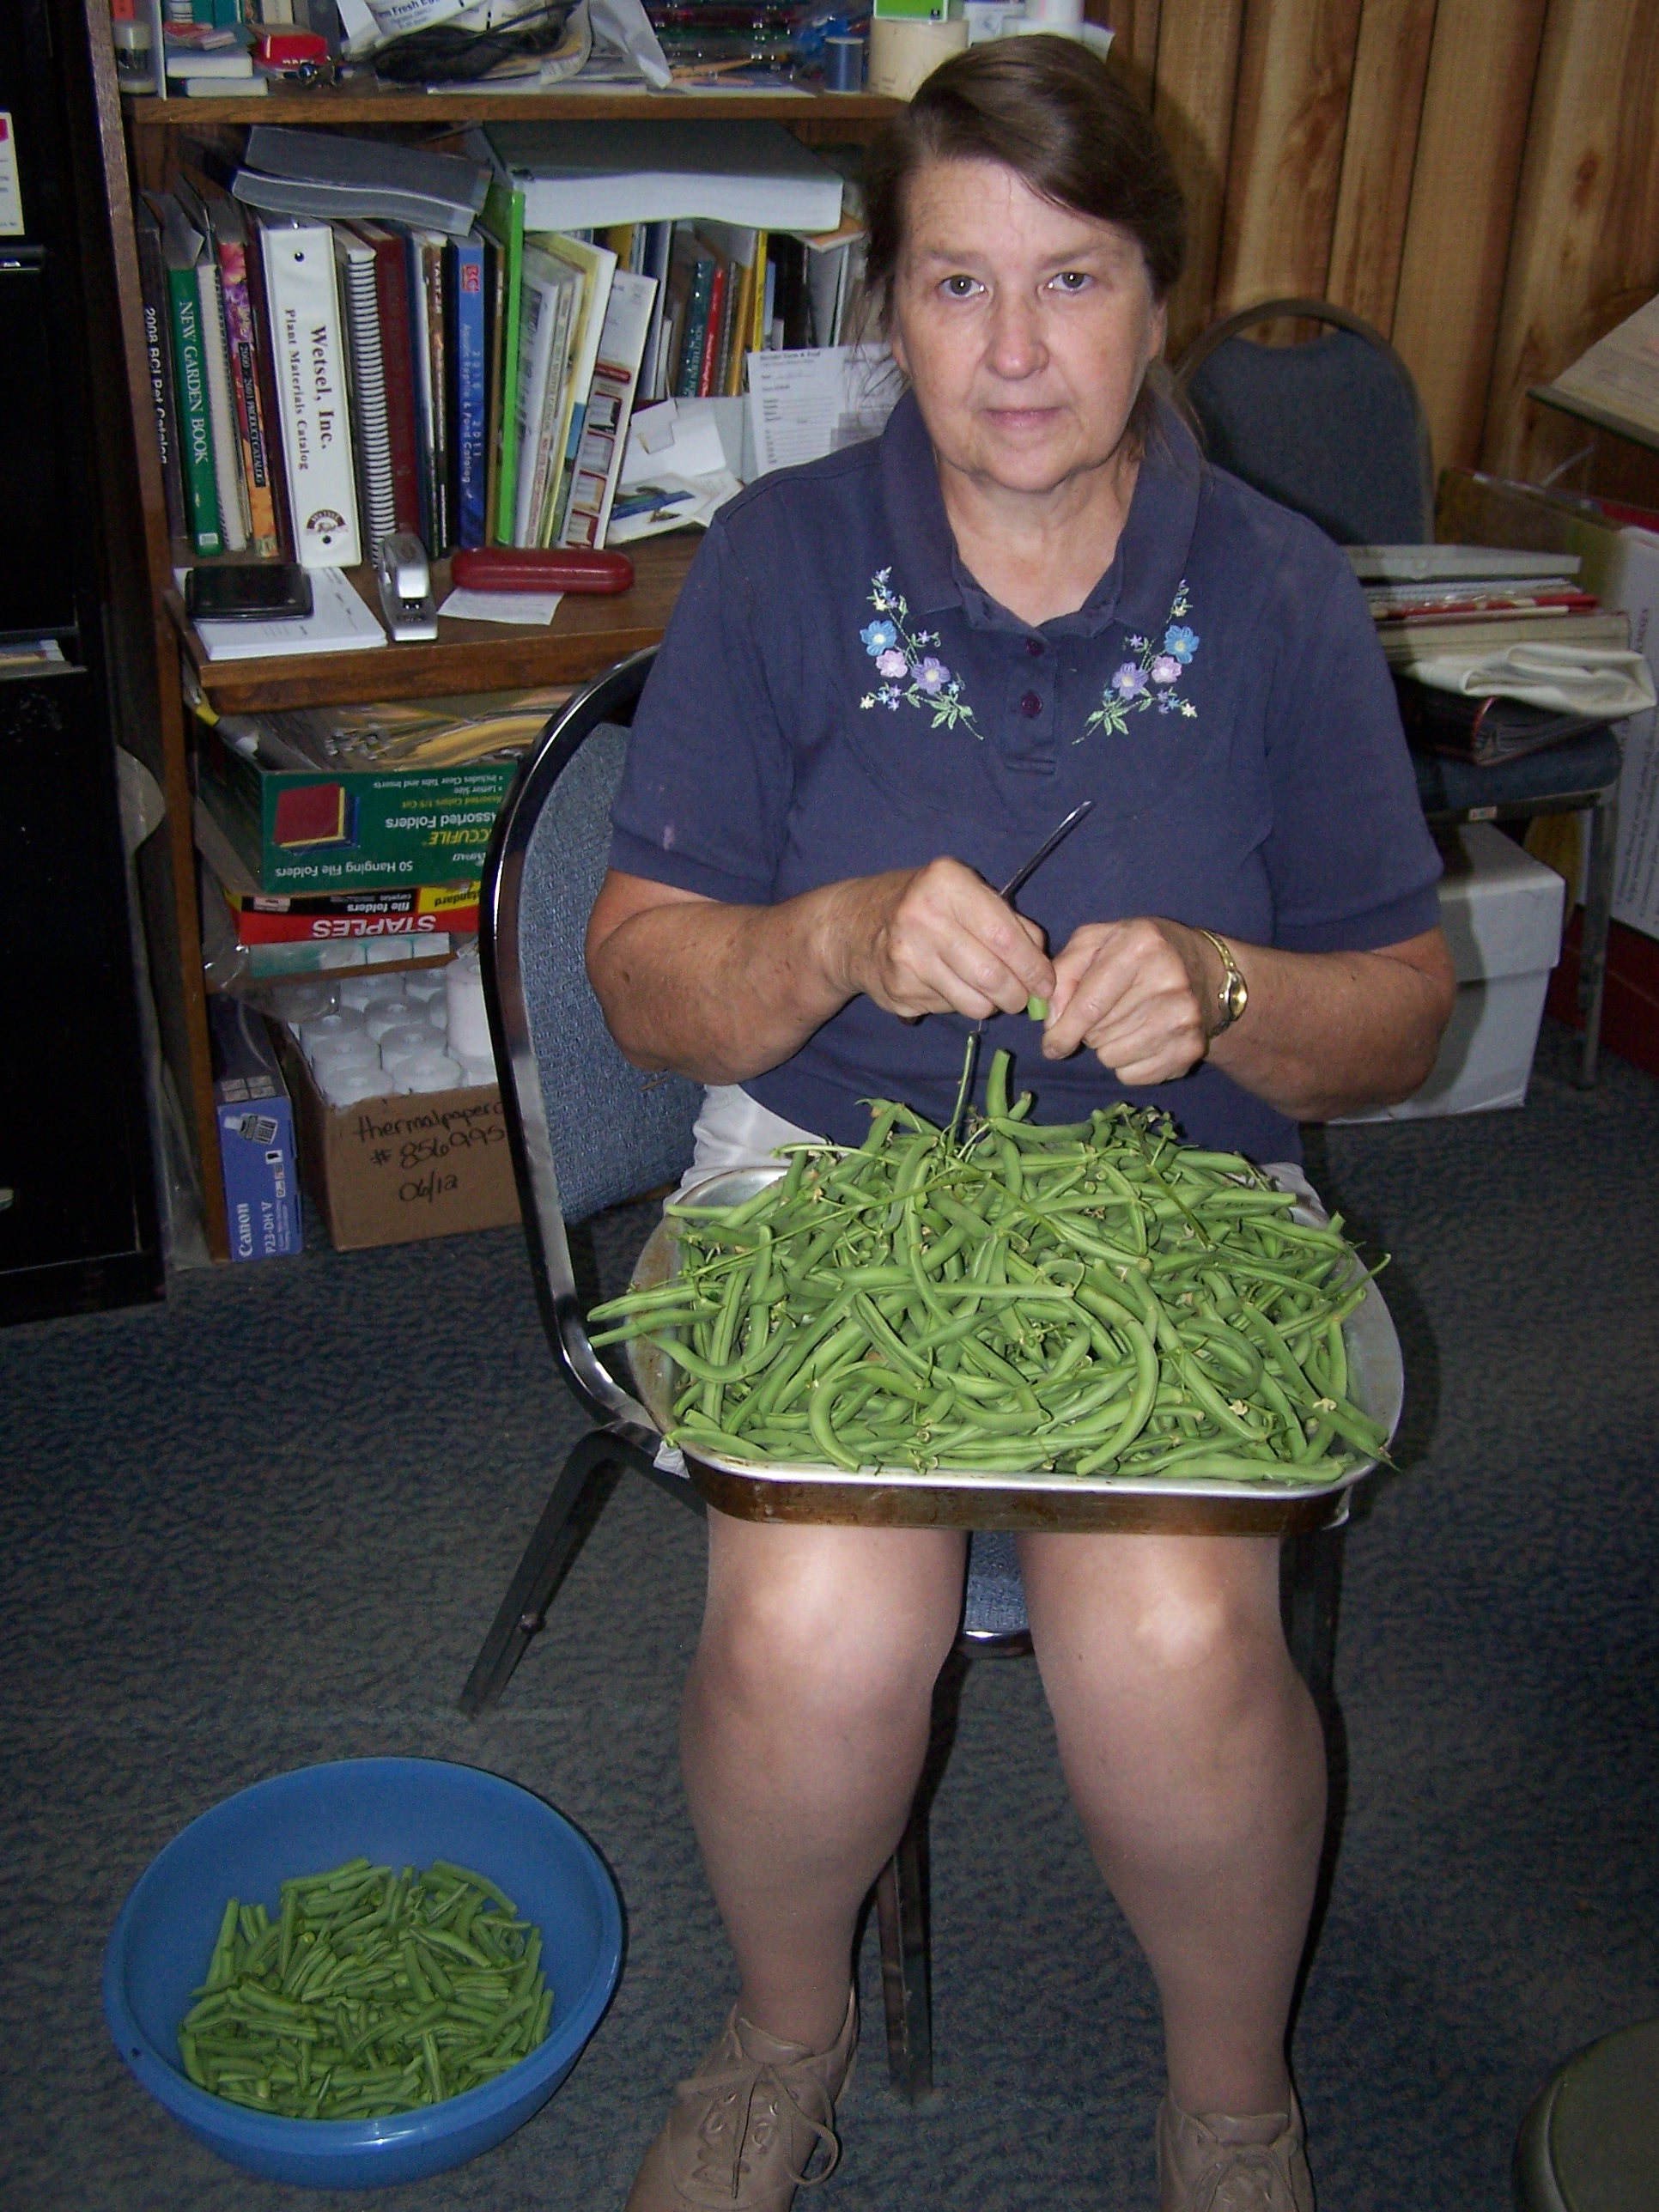
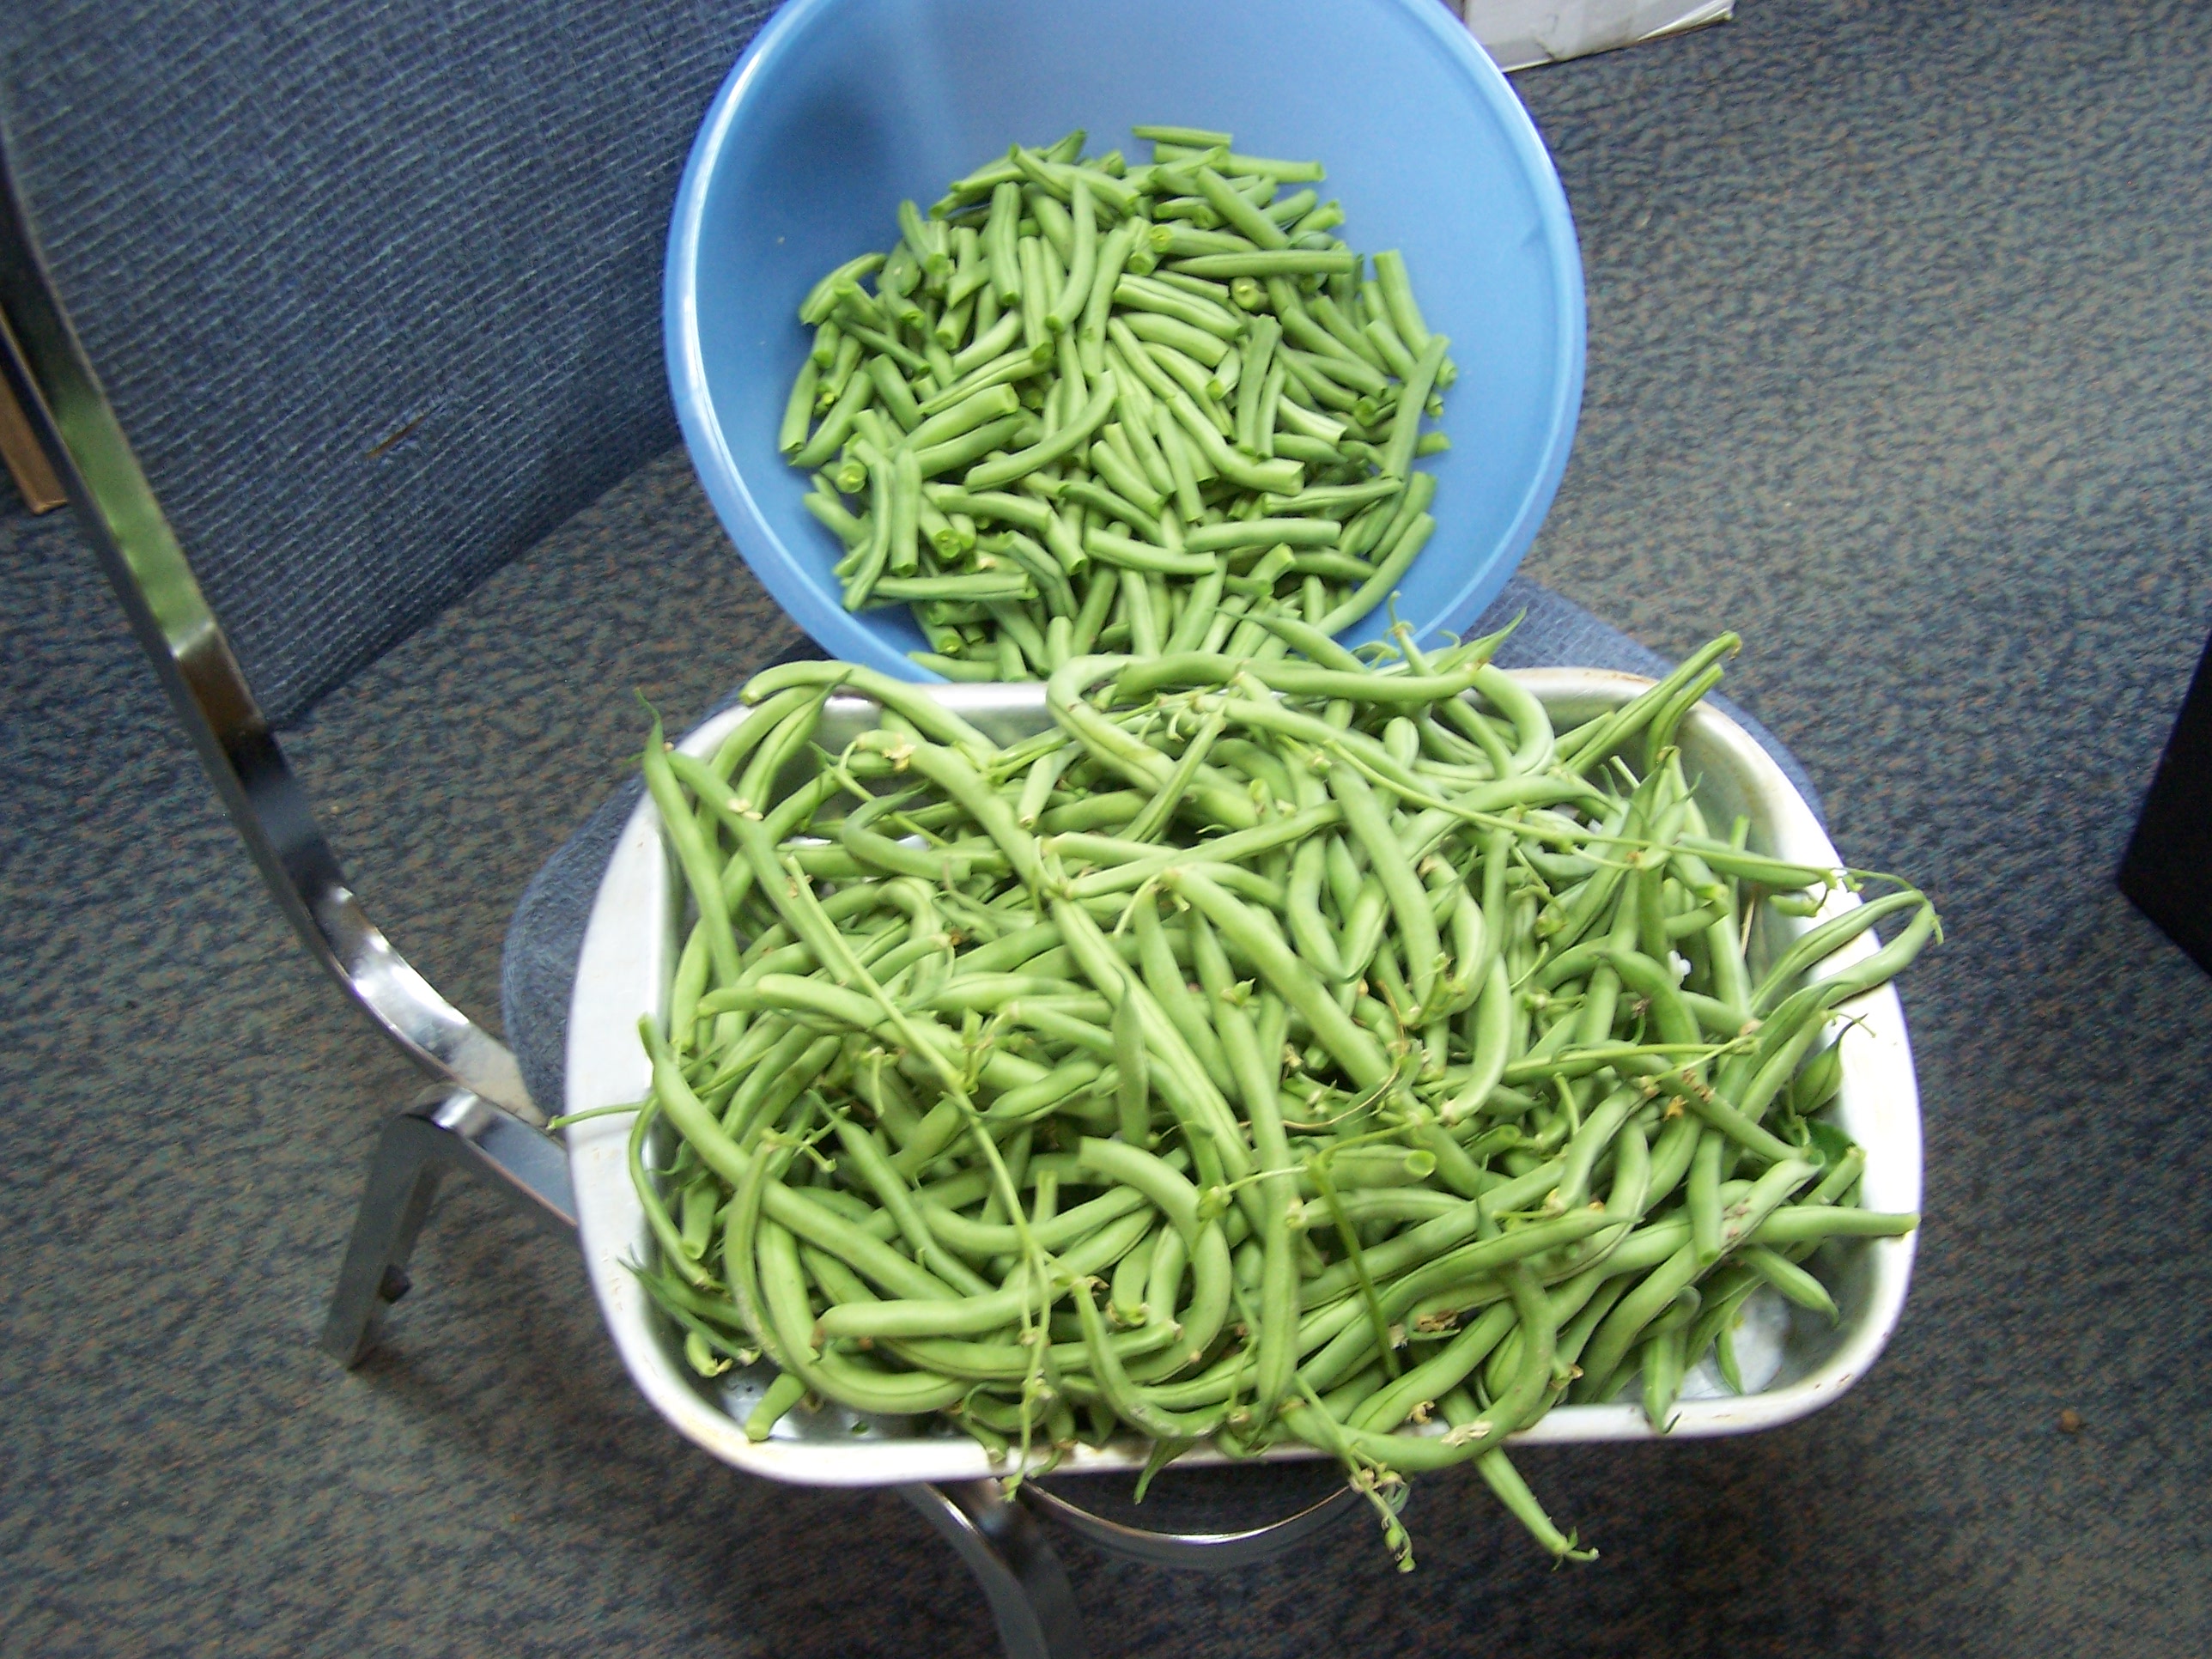
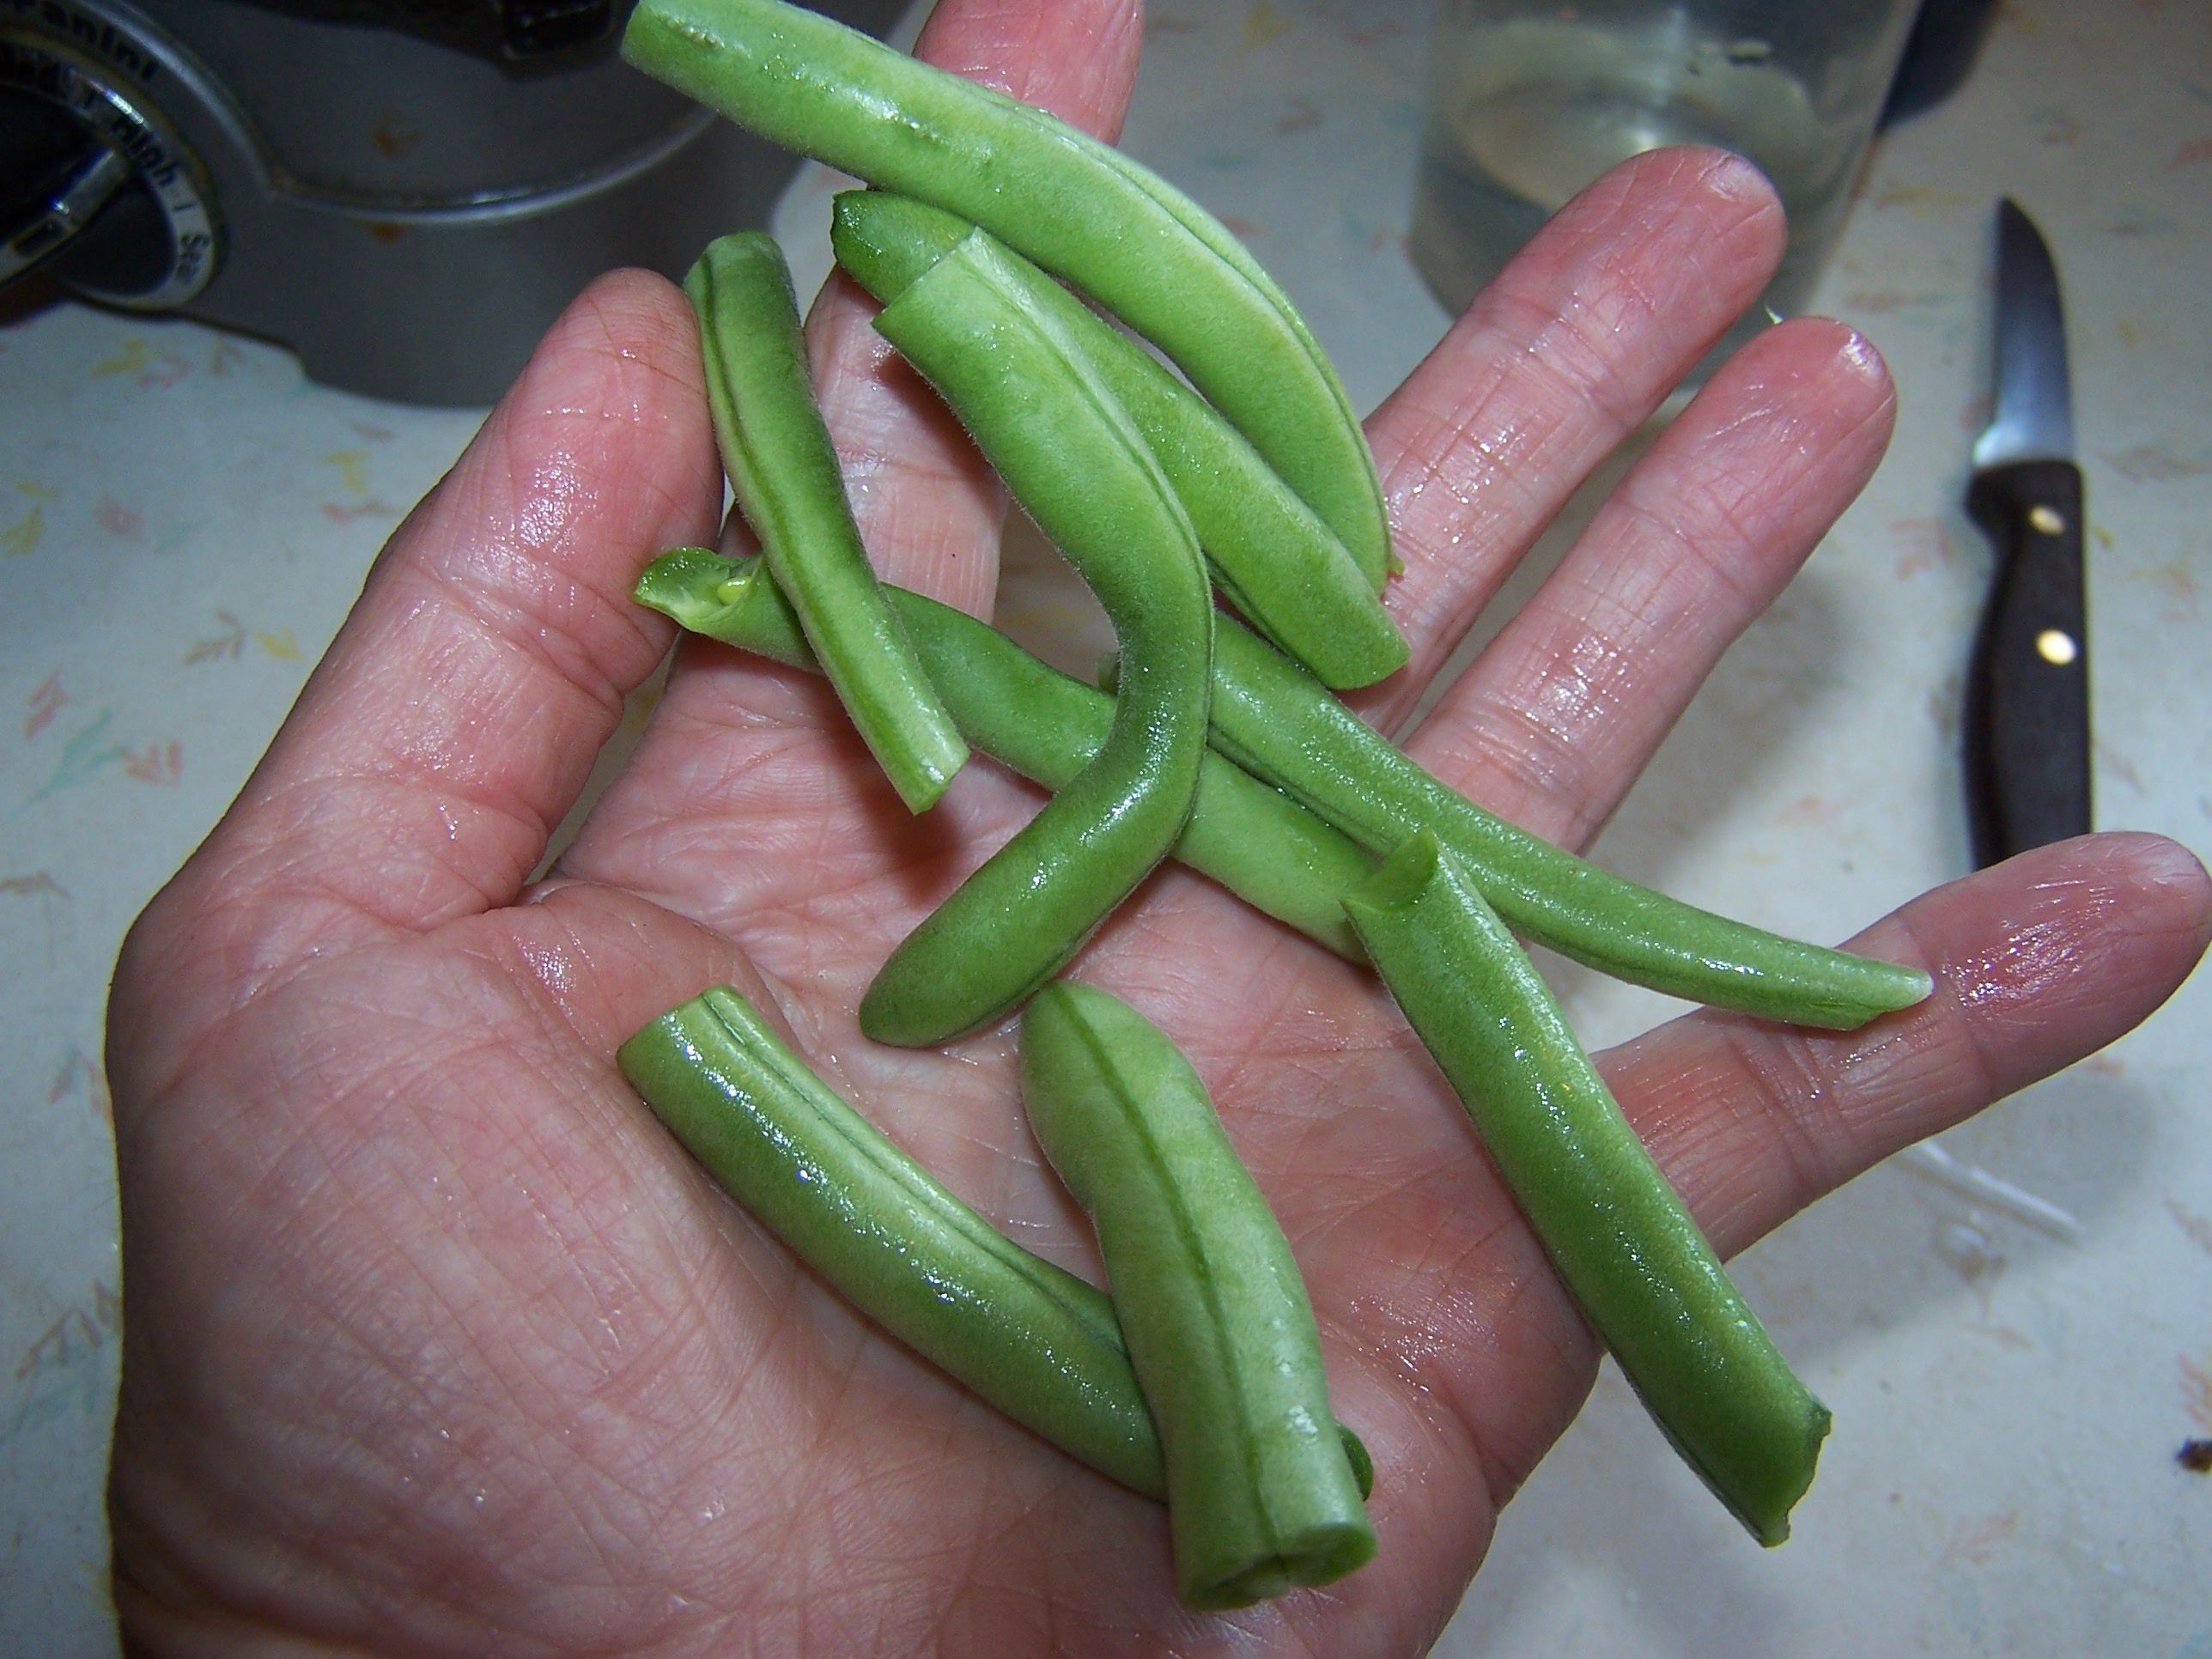
First, pick your beans. It is best to do it early in the morning before the sun is hot. The beans will be fresher, crisper, and of better quality. Then find yourself a cool place to sit and break the stem end and bottom pointed end off your beans. If there are any bug spots take a knife and remove them. Snap them into 2-3 pieces or you may leave them whole.

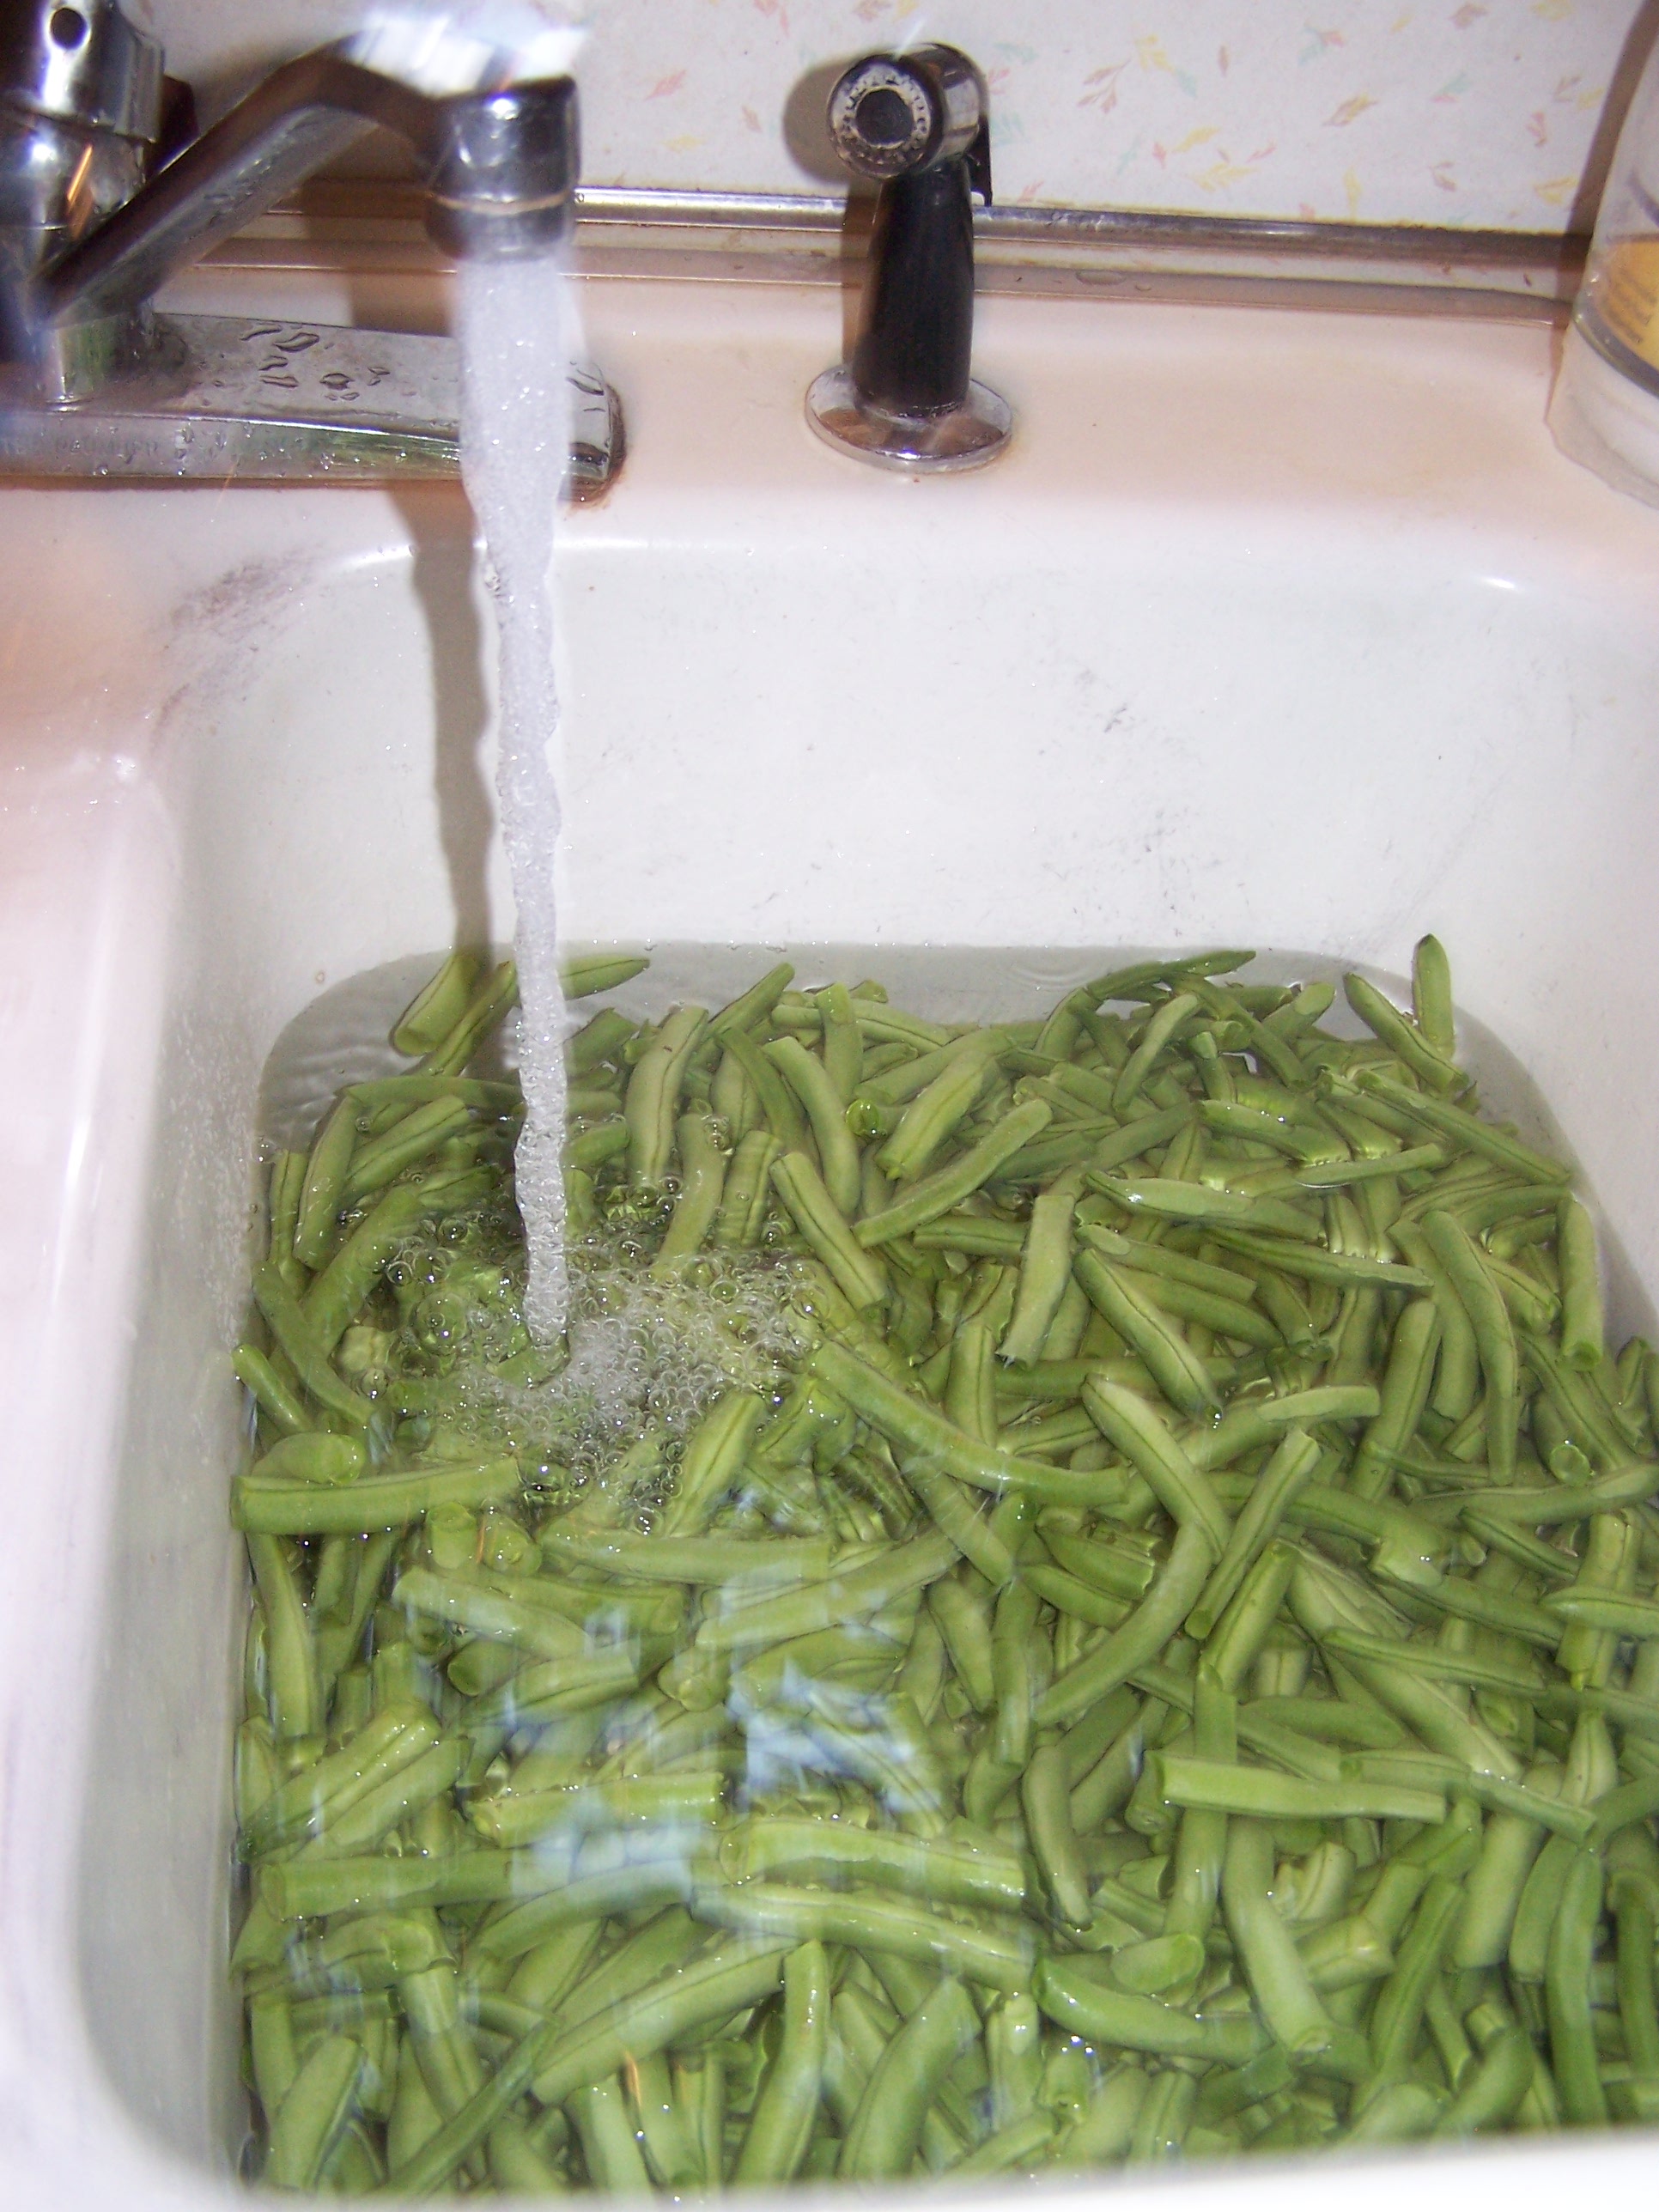
Wash them at least twice. I put water in the sink and briskly stir them around. You want your water to be clean when you are done.

Take your finger and feel the top edge of the jar.  It should be smooth.  Make sure there are not rough spots or chips on the glass. If it is, the jar will not seal properly.

I fill clean jars with beans.  You can heat the beans first but they are harder to work with and the only thing you gain is a few more beans in the jar.

You do not want to overfill the jar. The bottom lip at the neck of the jar is your fill line.

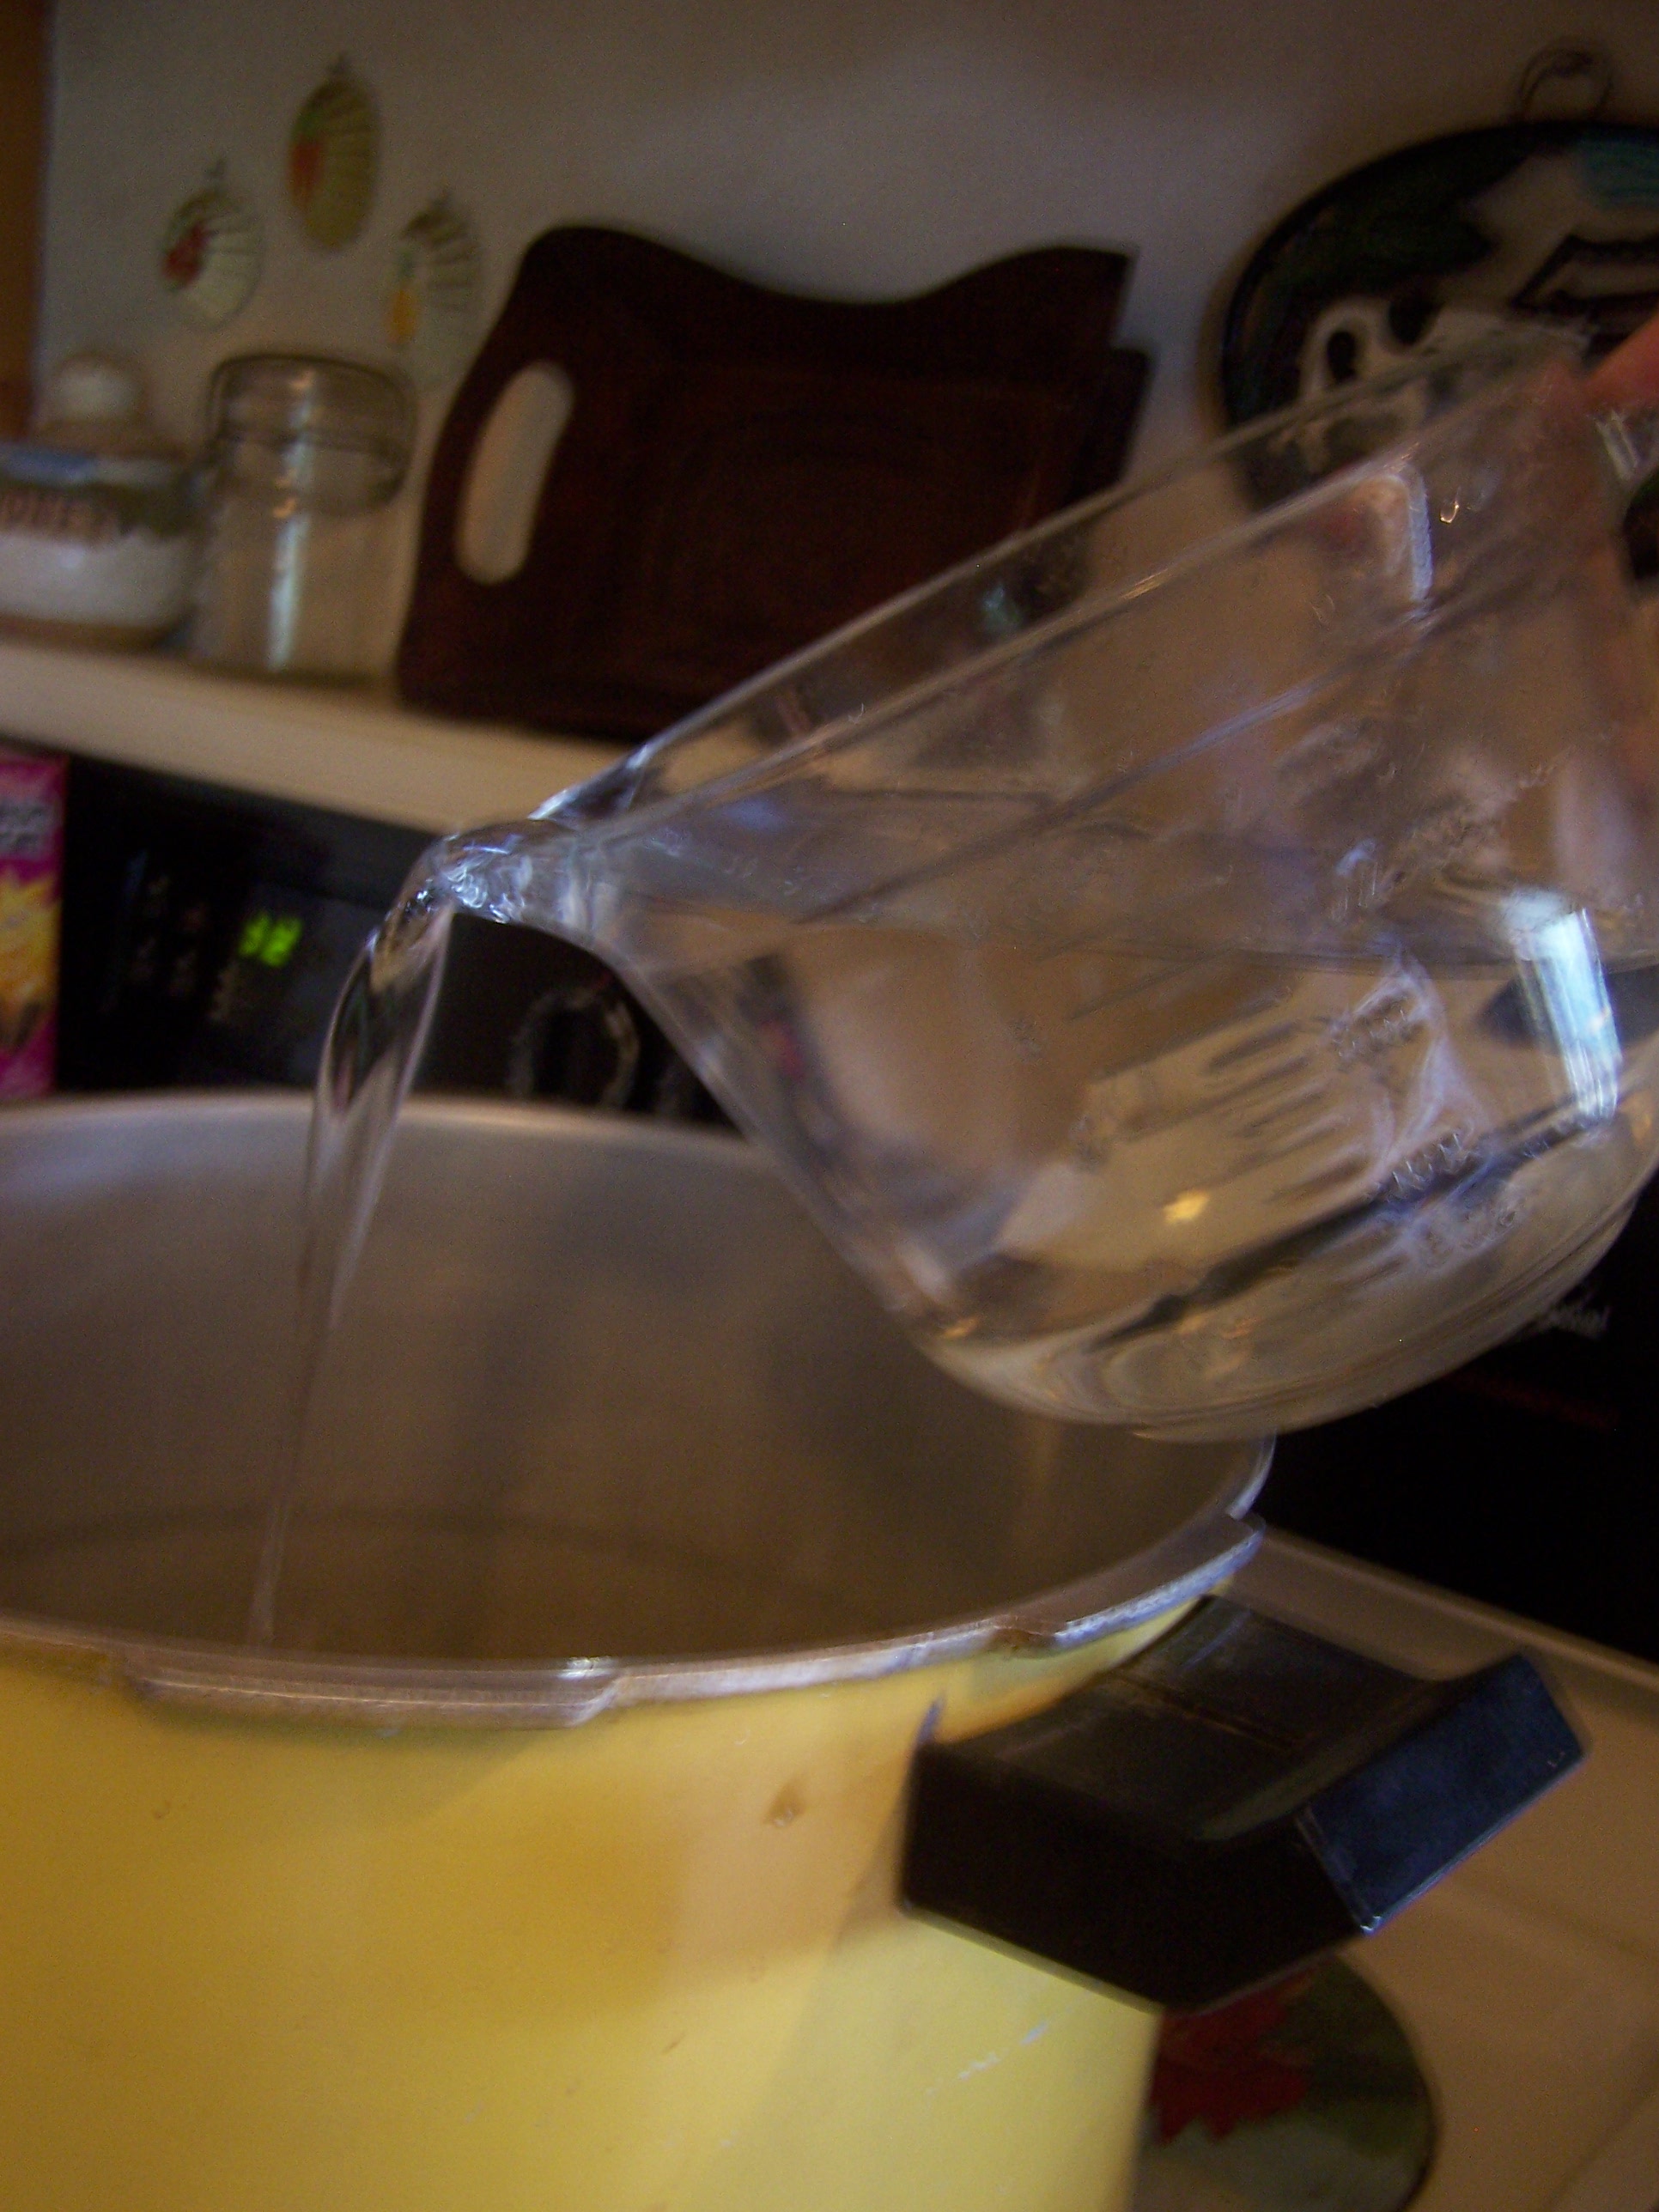
Add 1 tsp. of salt per quart (1/2 tsp. per pint) and fill to the bottom lip with boiling water. Do not overfill or the jars will not seal.

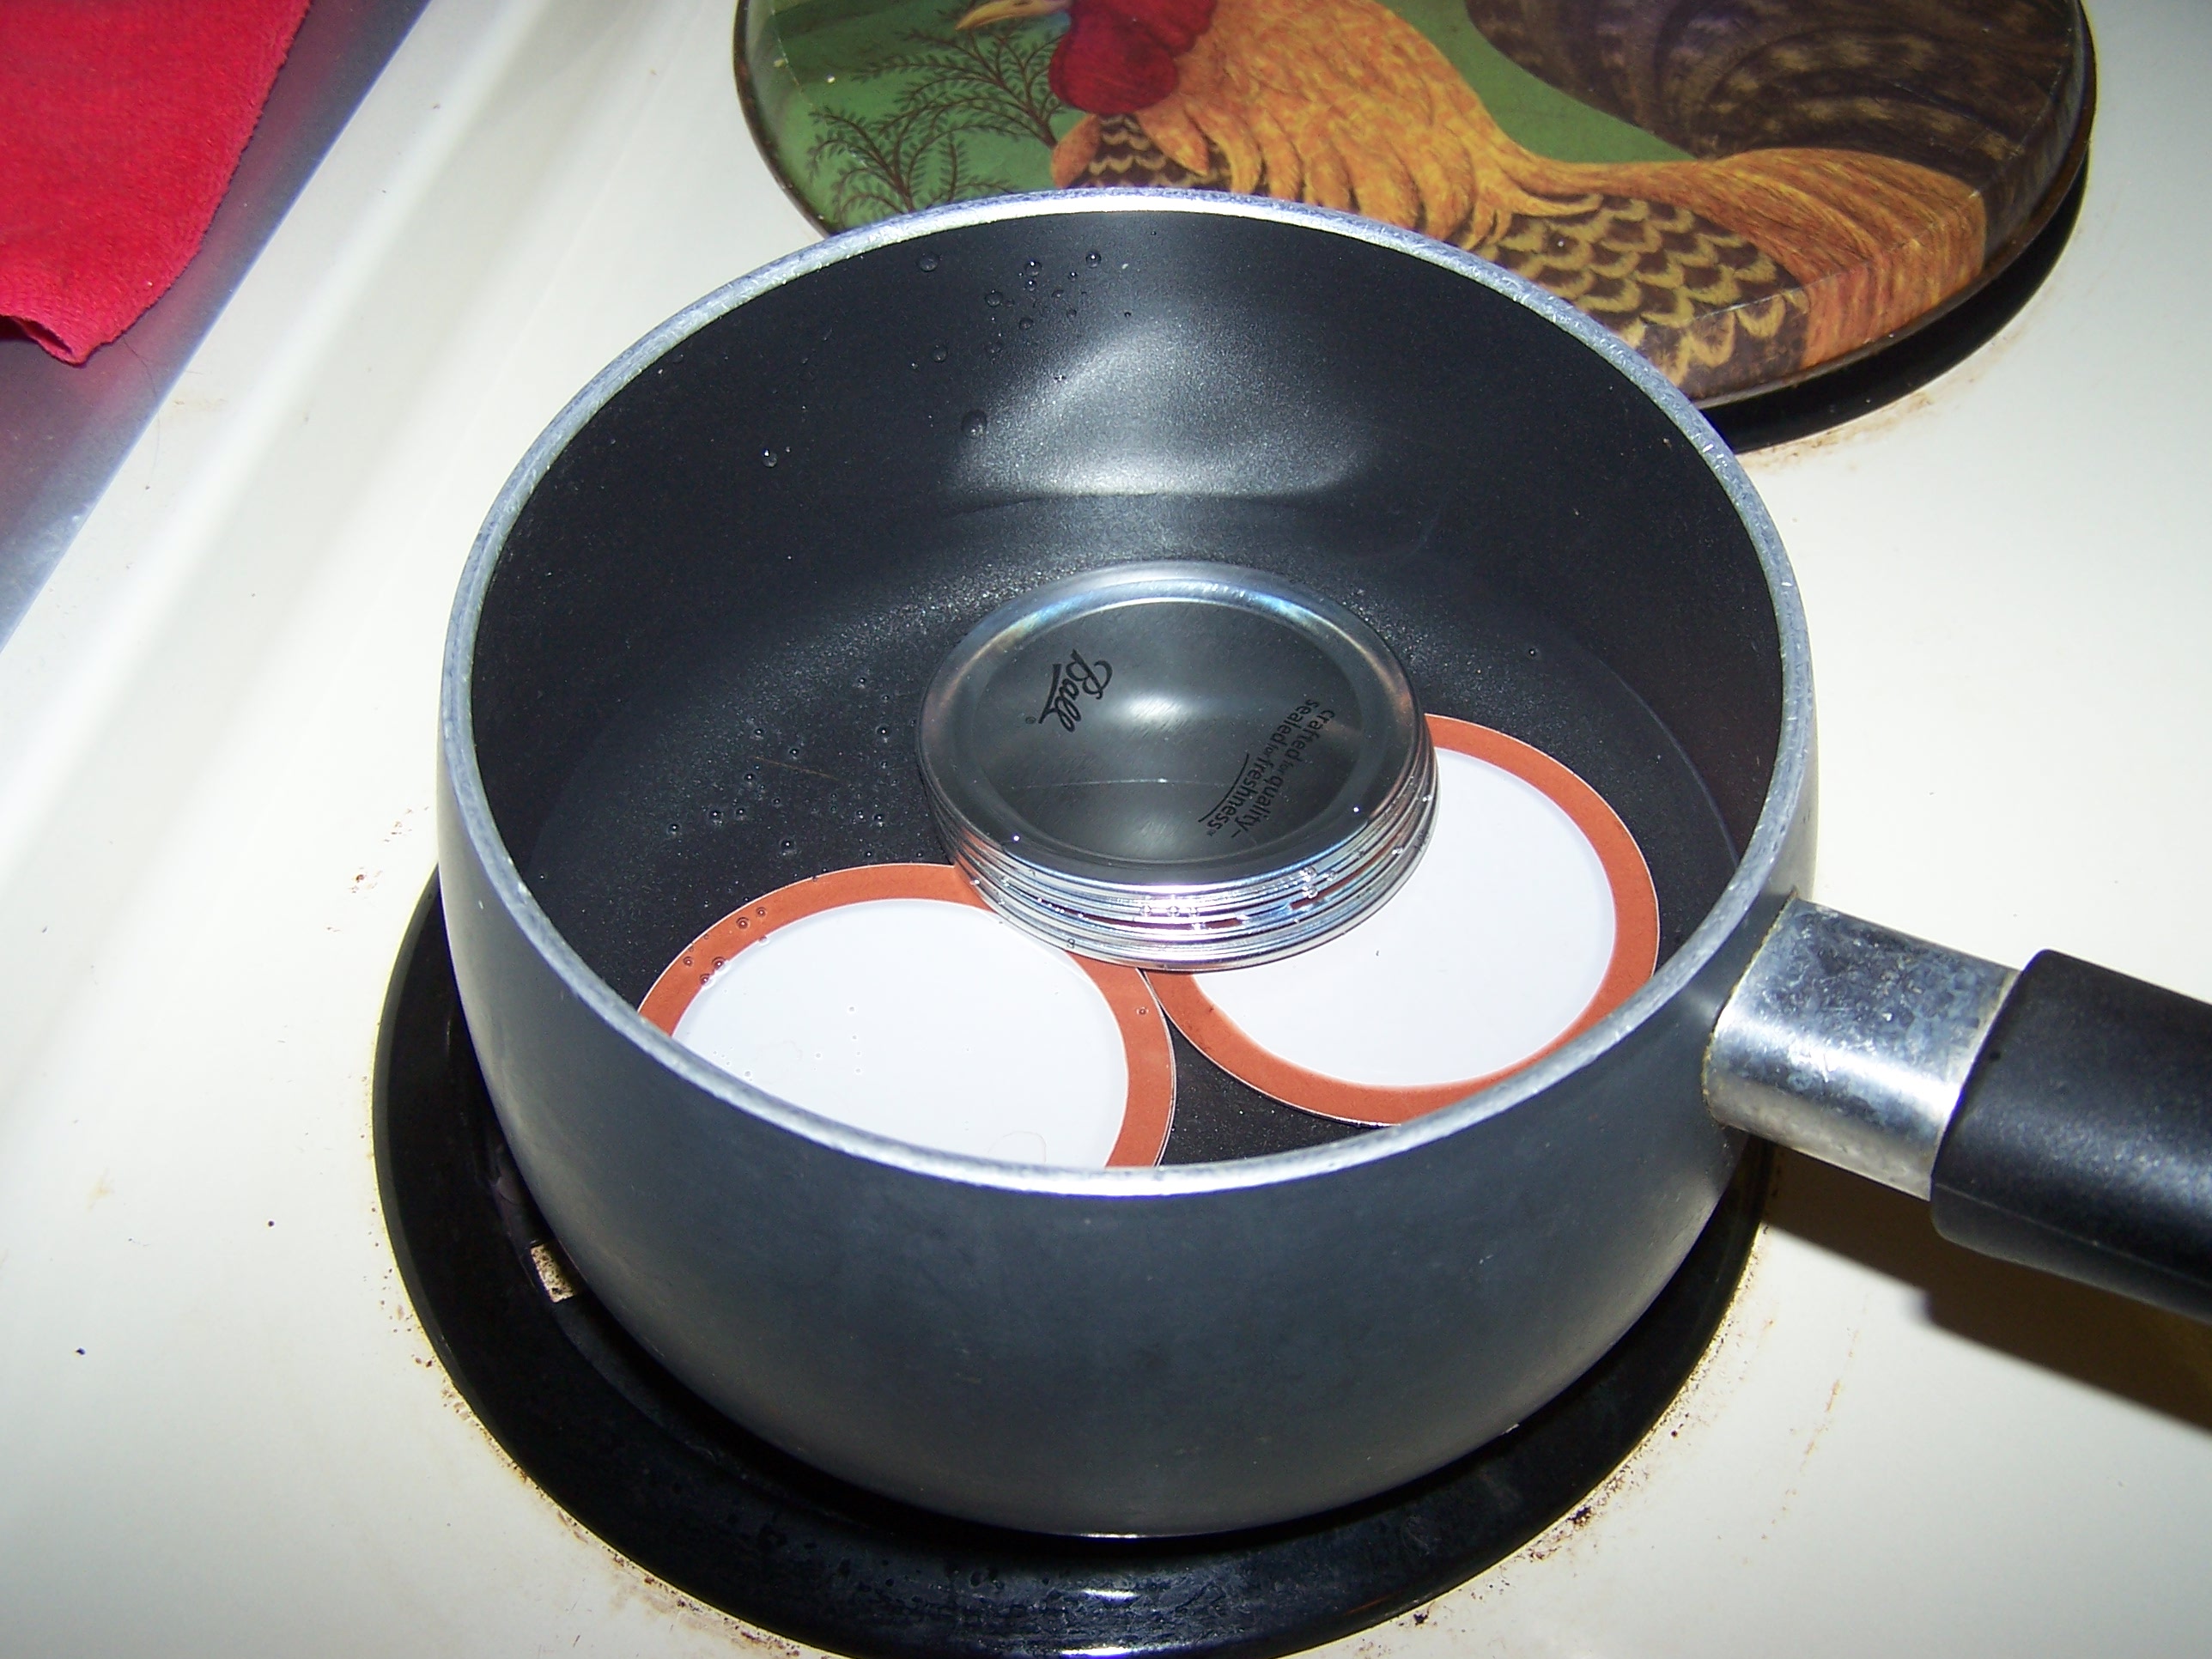
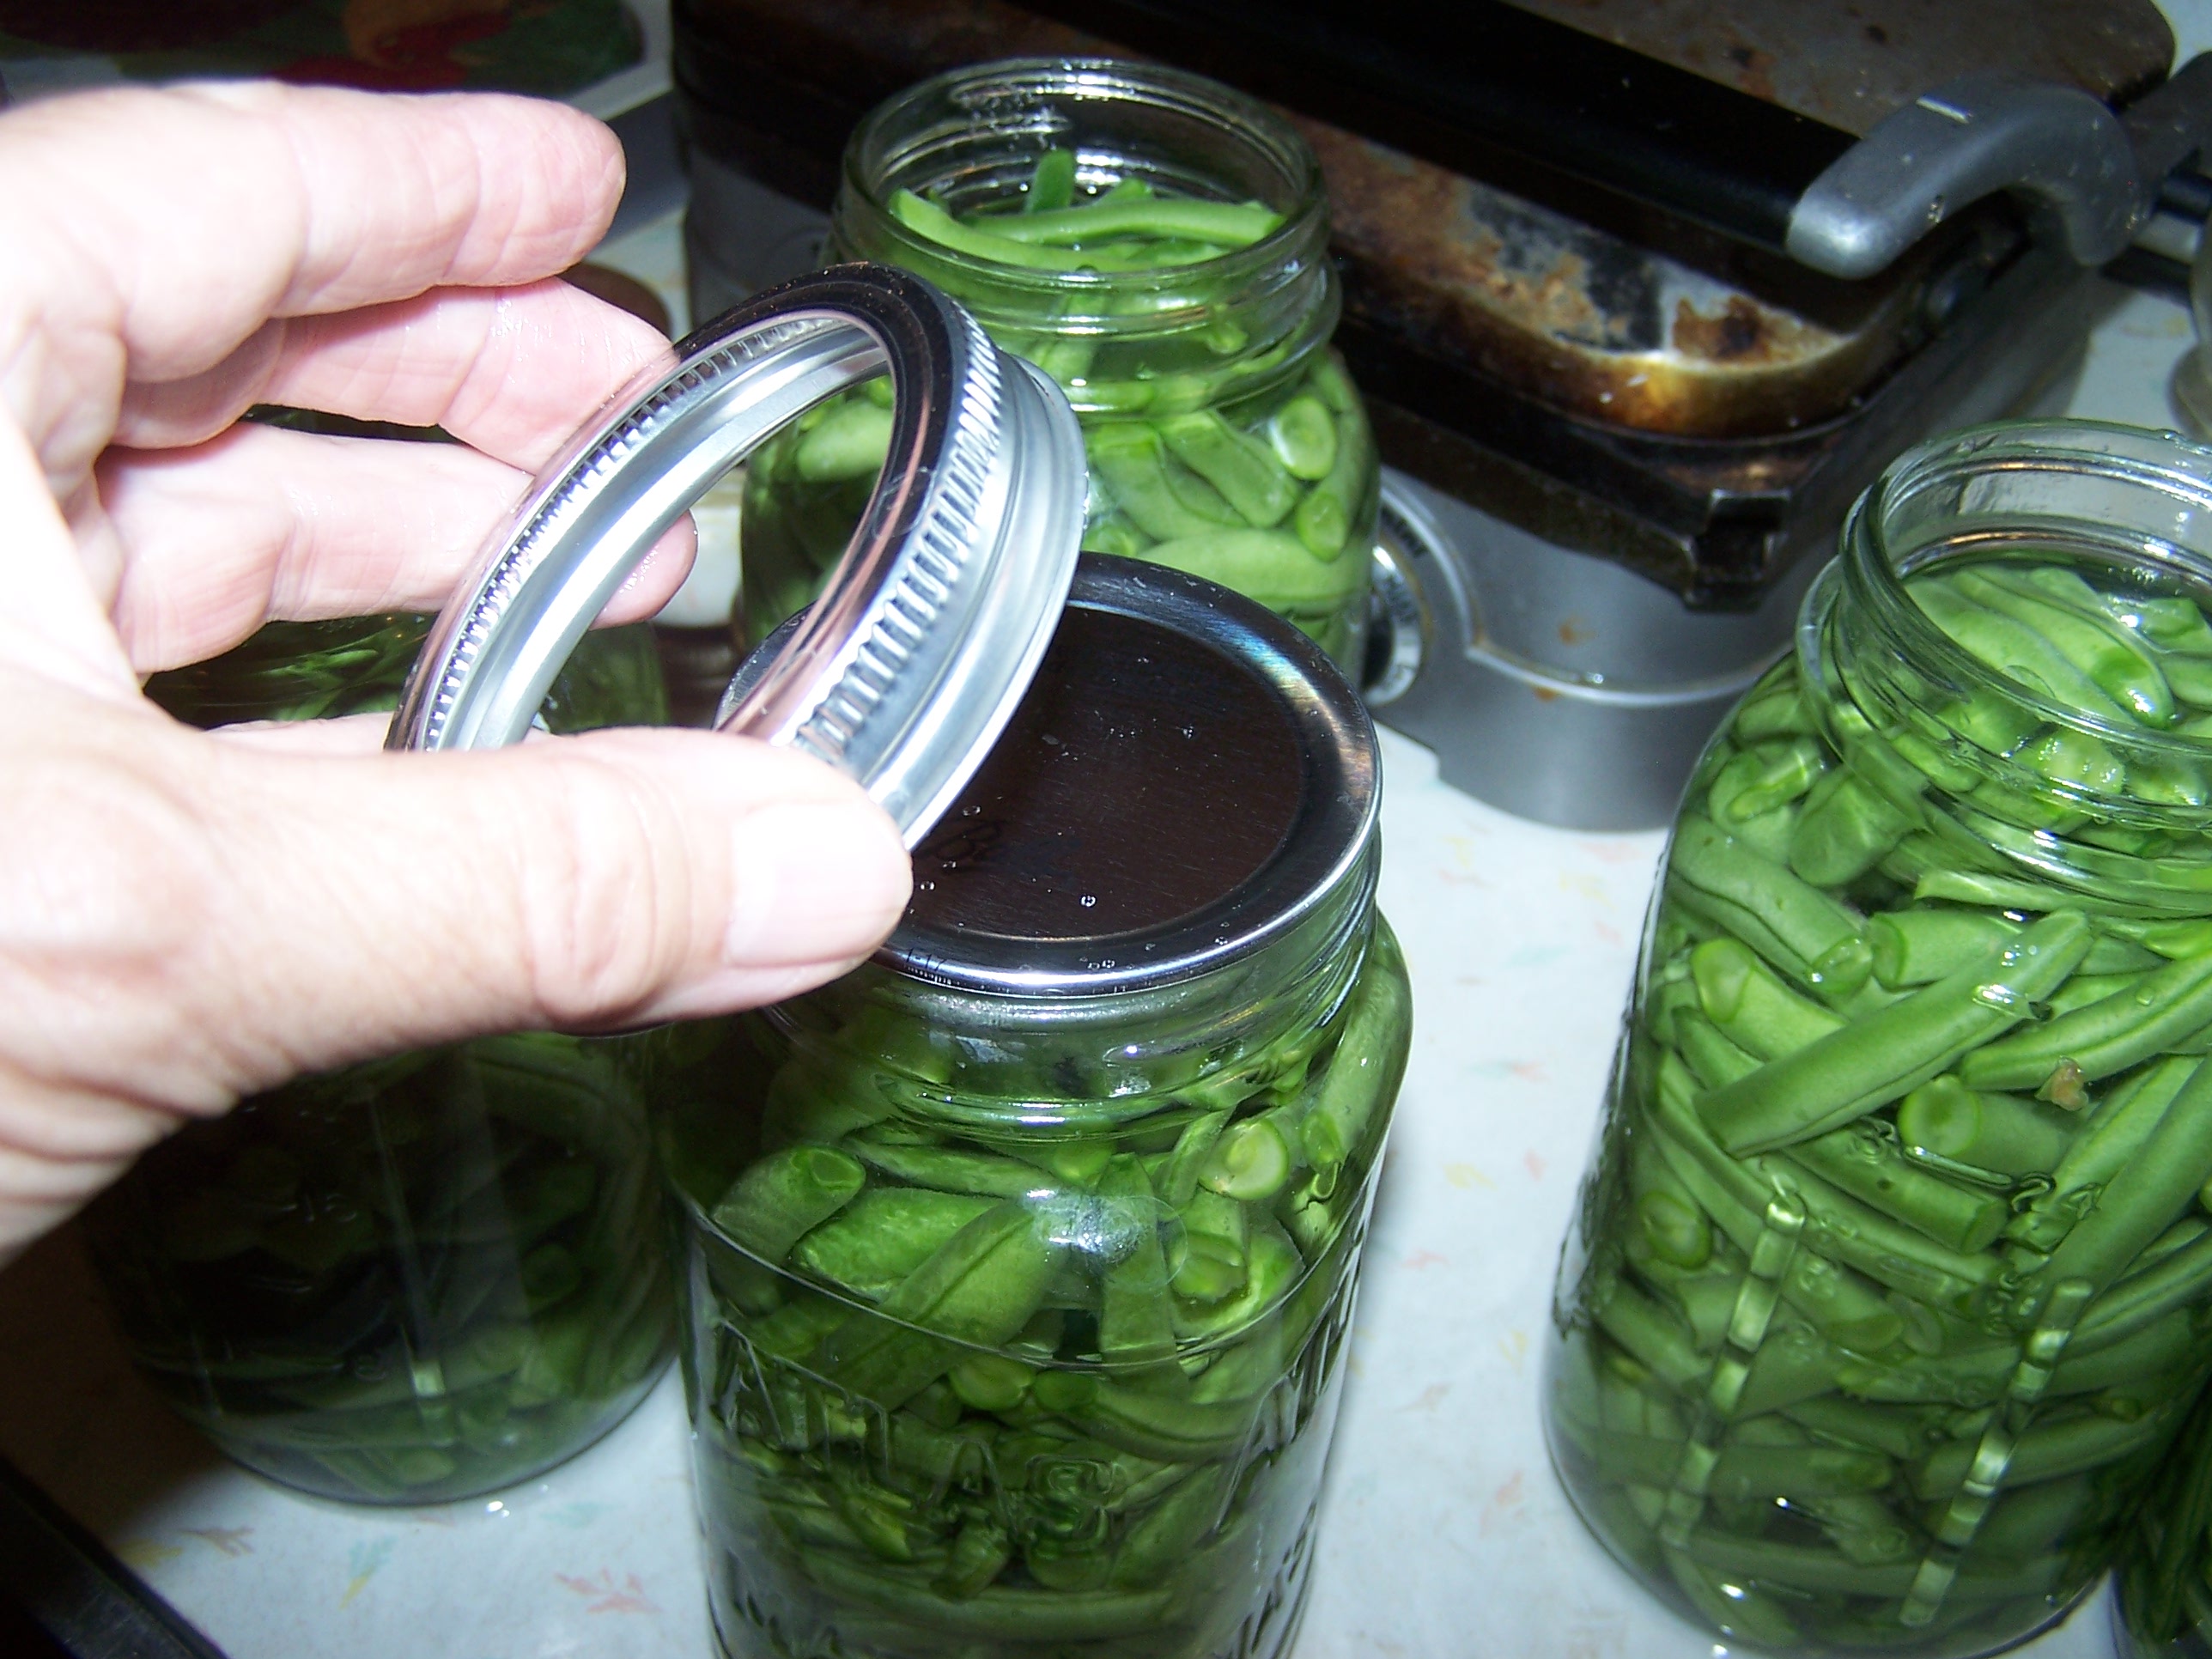
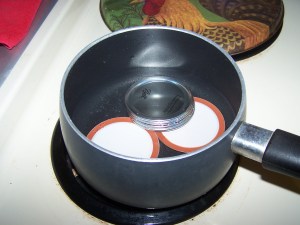
Heat the lids in boiling water and put on top of the jar, making sure the top of the jar is clean and free of any salt or food.
Add the ring and tighten.

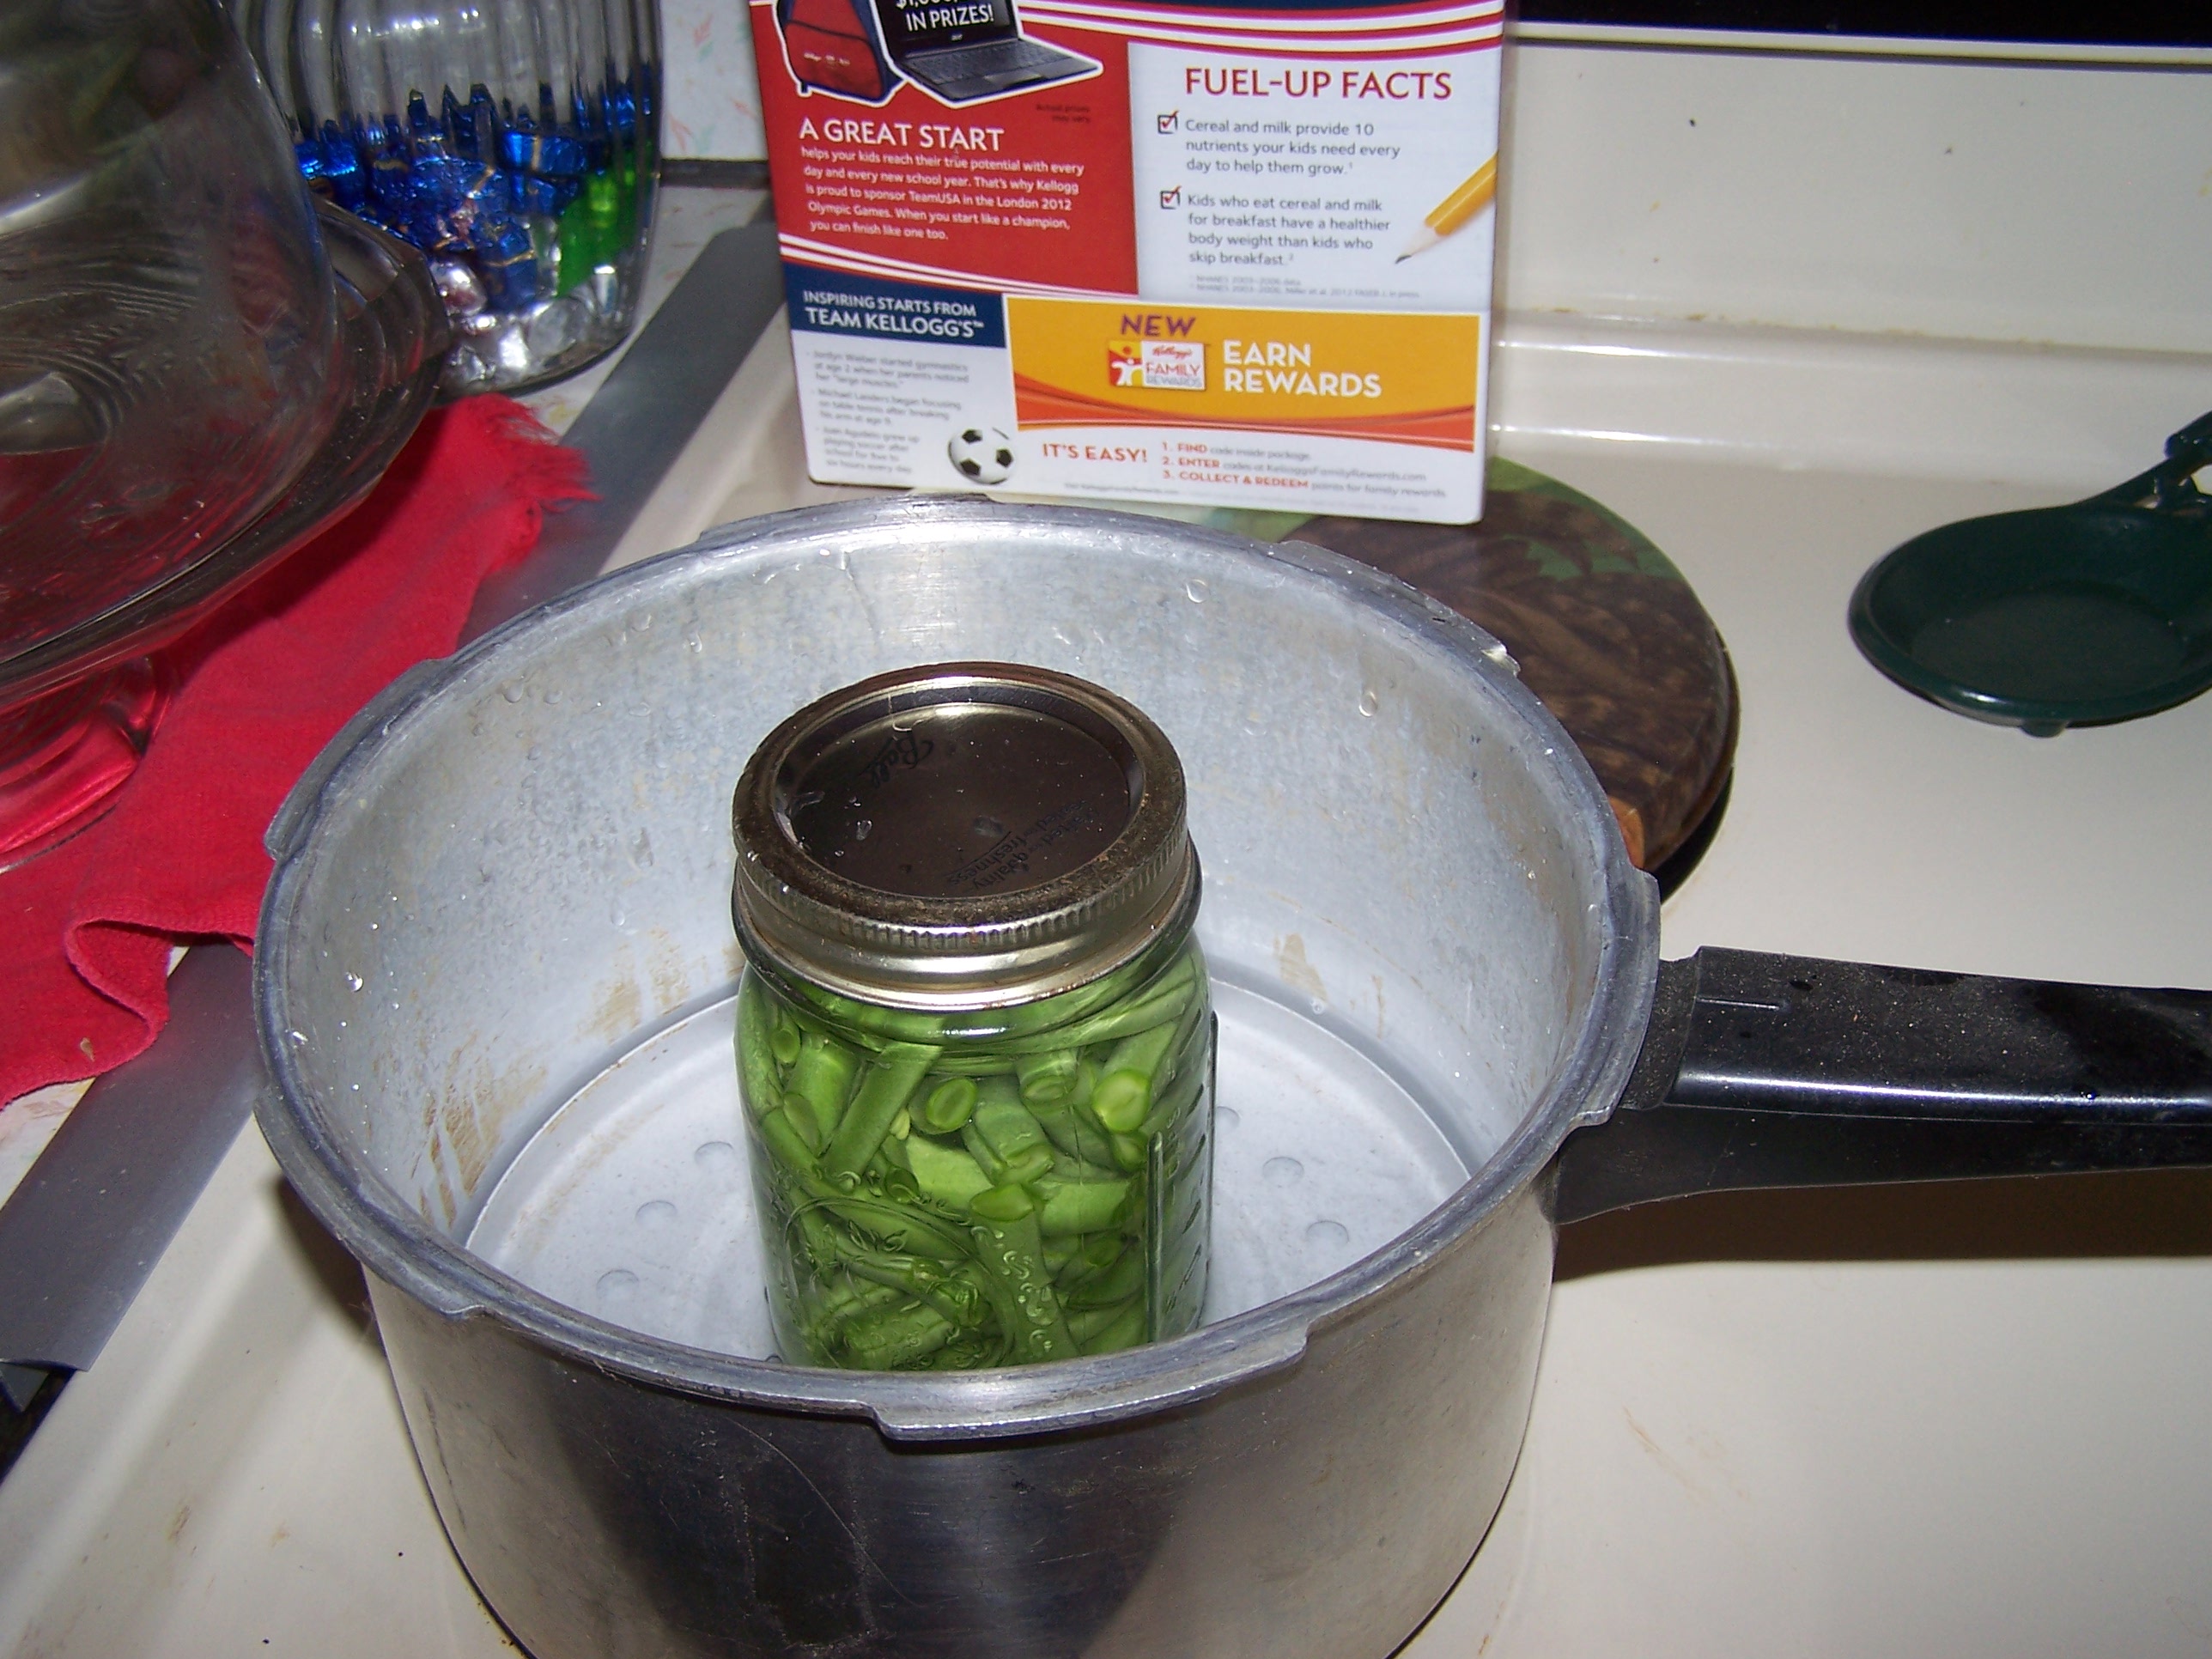
Put 2 quarts of water in the pressure canner.

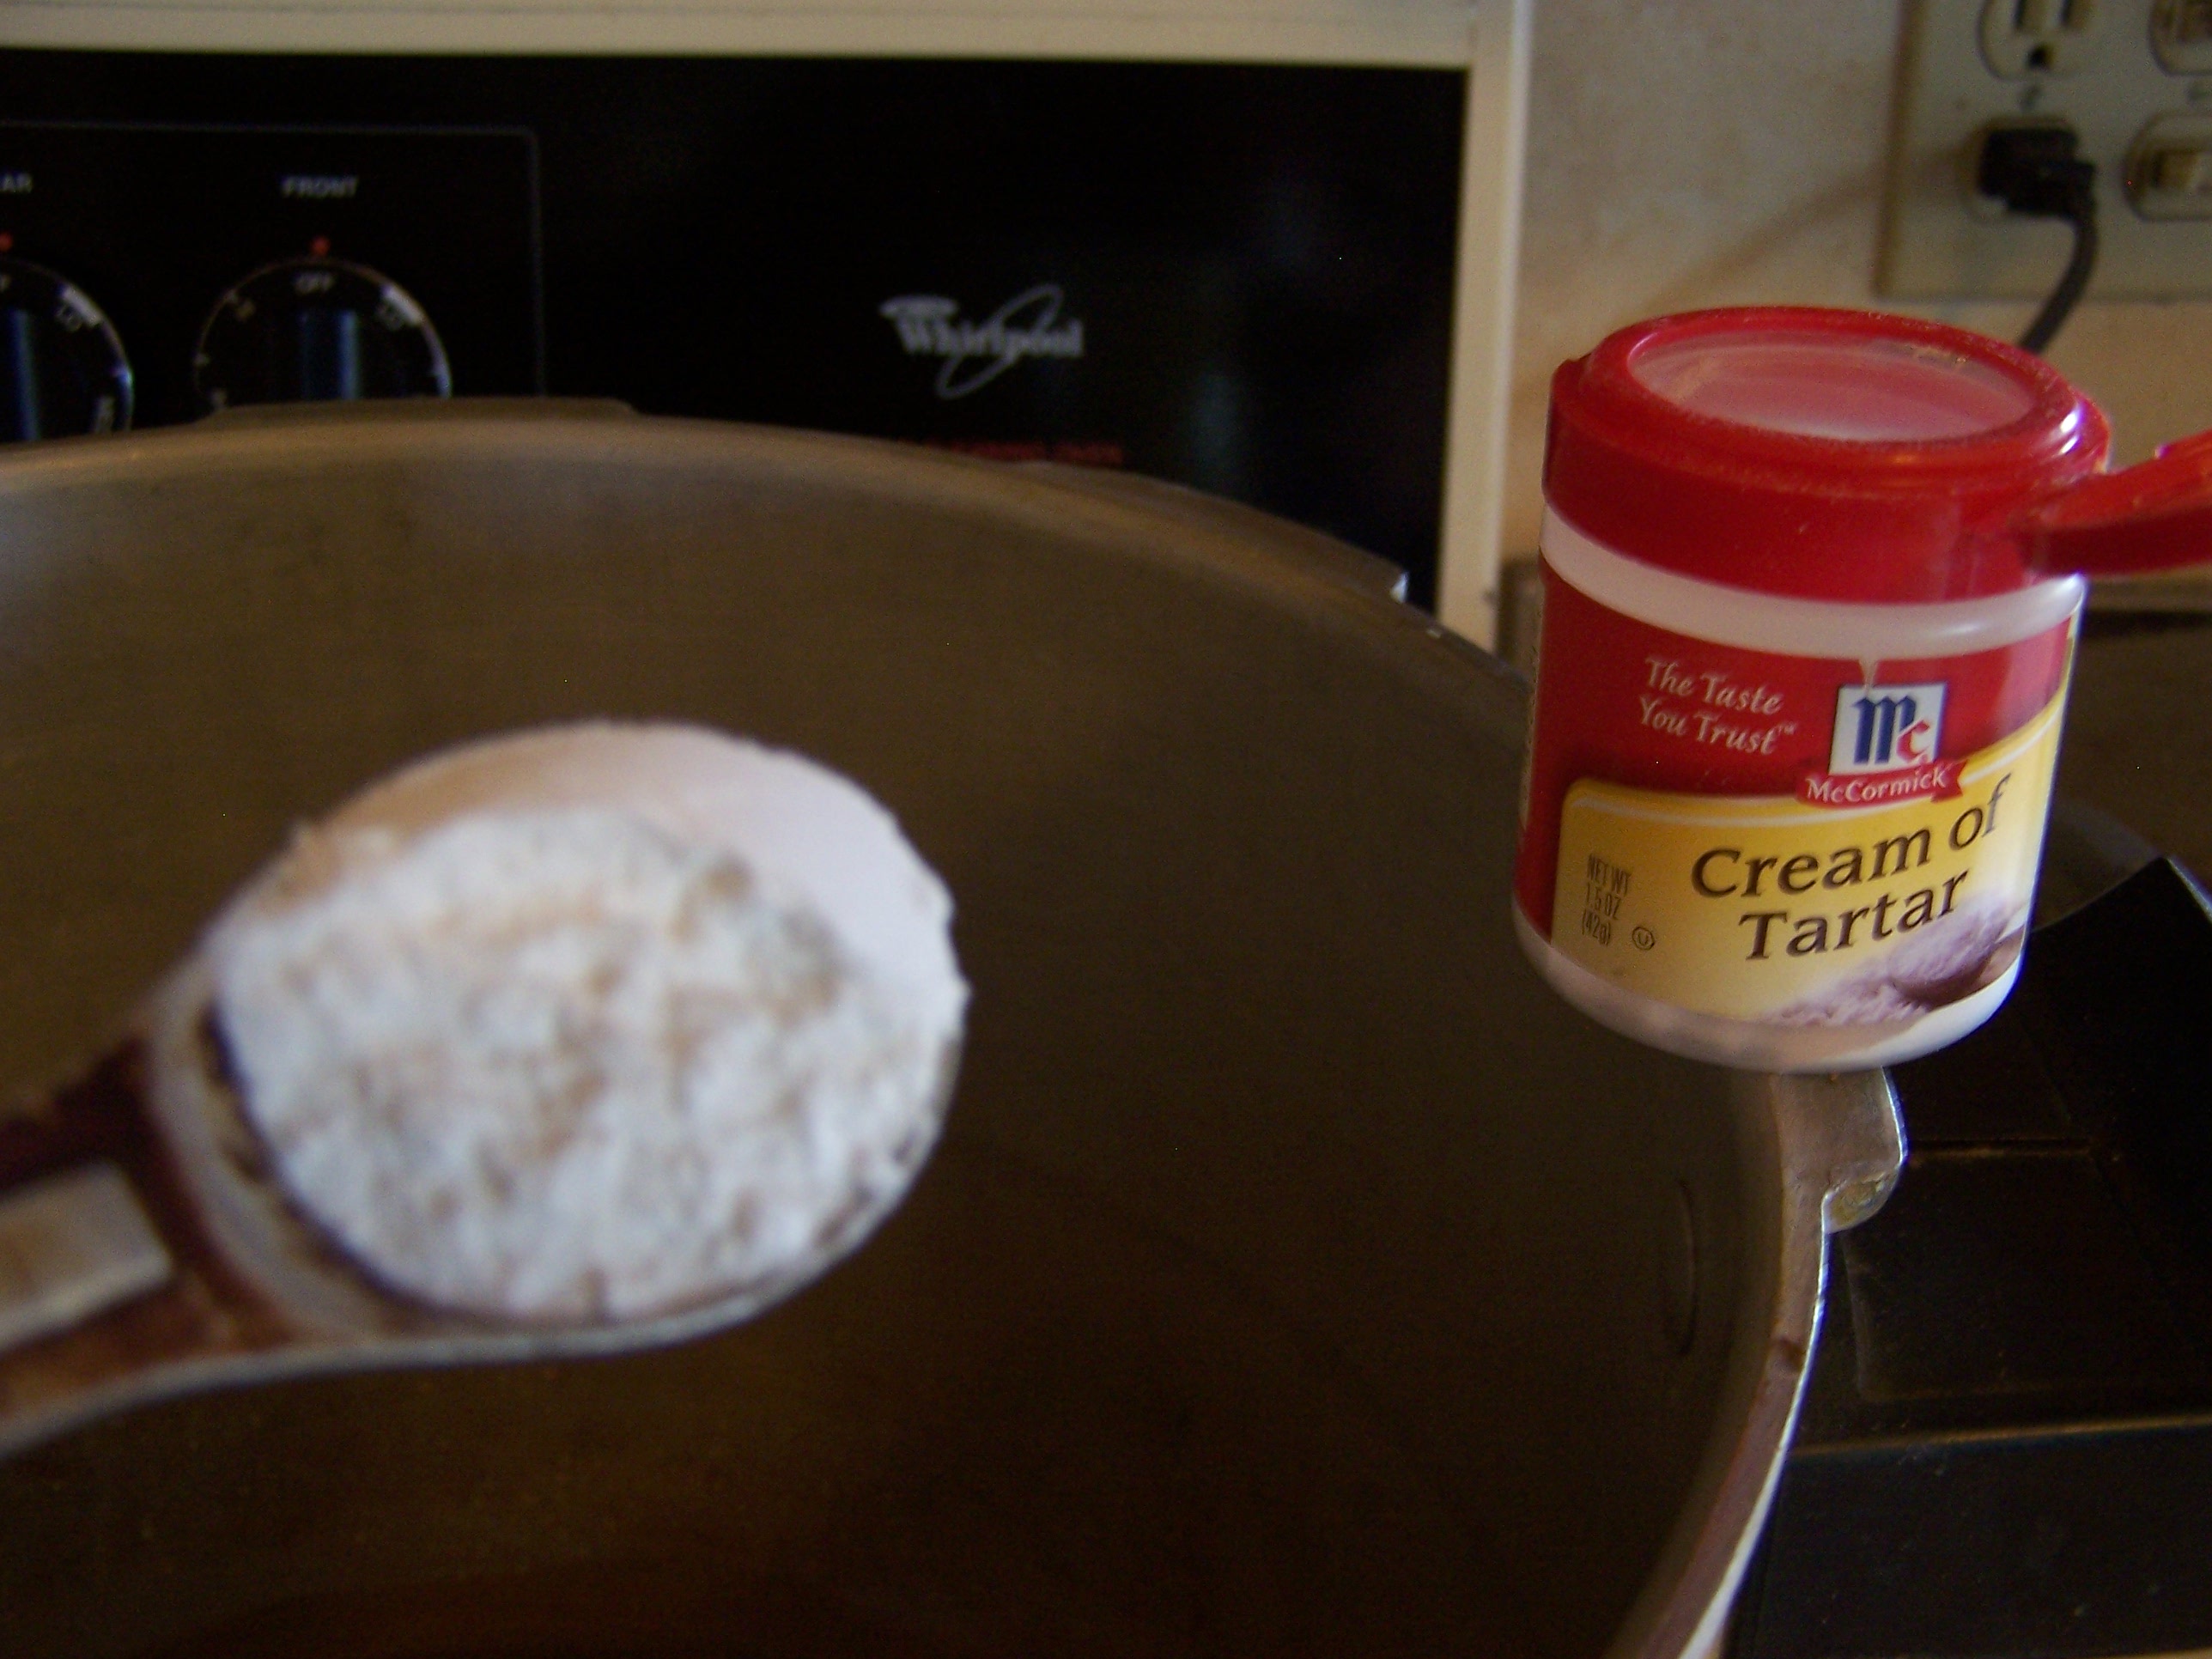
Add 1 tsp. cream of tarter to the water. This keeps the aluminium inside of the canner looking bright instead of dull and off color.

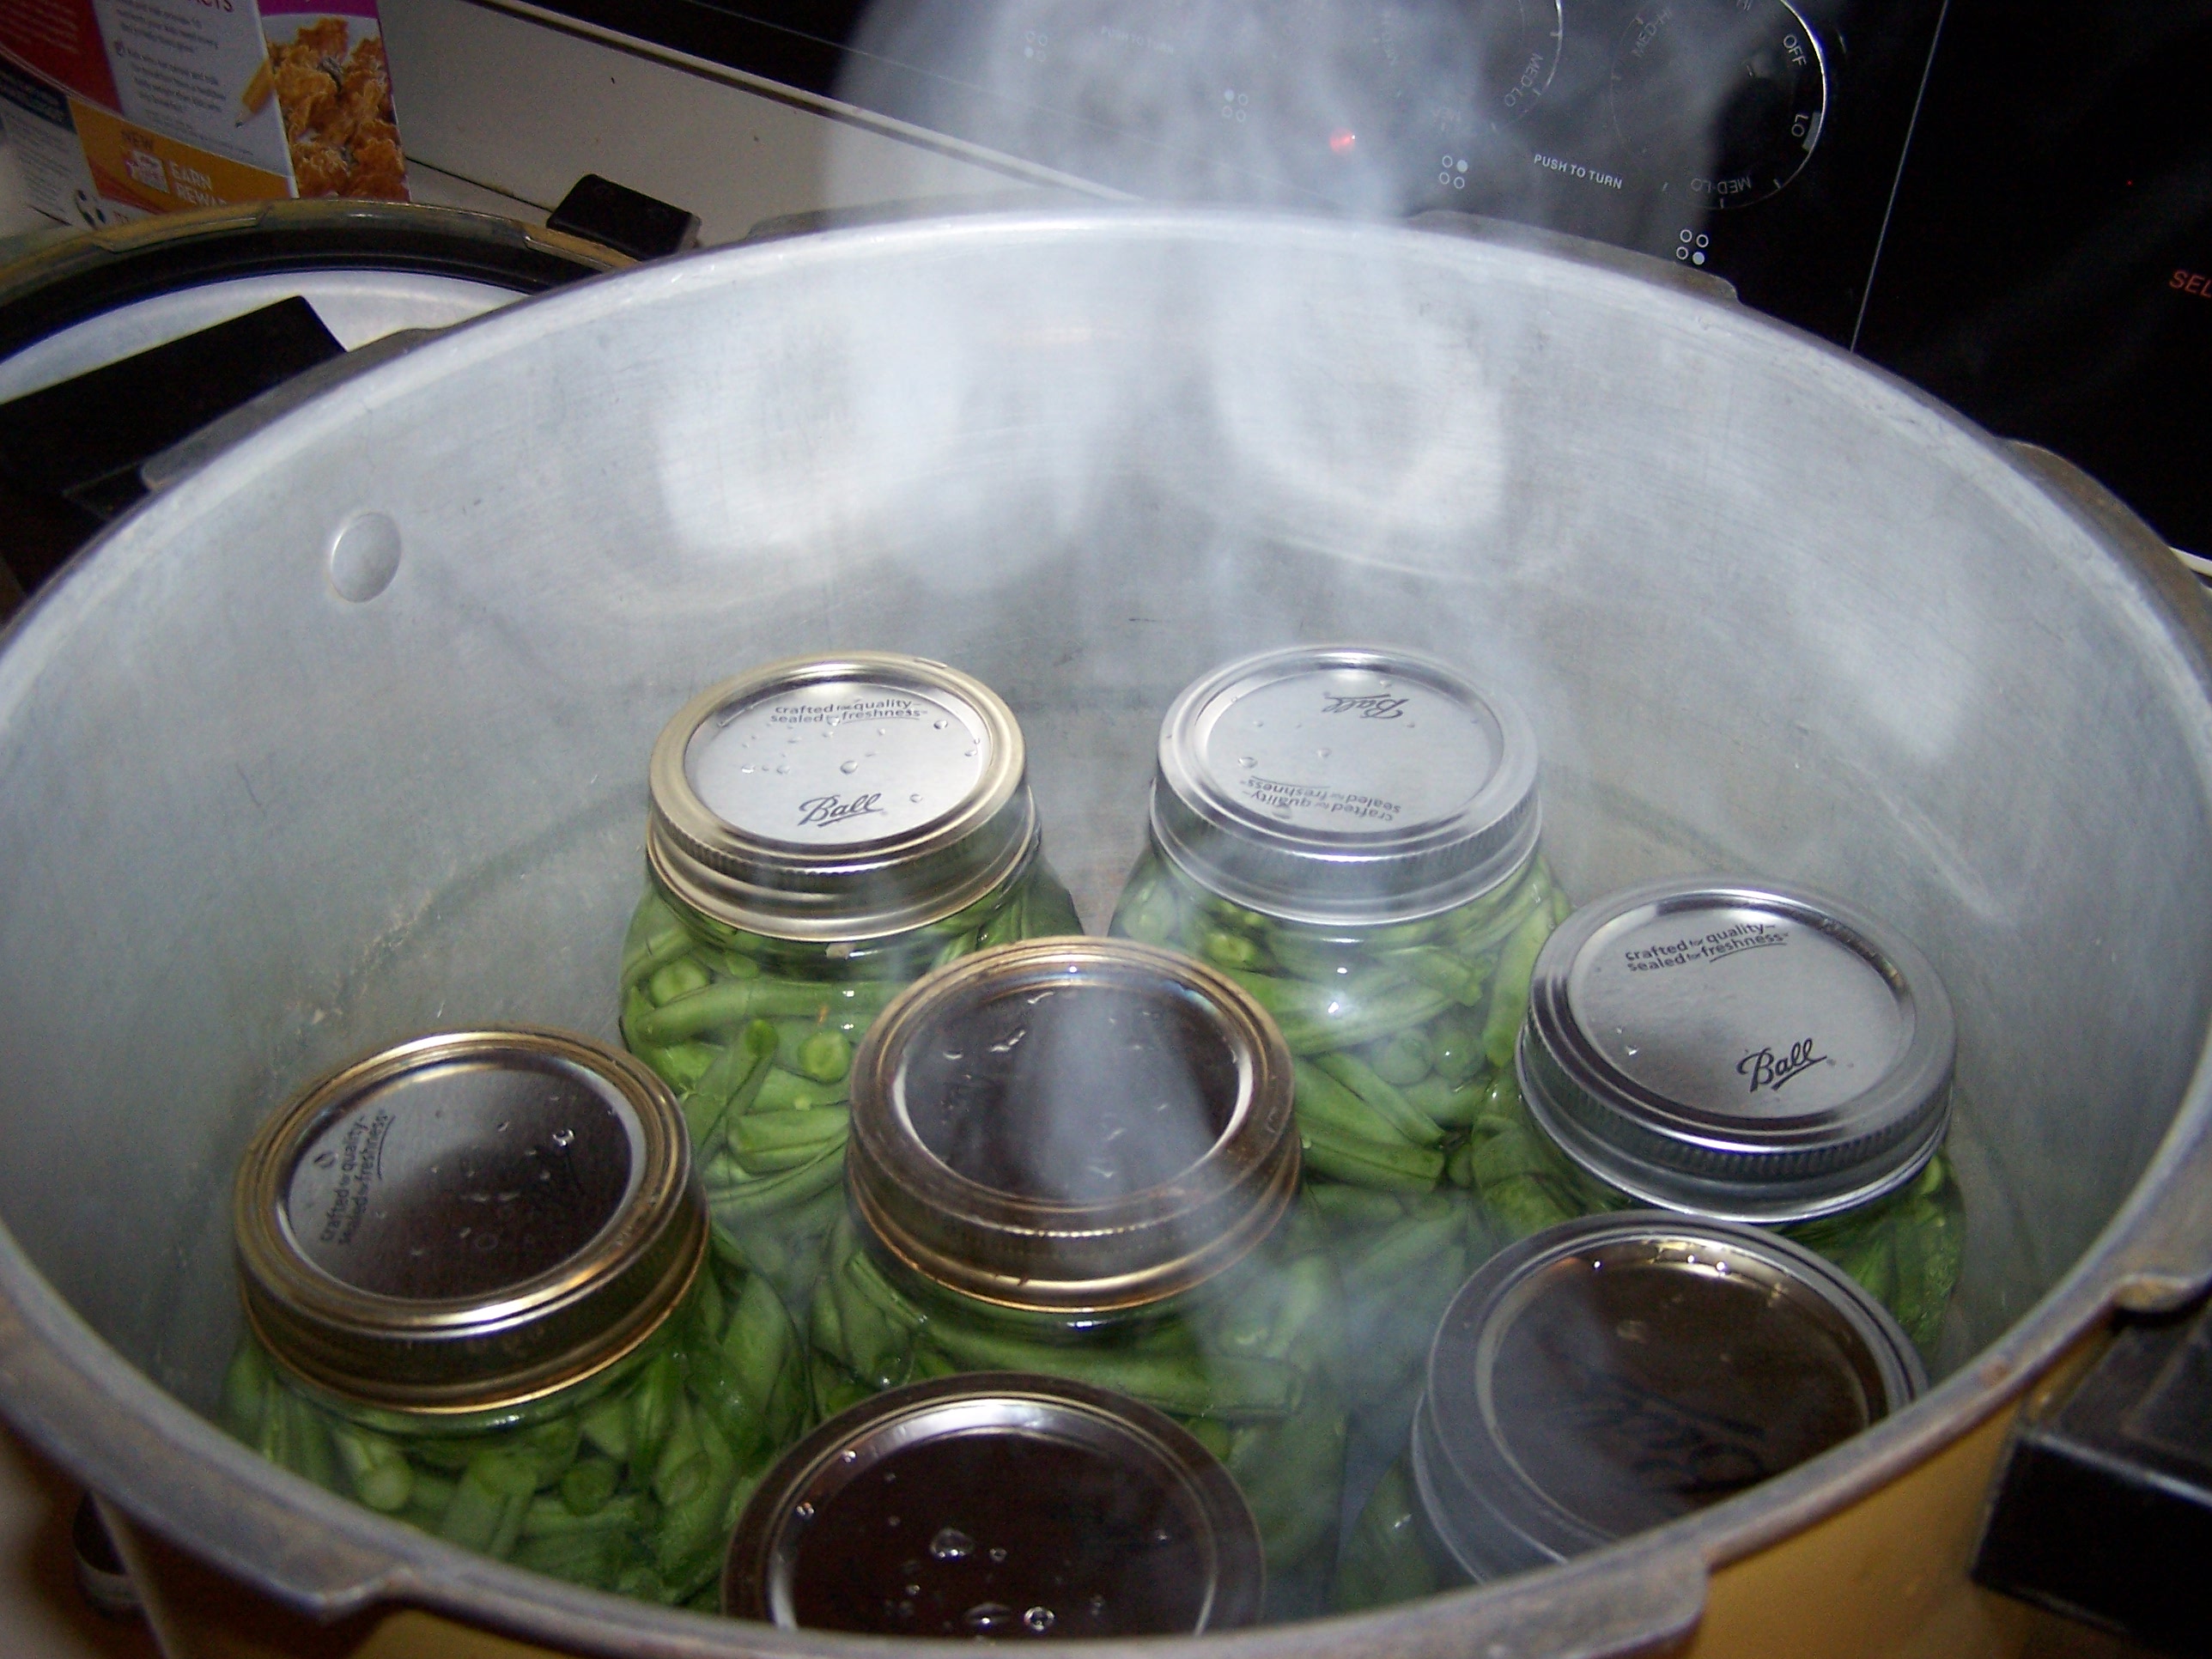
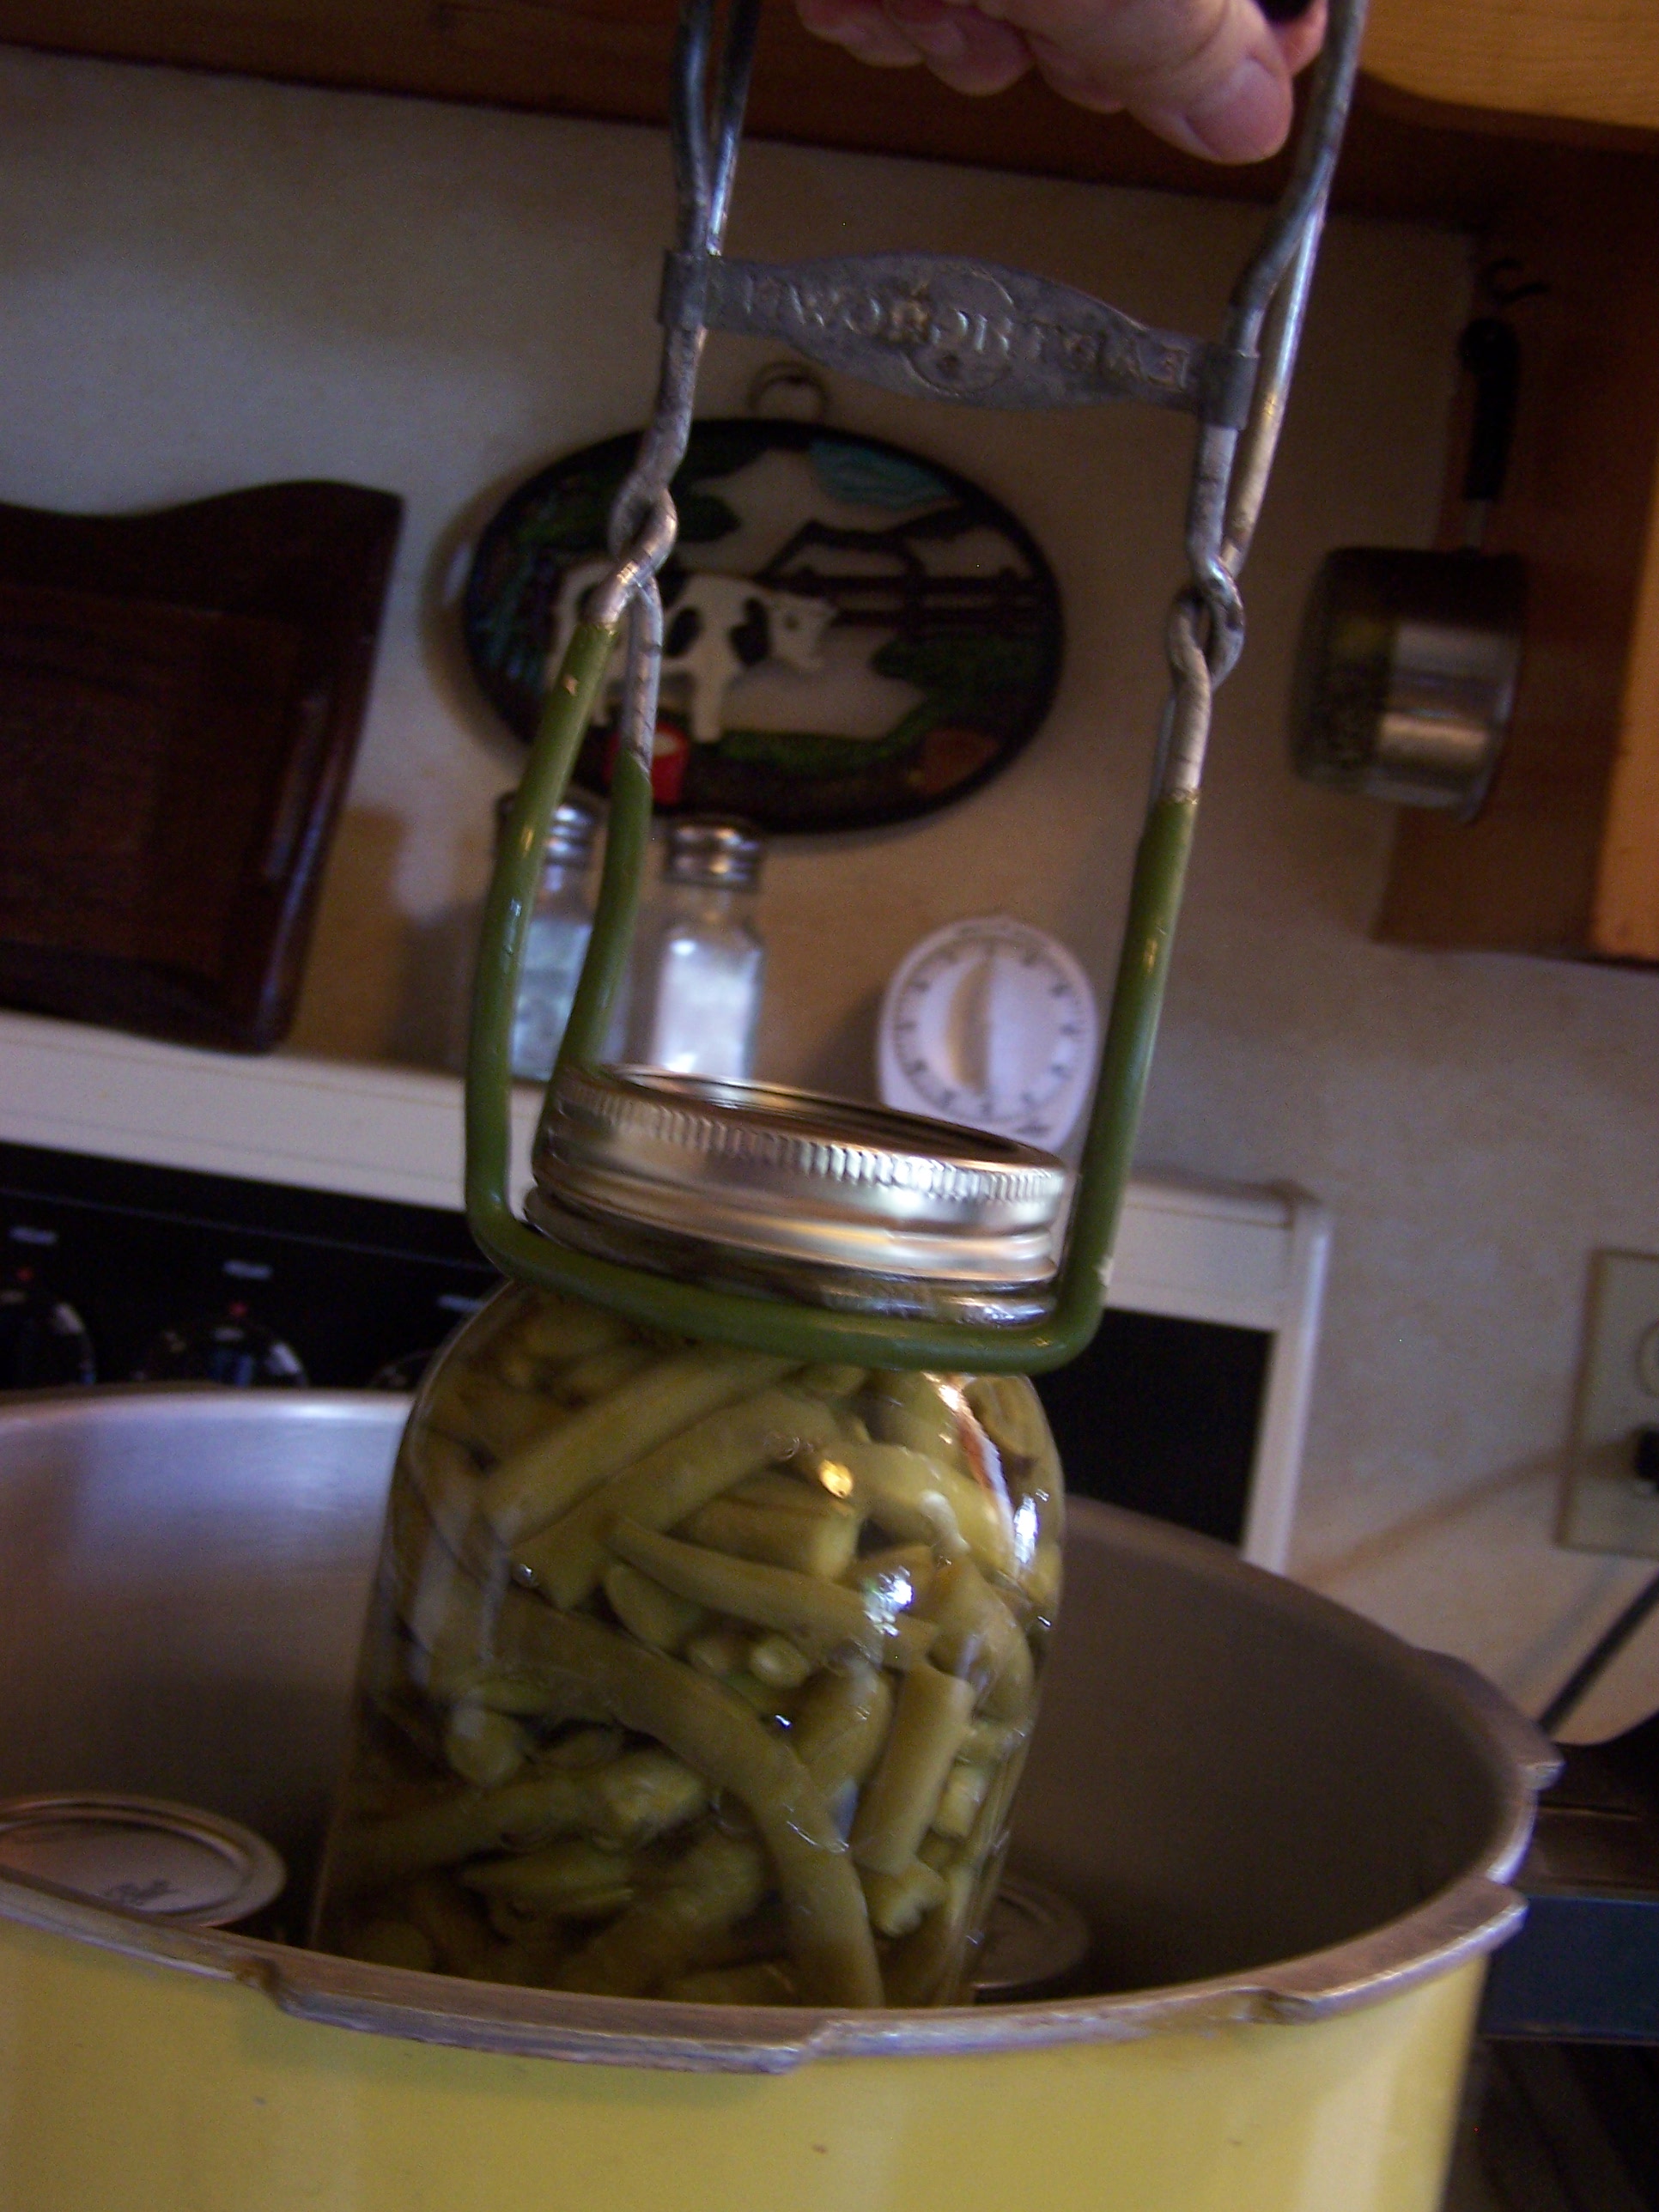
Set the jars into the canner.  My canner holds 7 quarts or 10 pints.

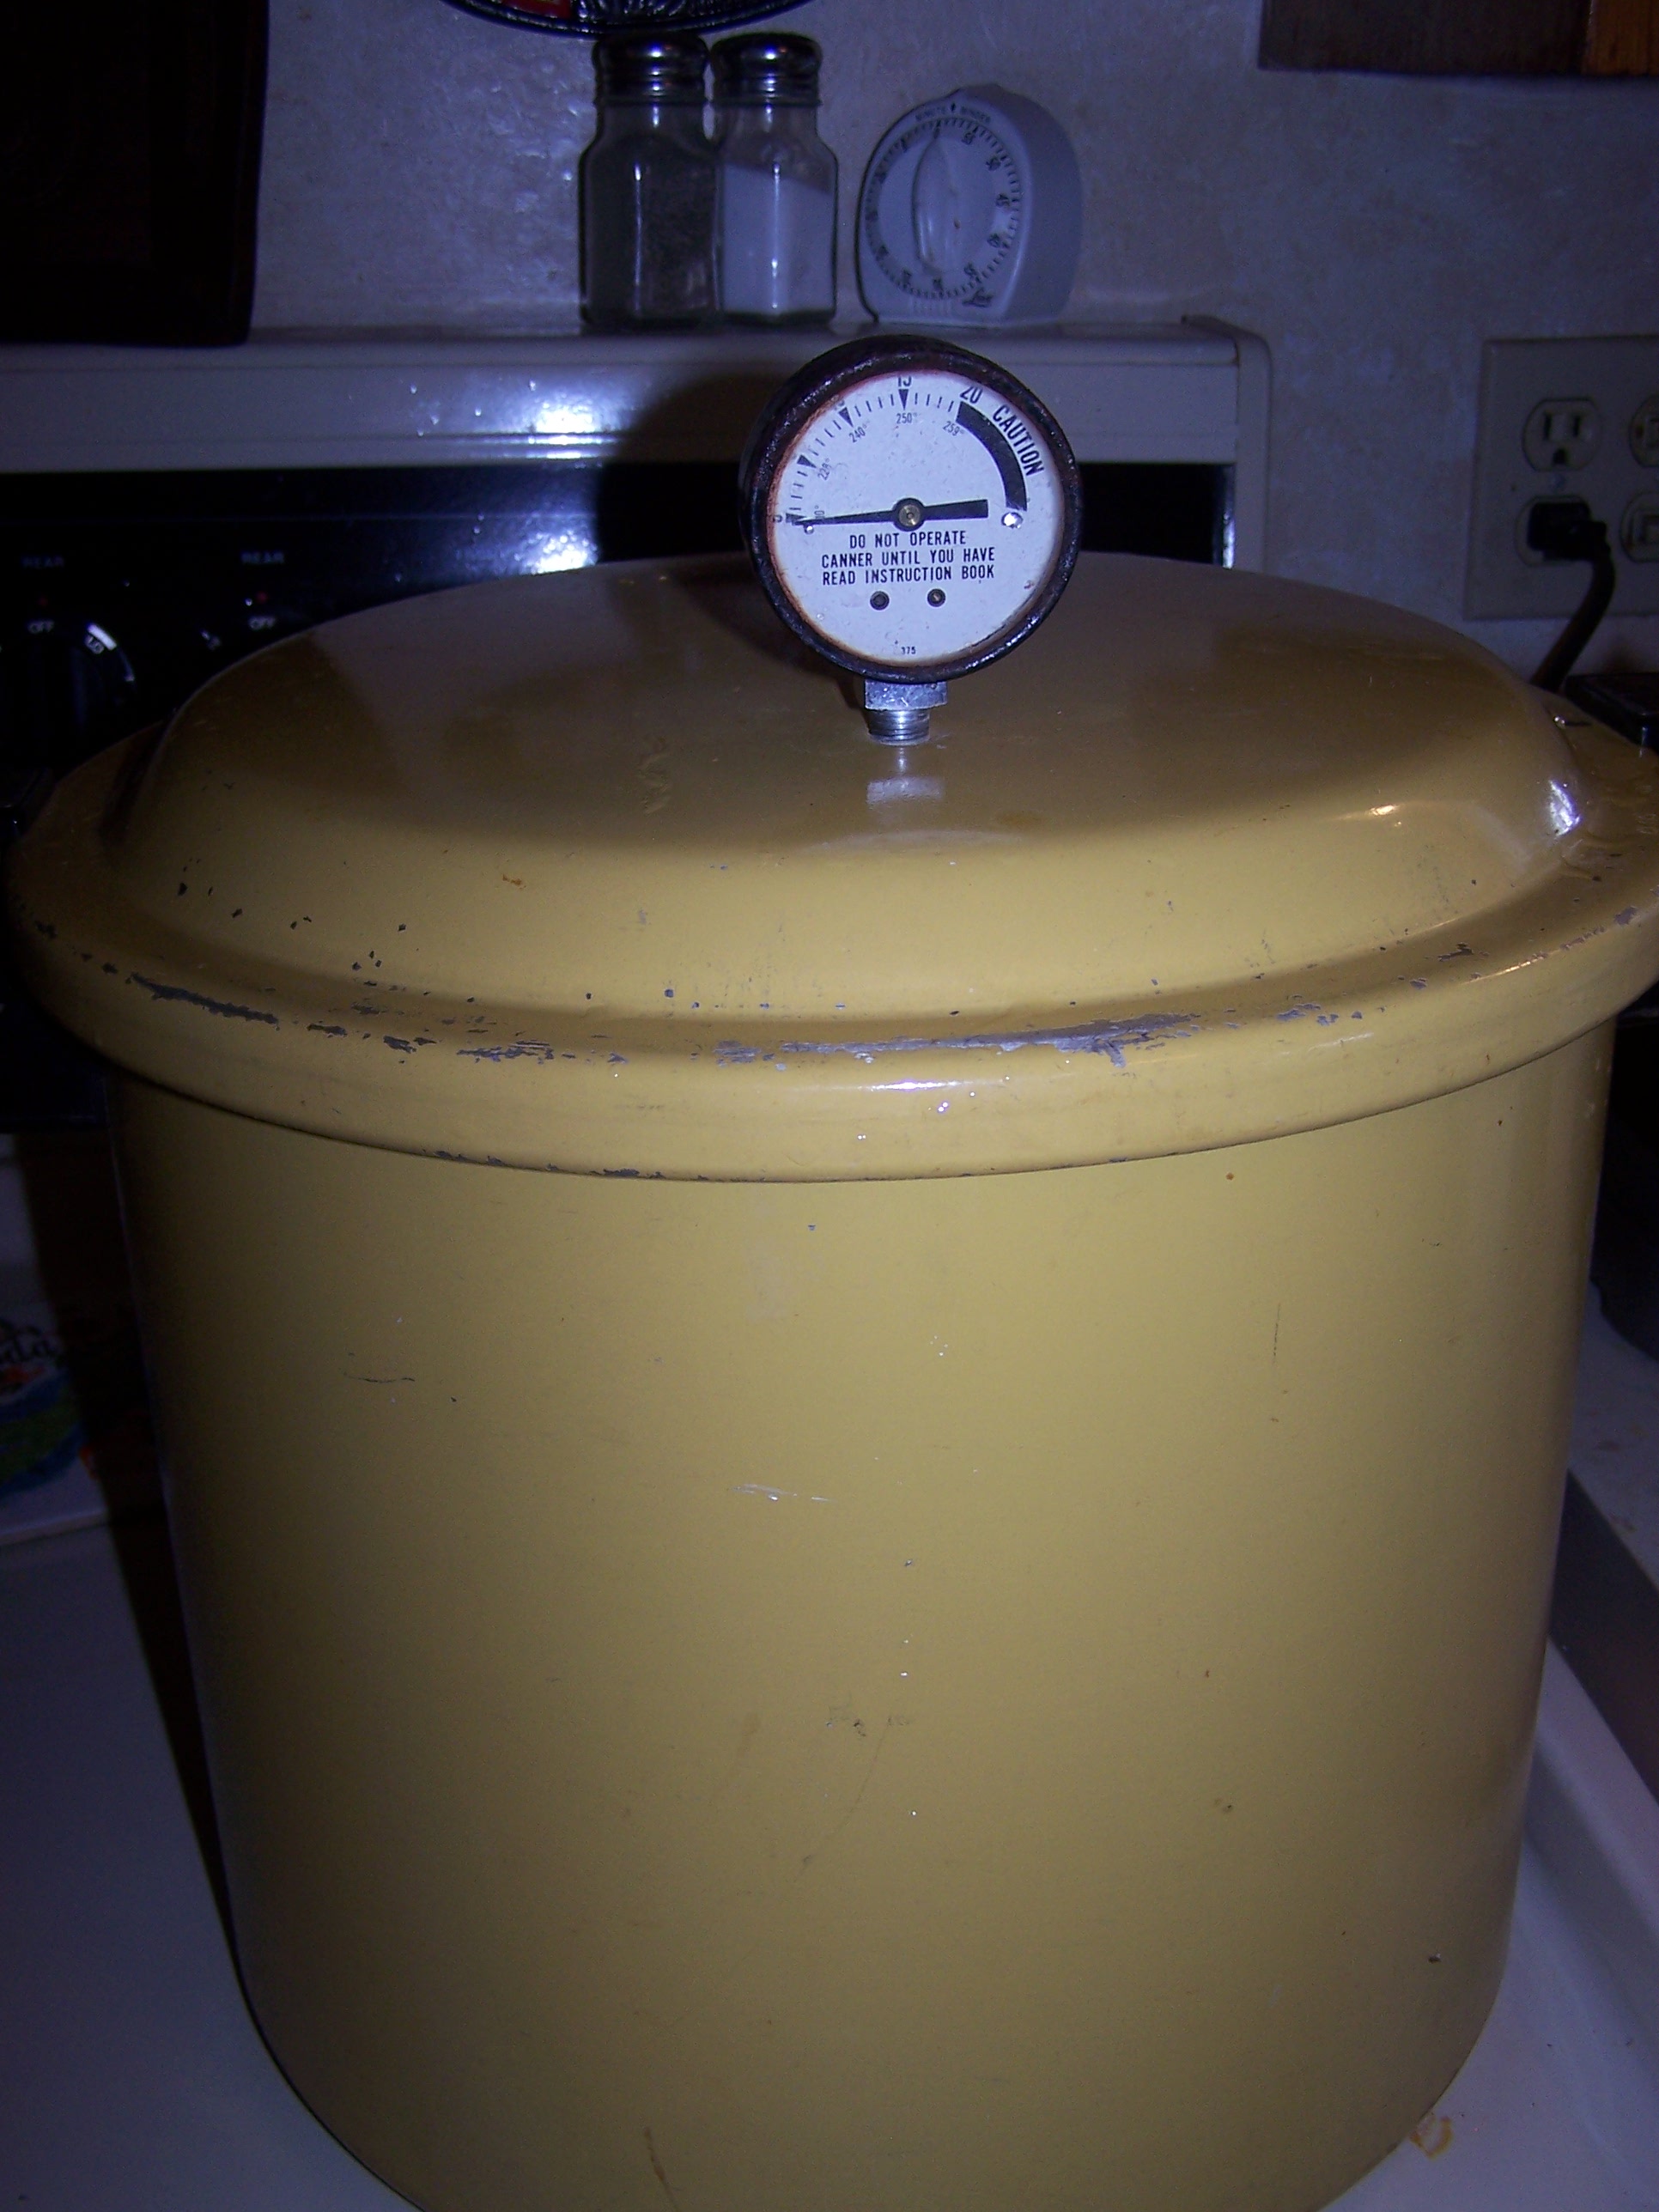
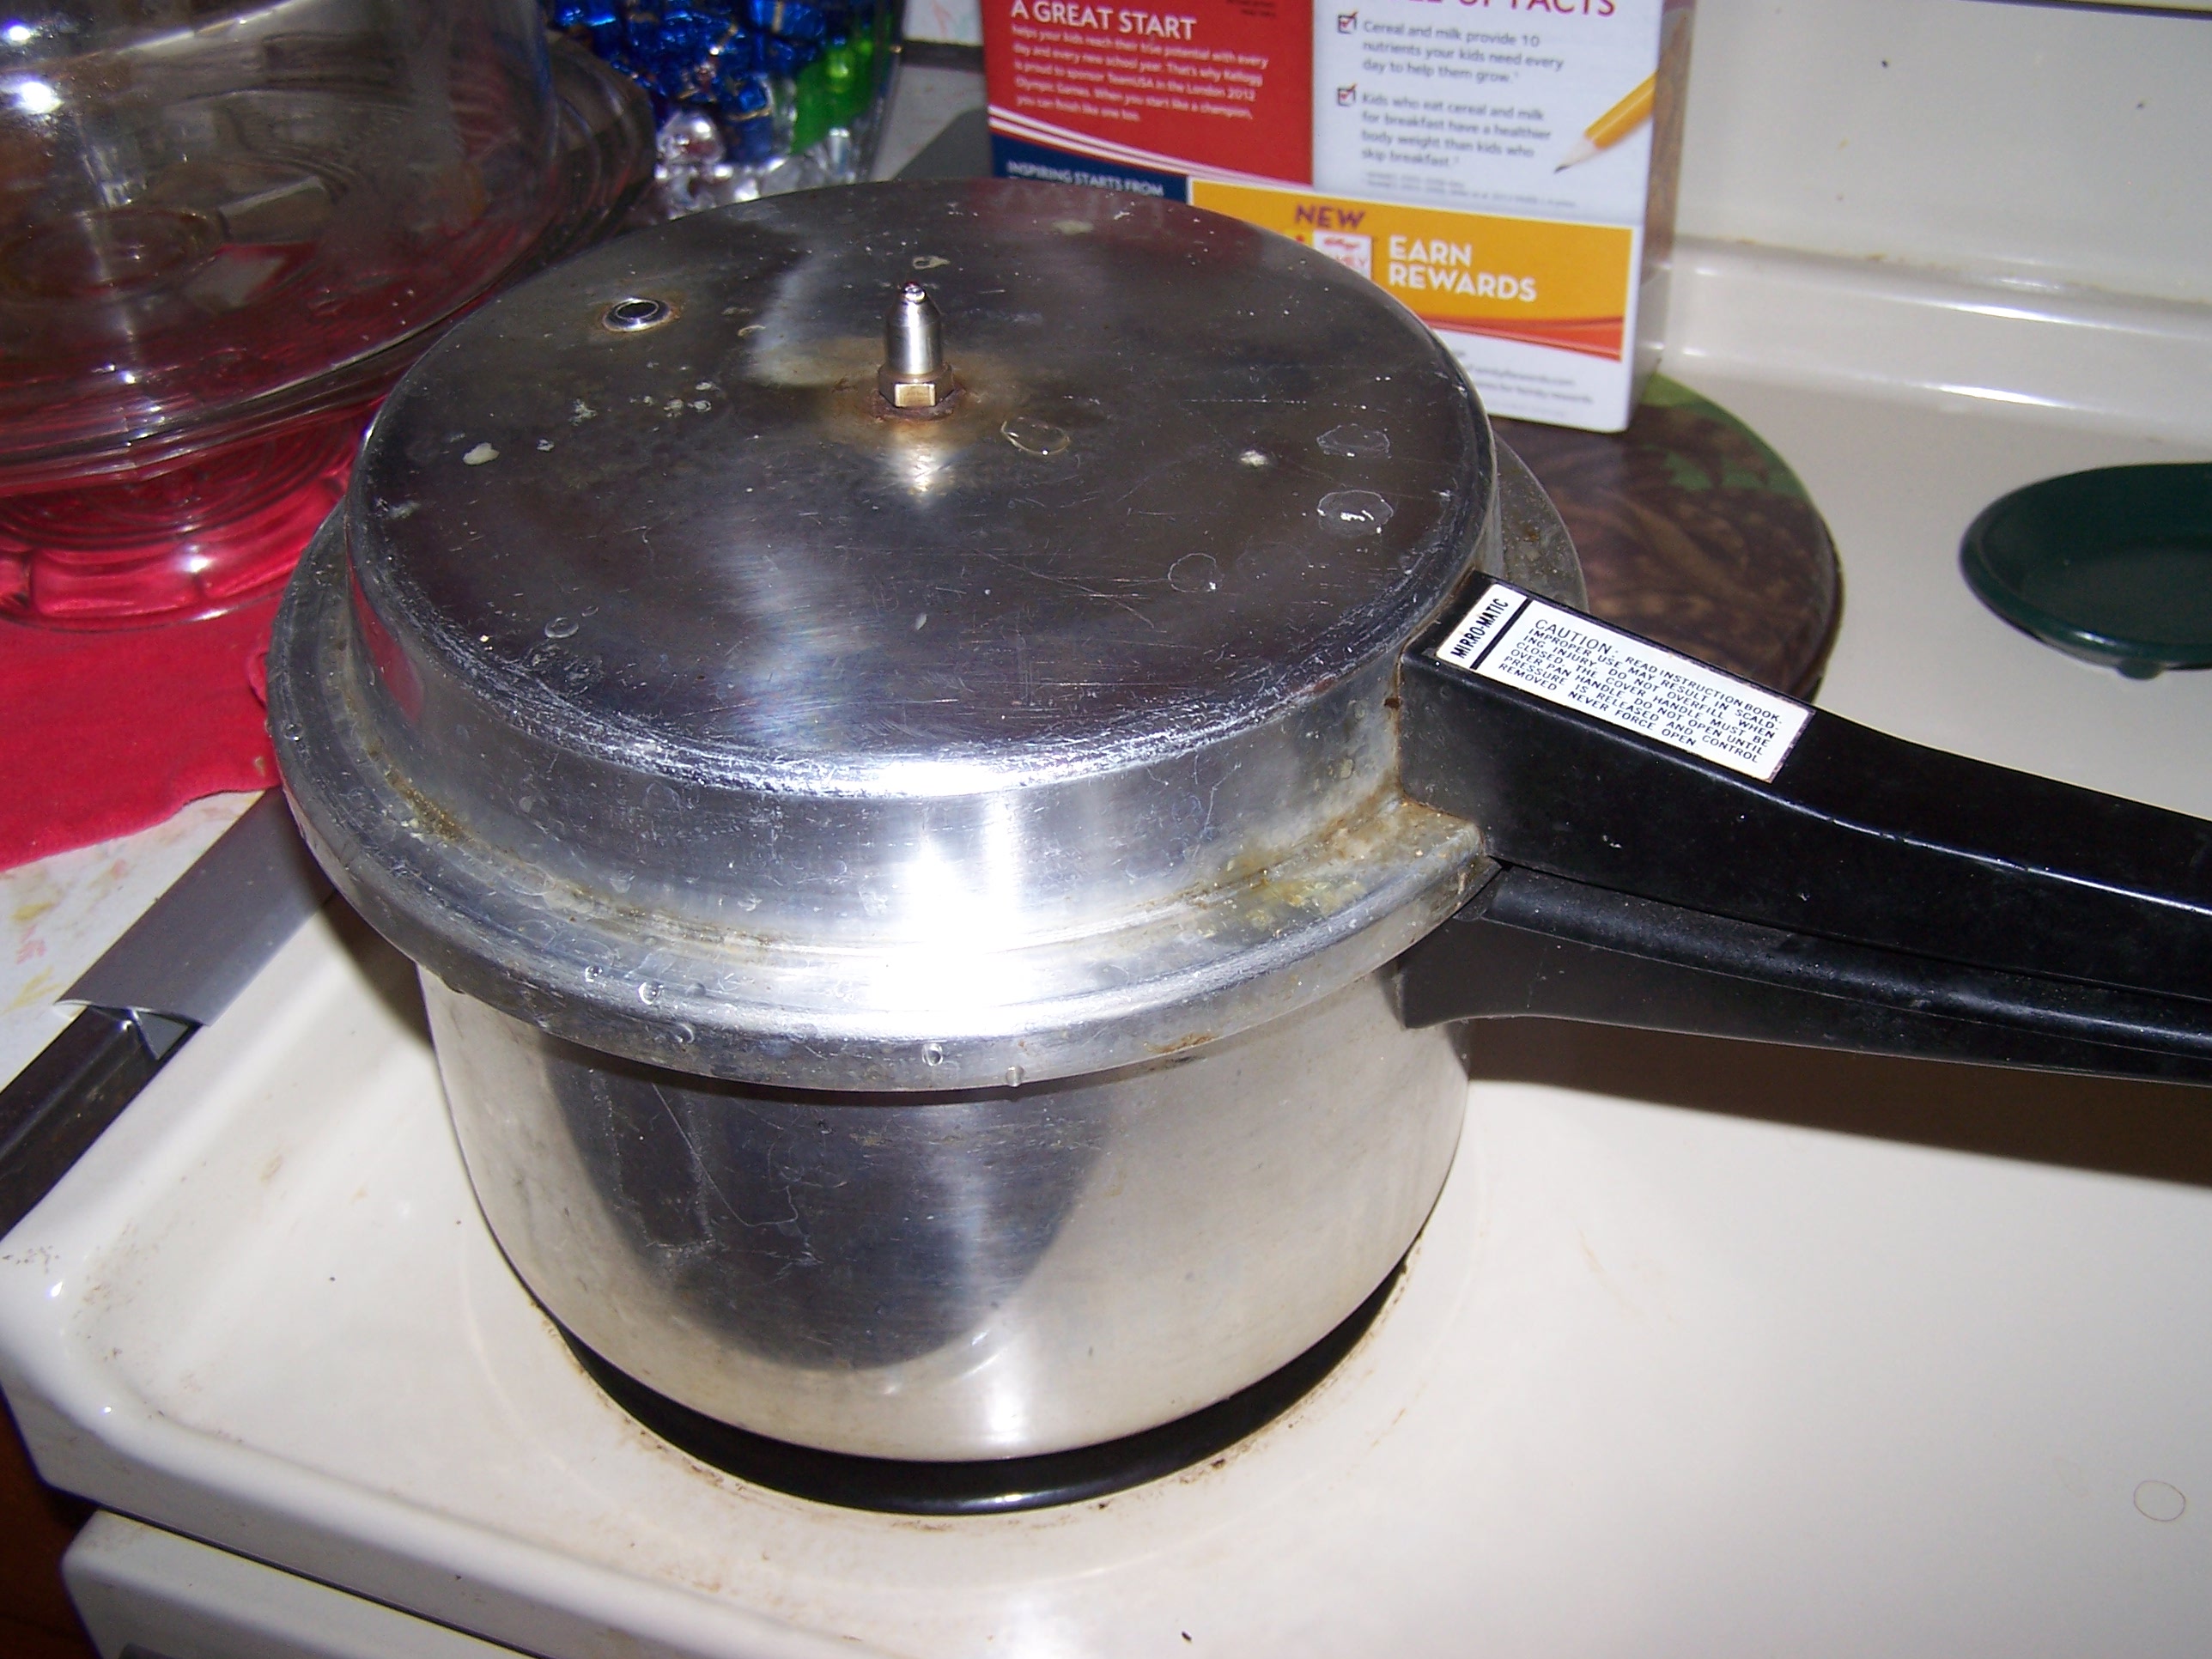
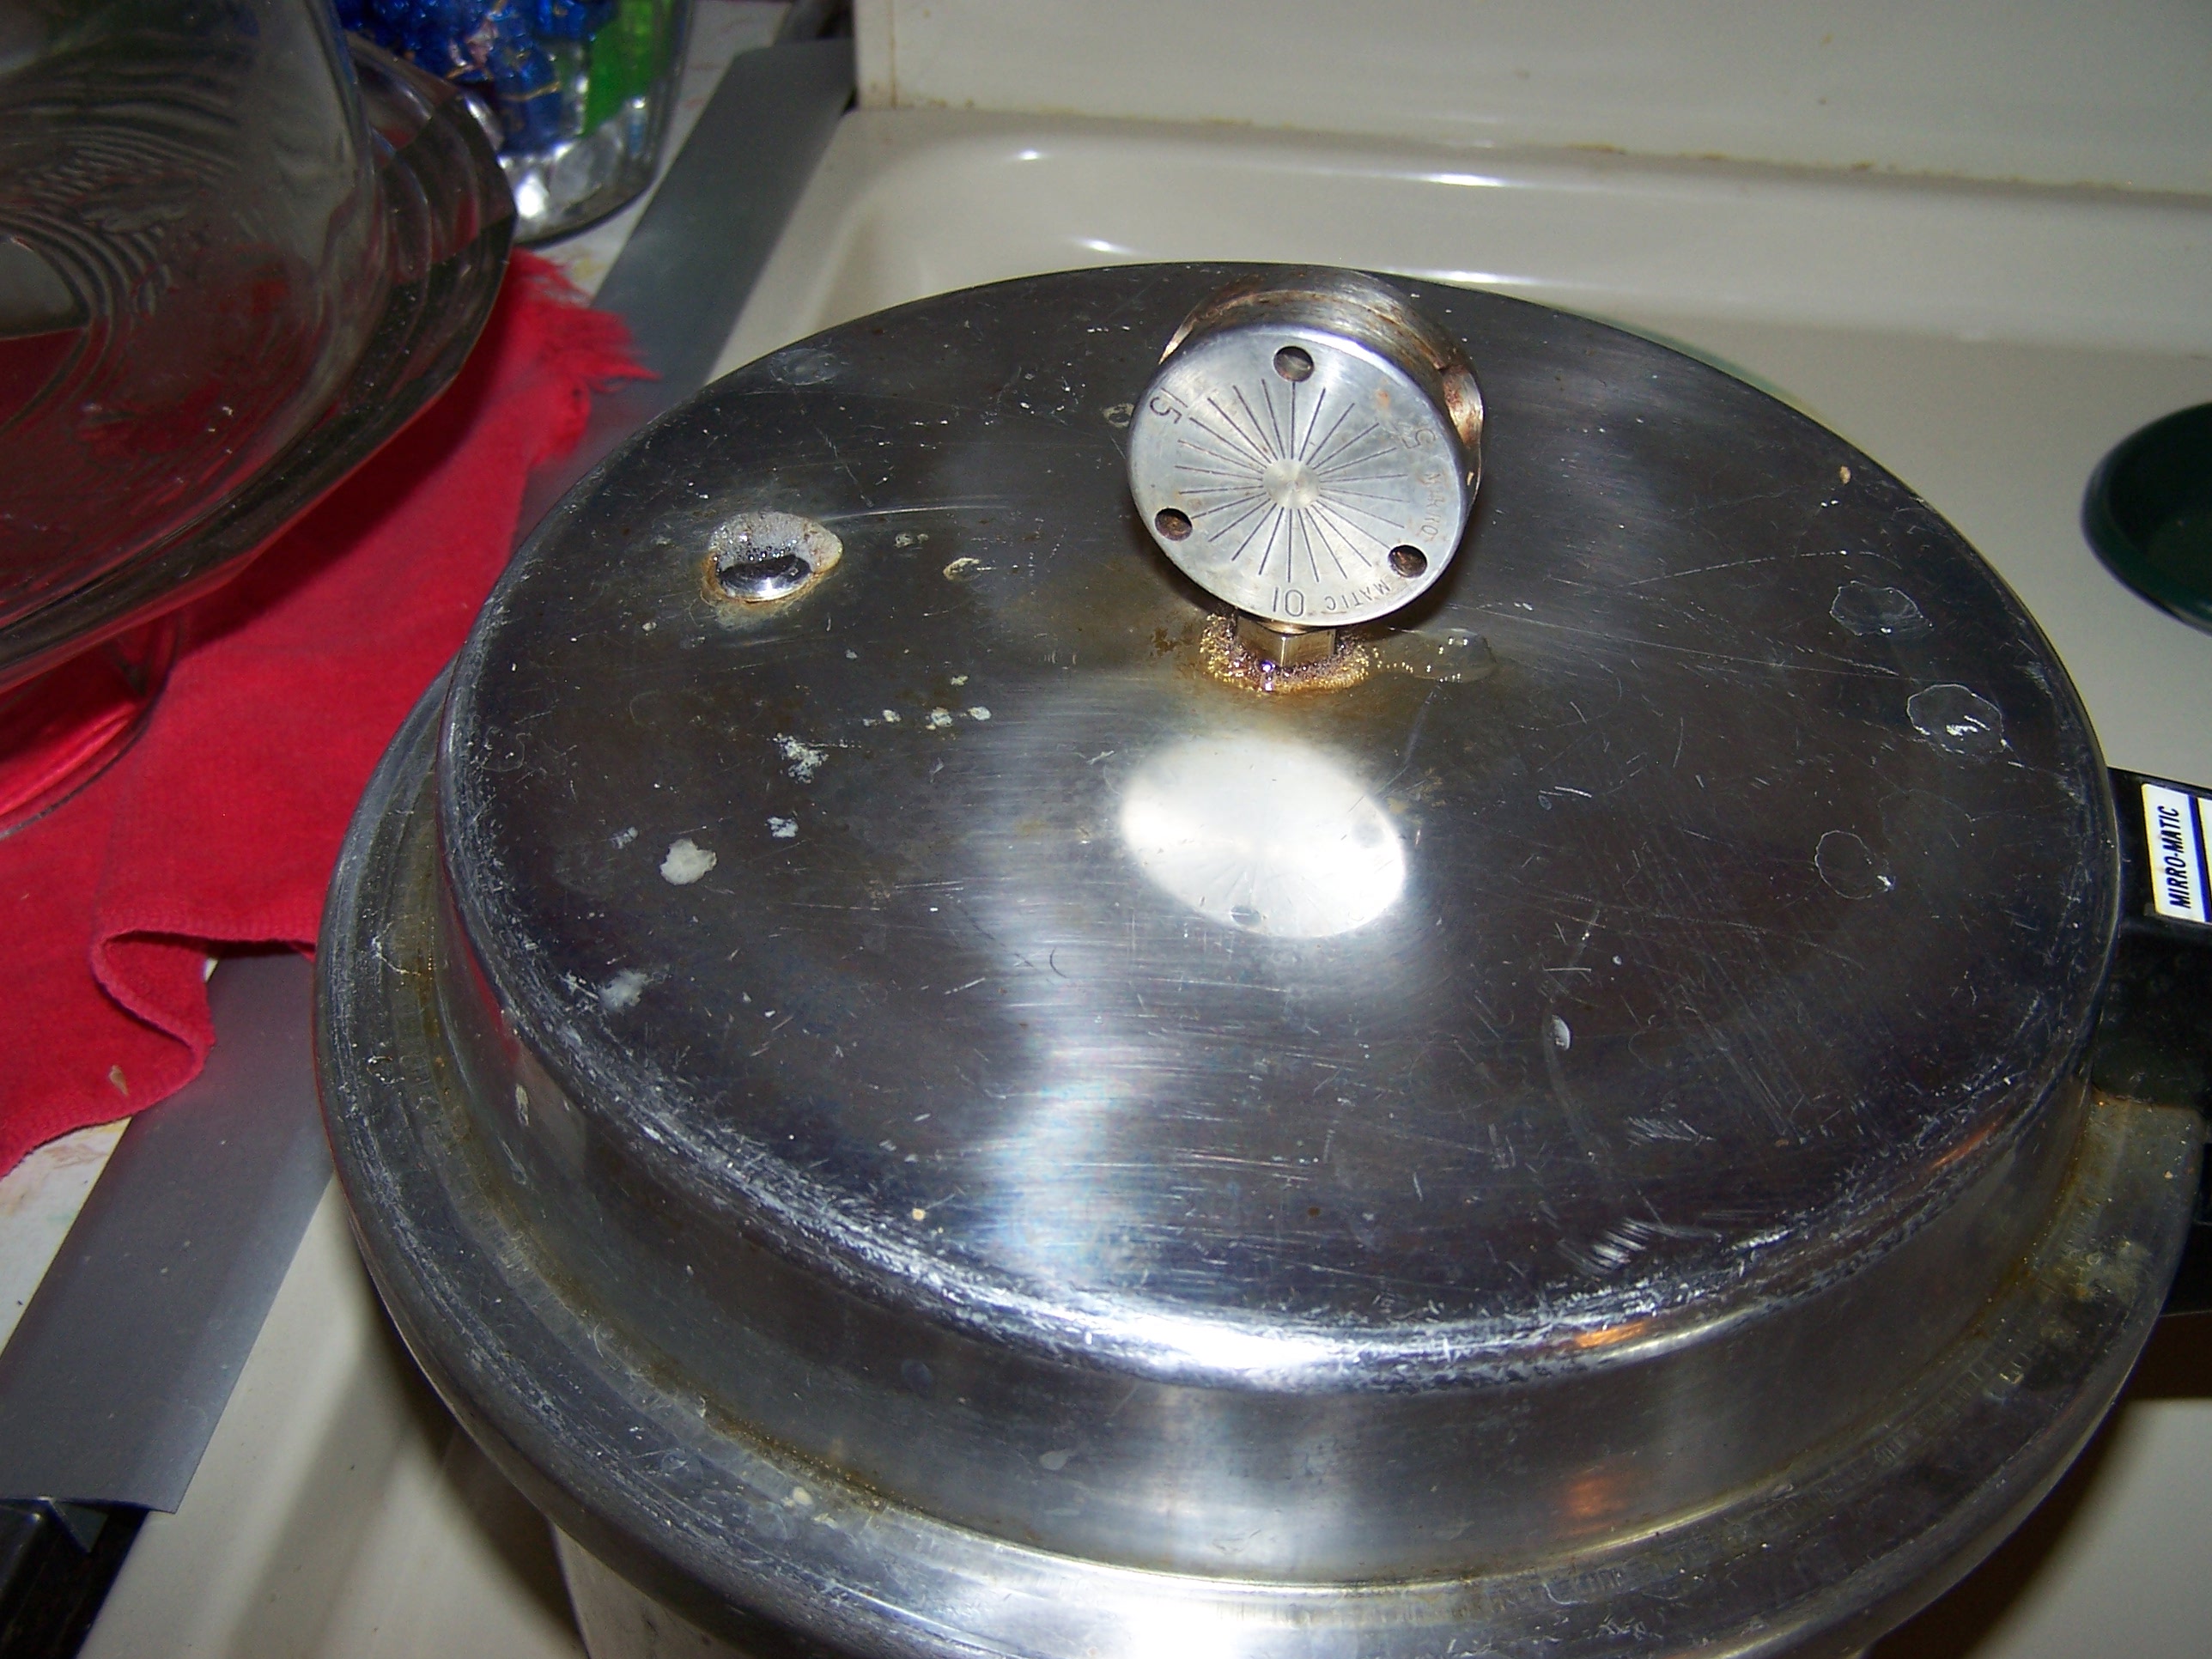
Put on the lid.

As you can see my yellow canner dates me to the early 70’s when yellow stoves and refrigerators were popular!  It is now an antique!!!

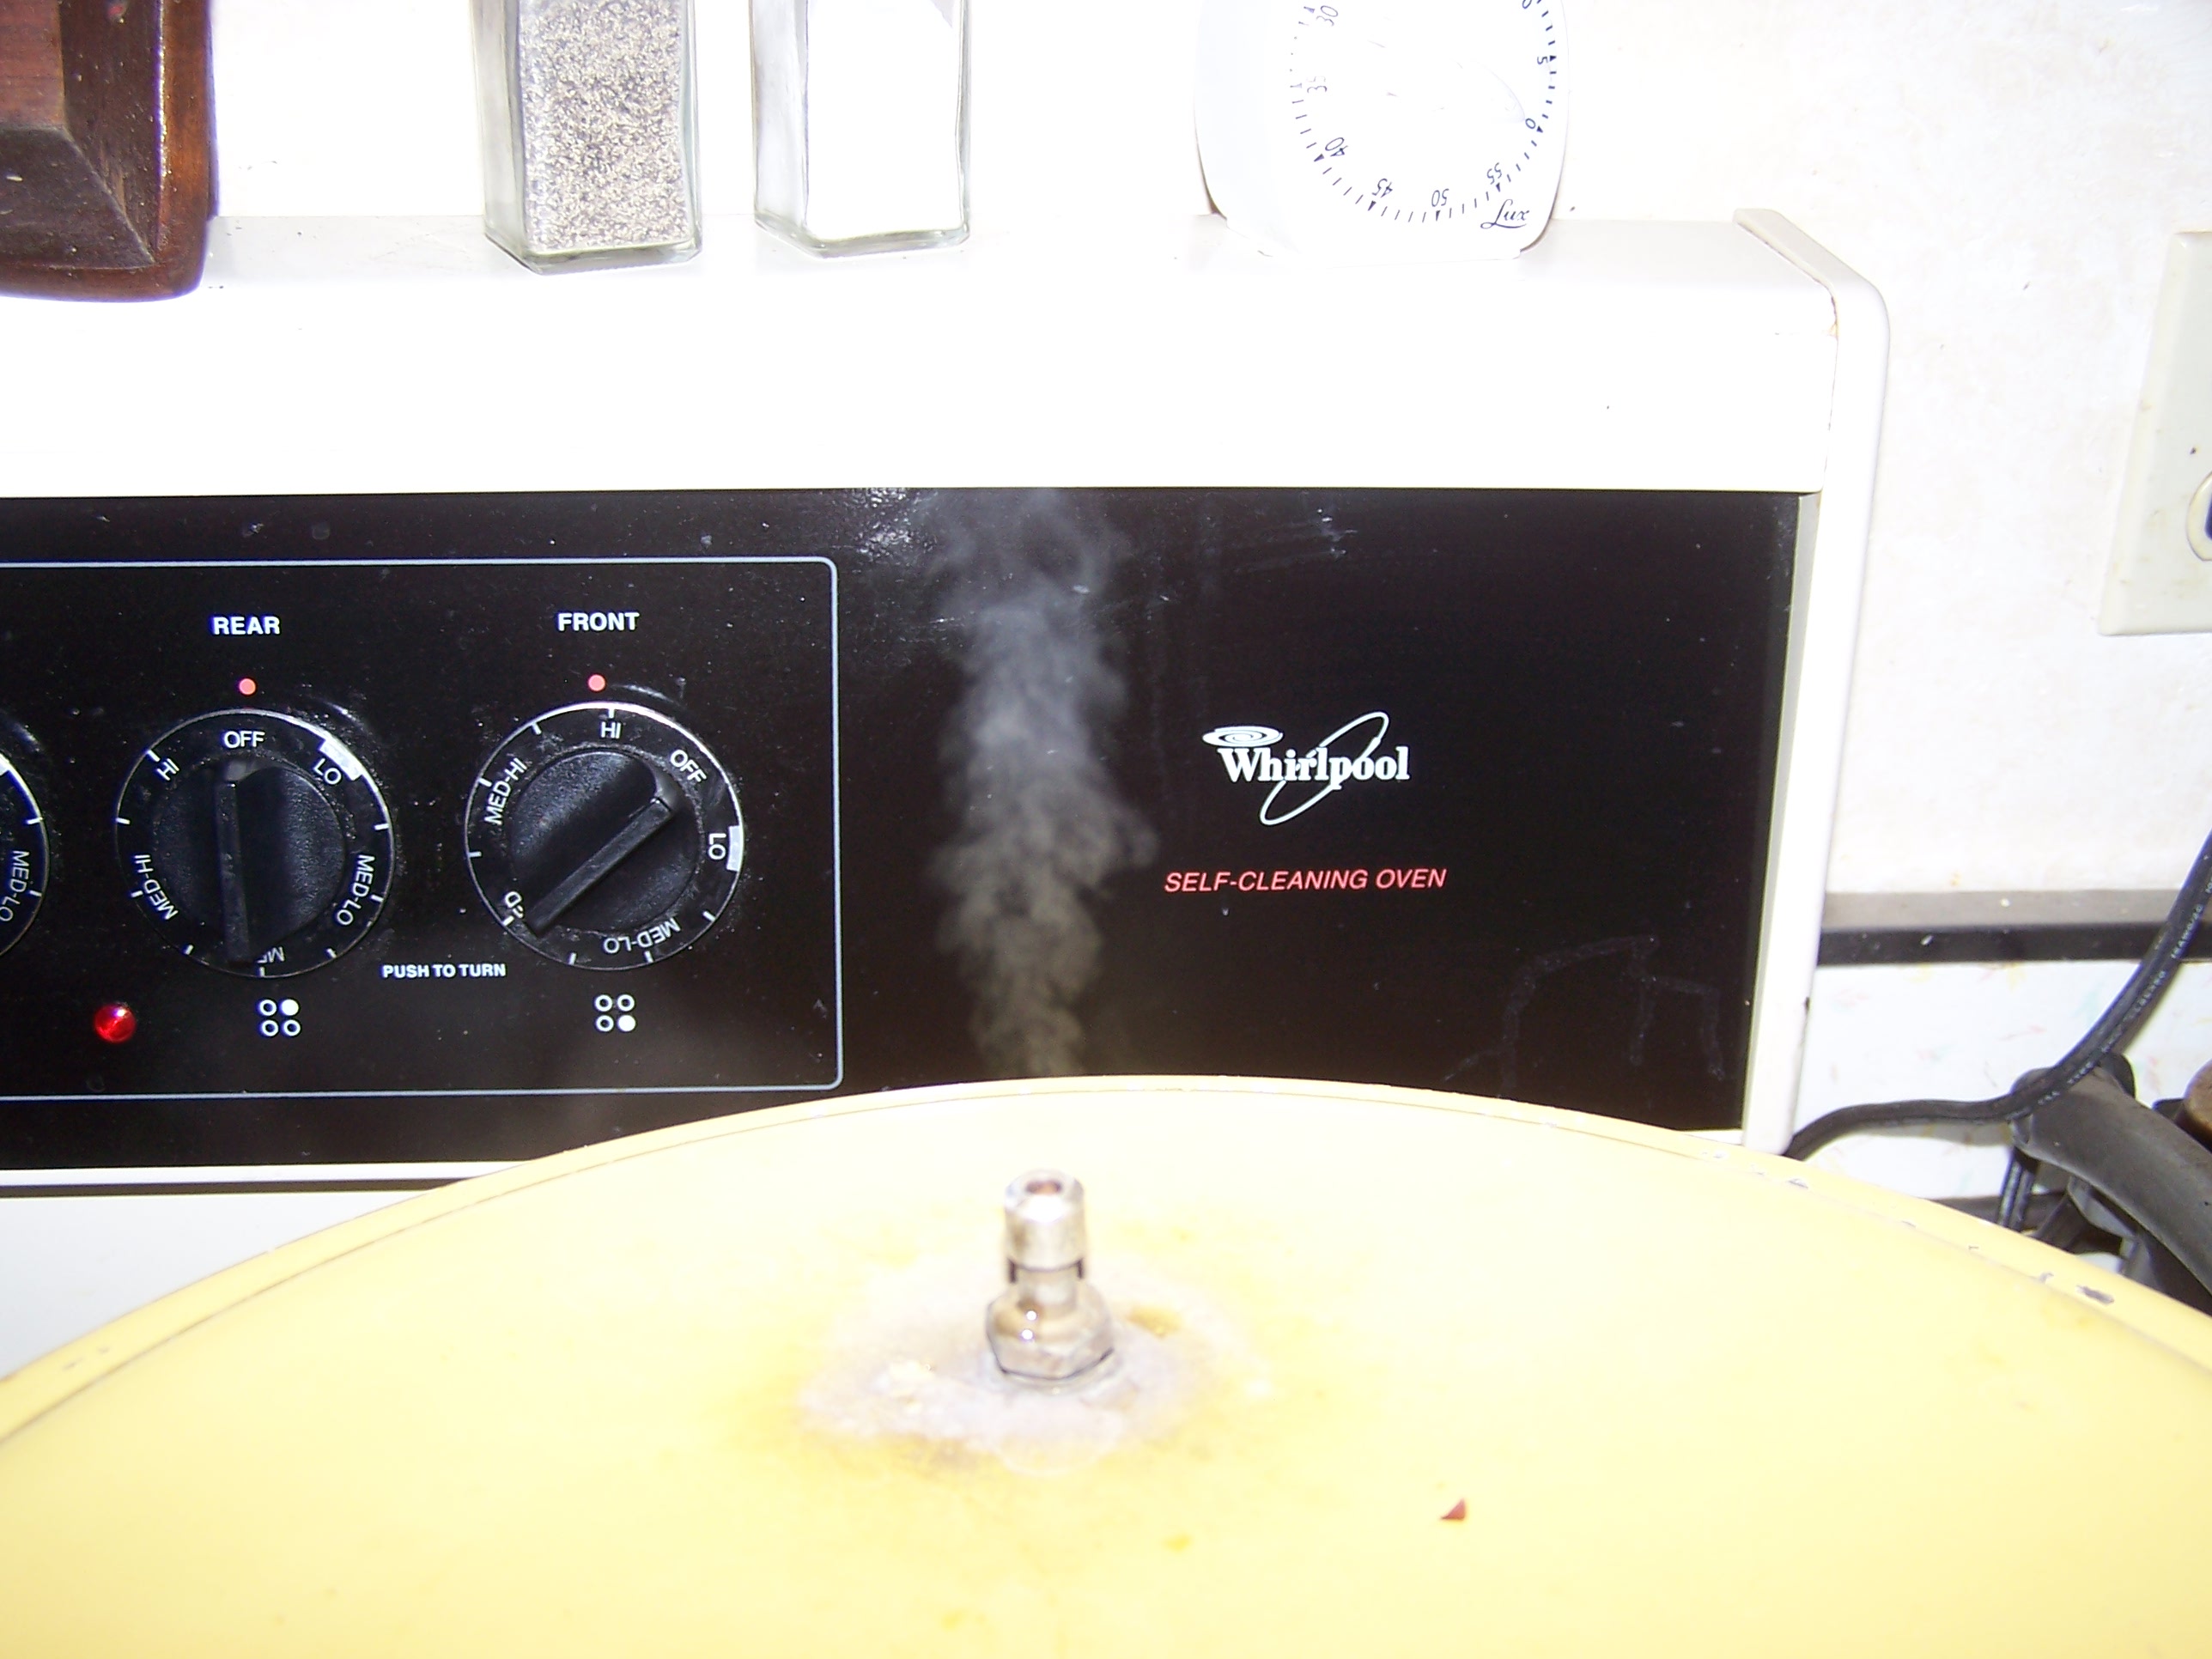
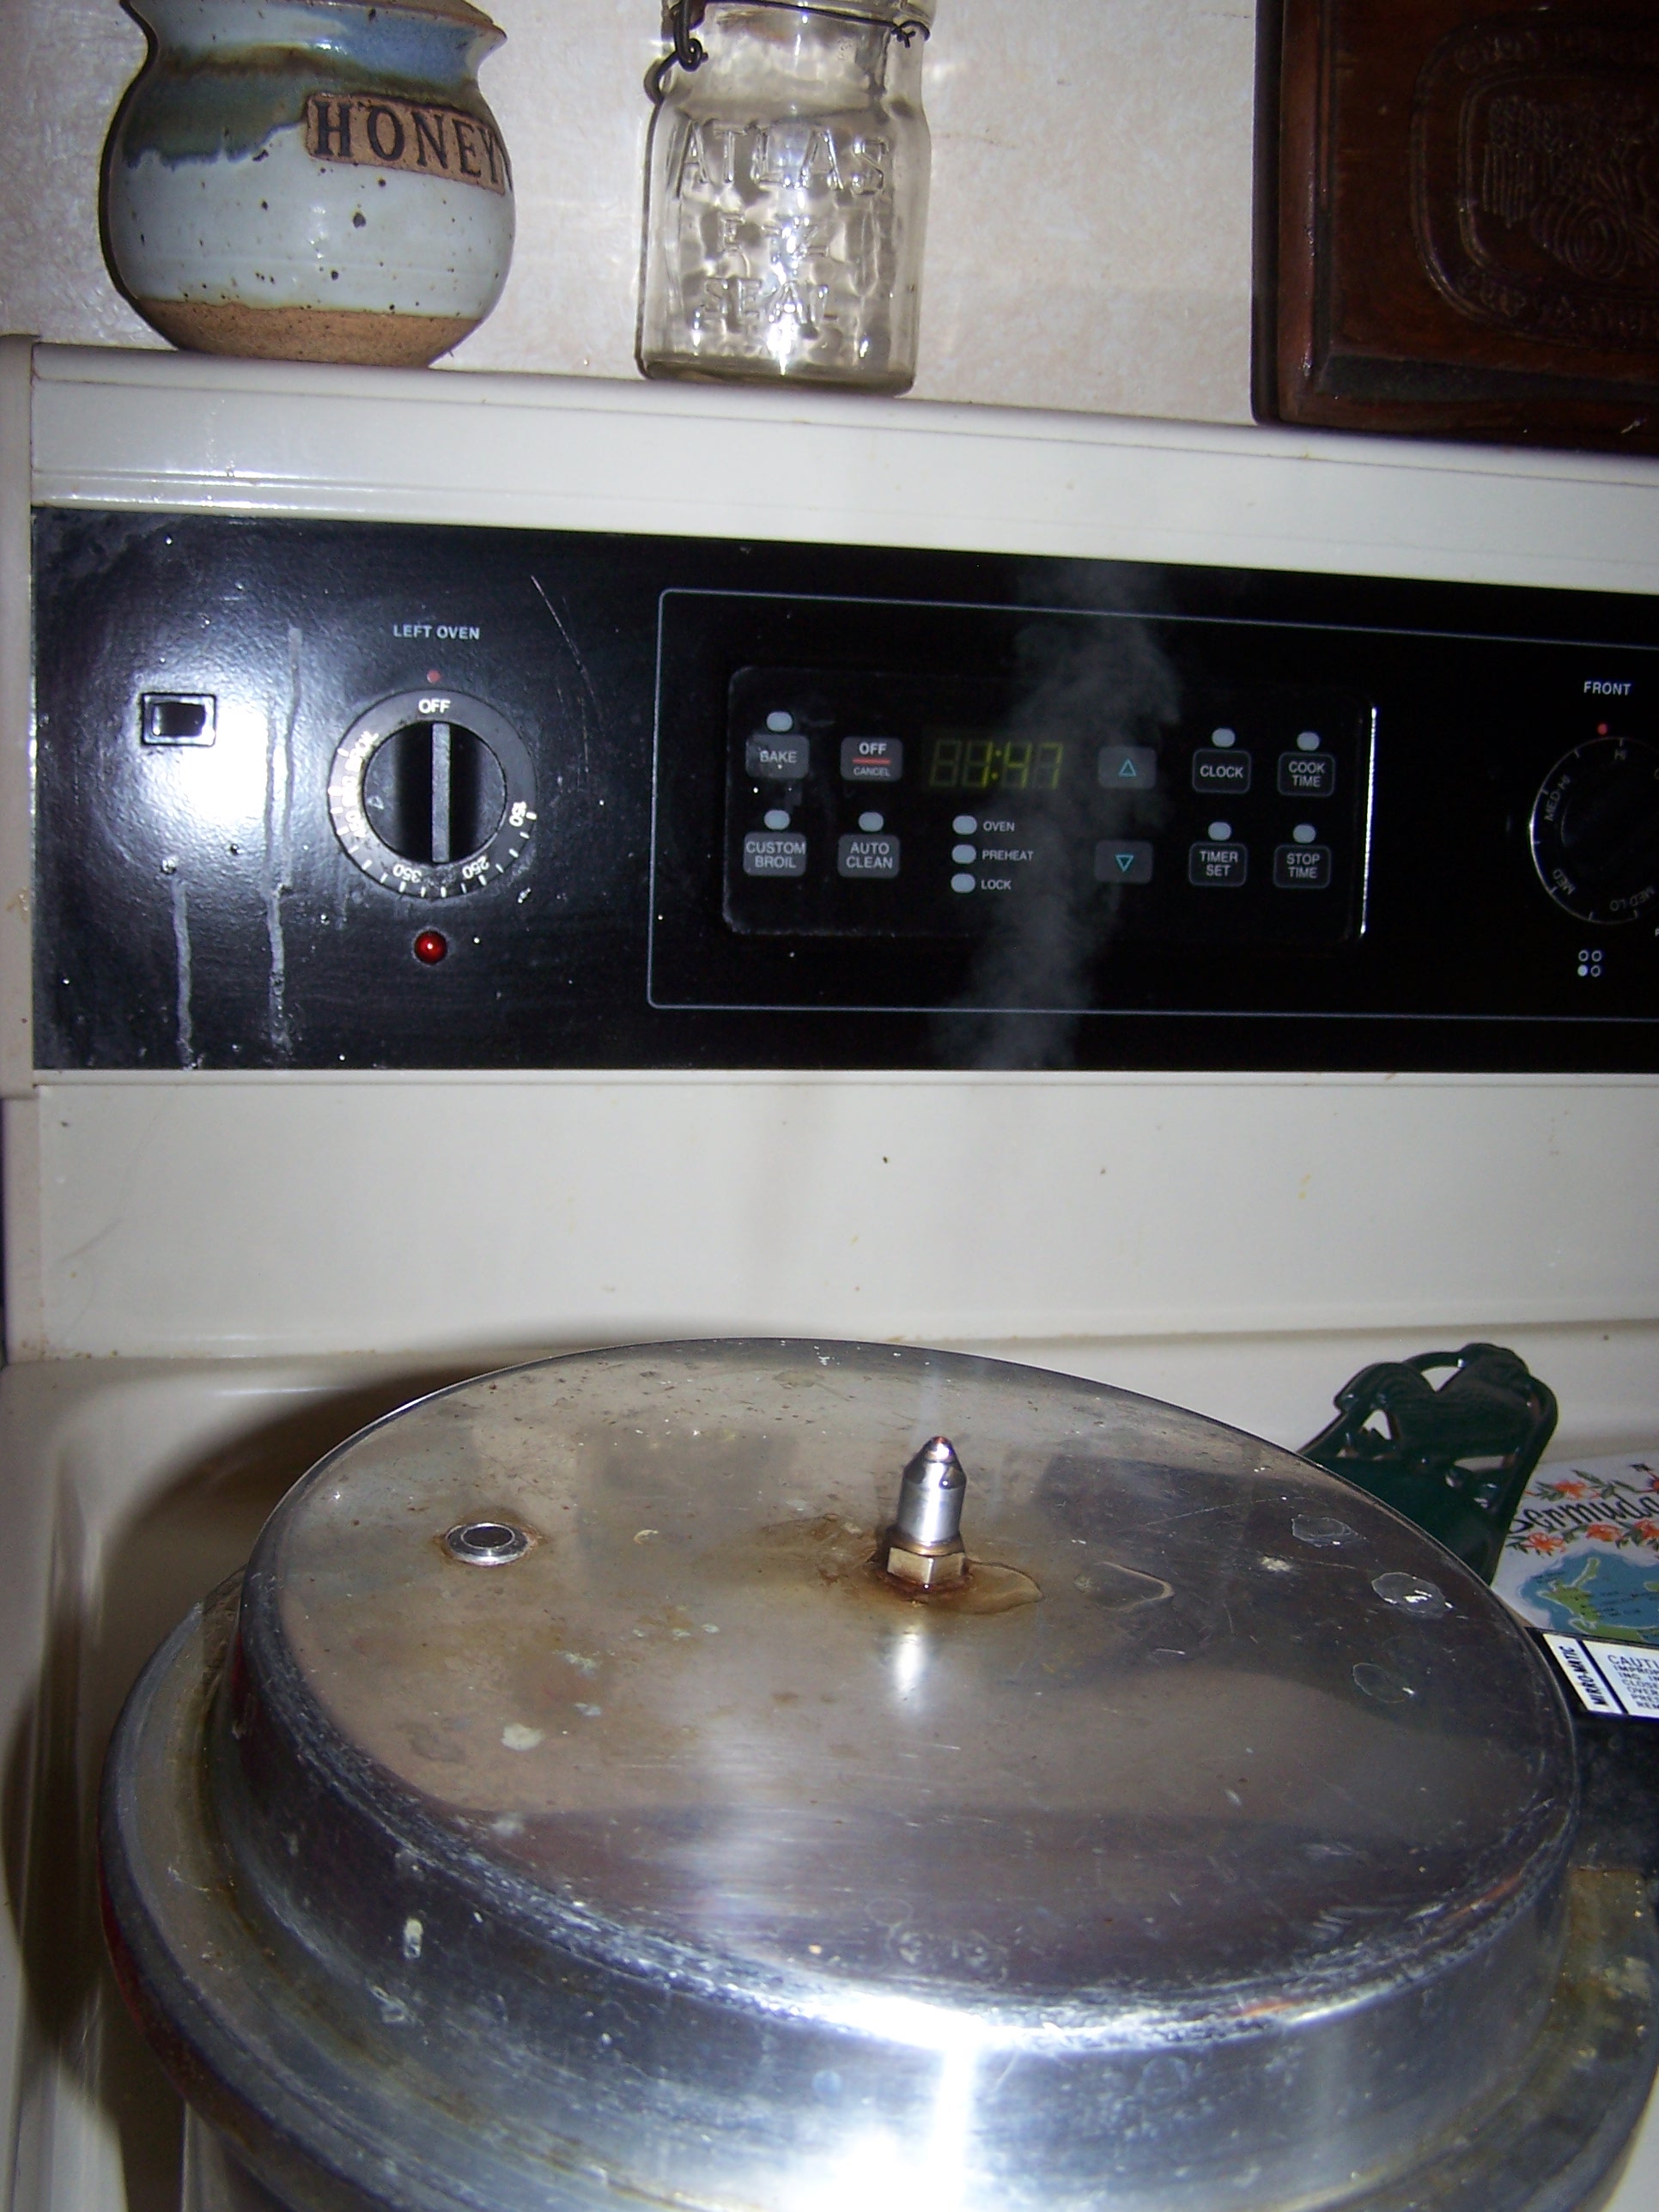
Heat on high until you see steam coming out of the vent hole of the lid.

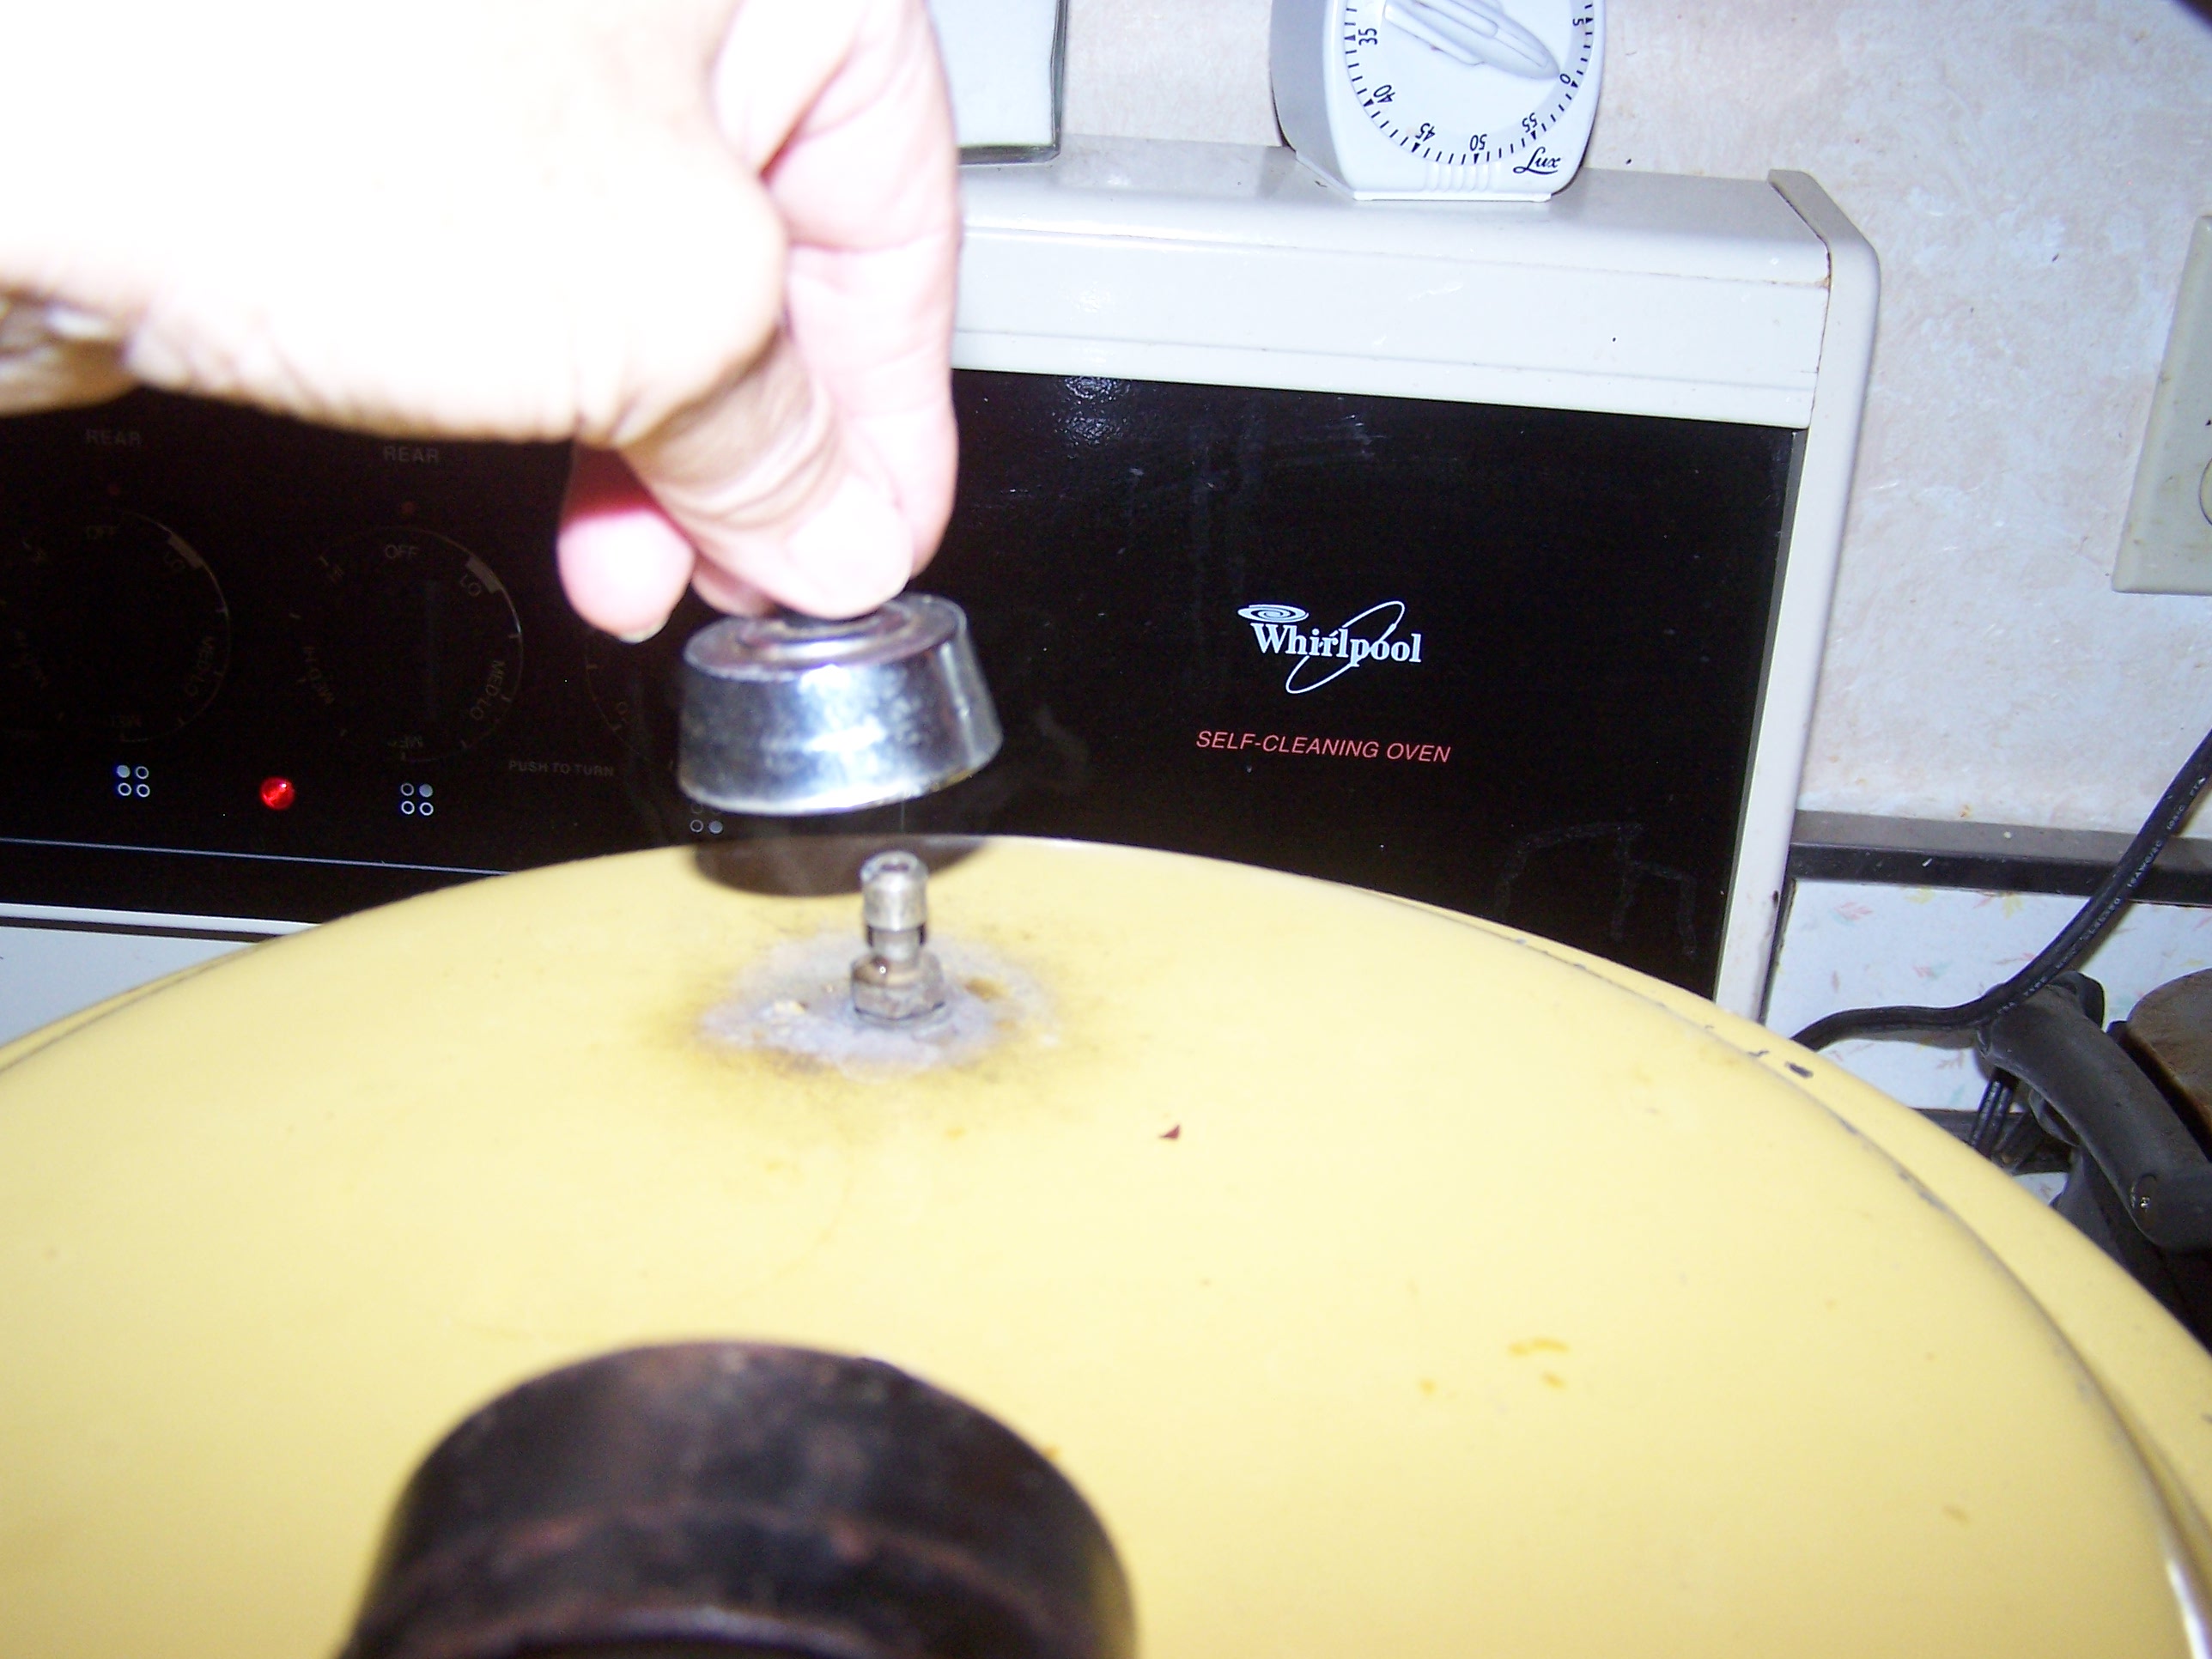
Put the weight on the vent hole.

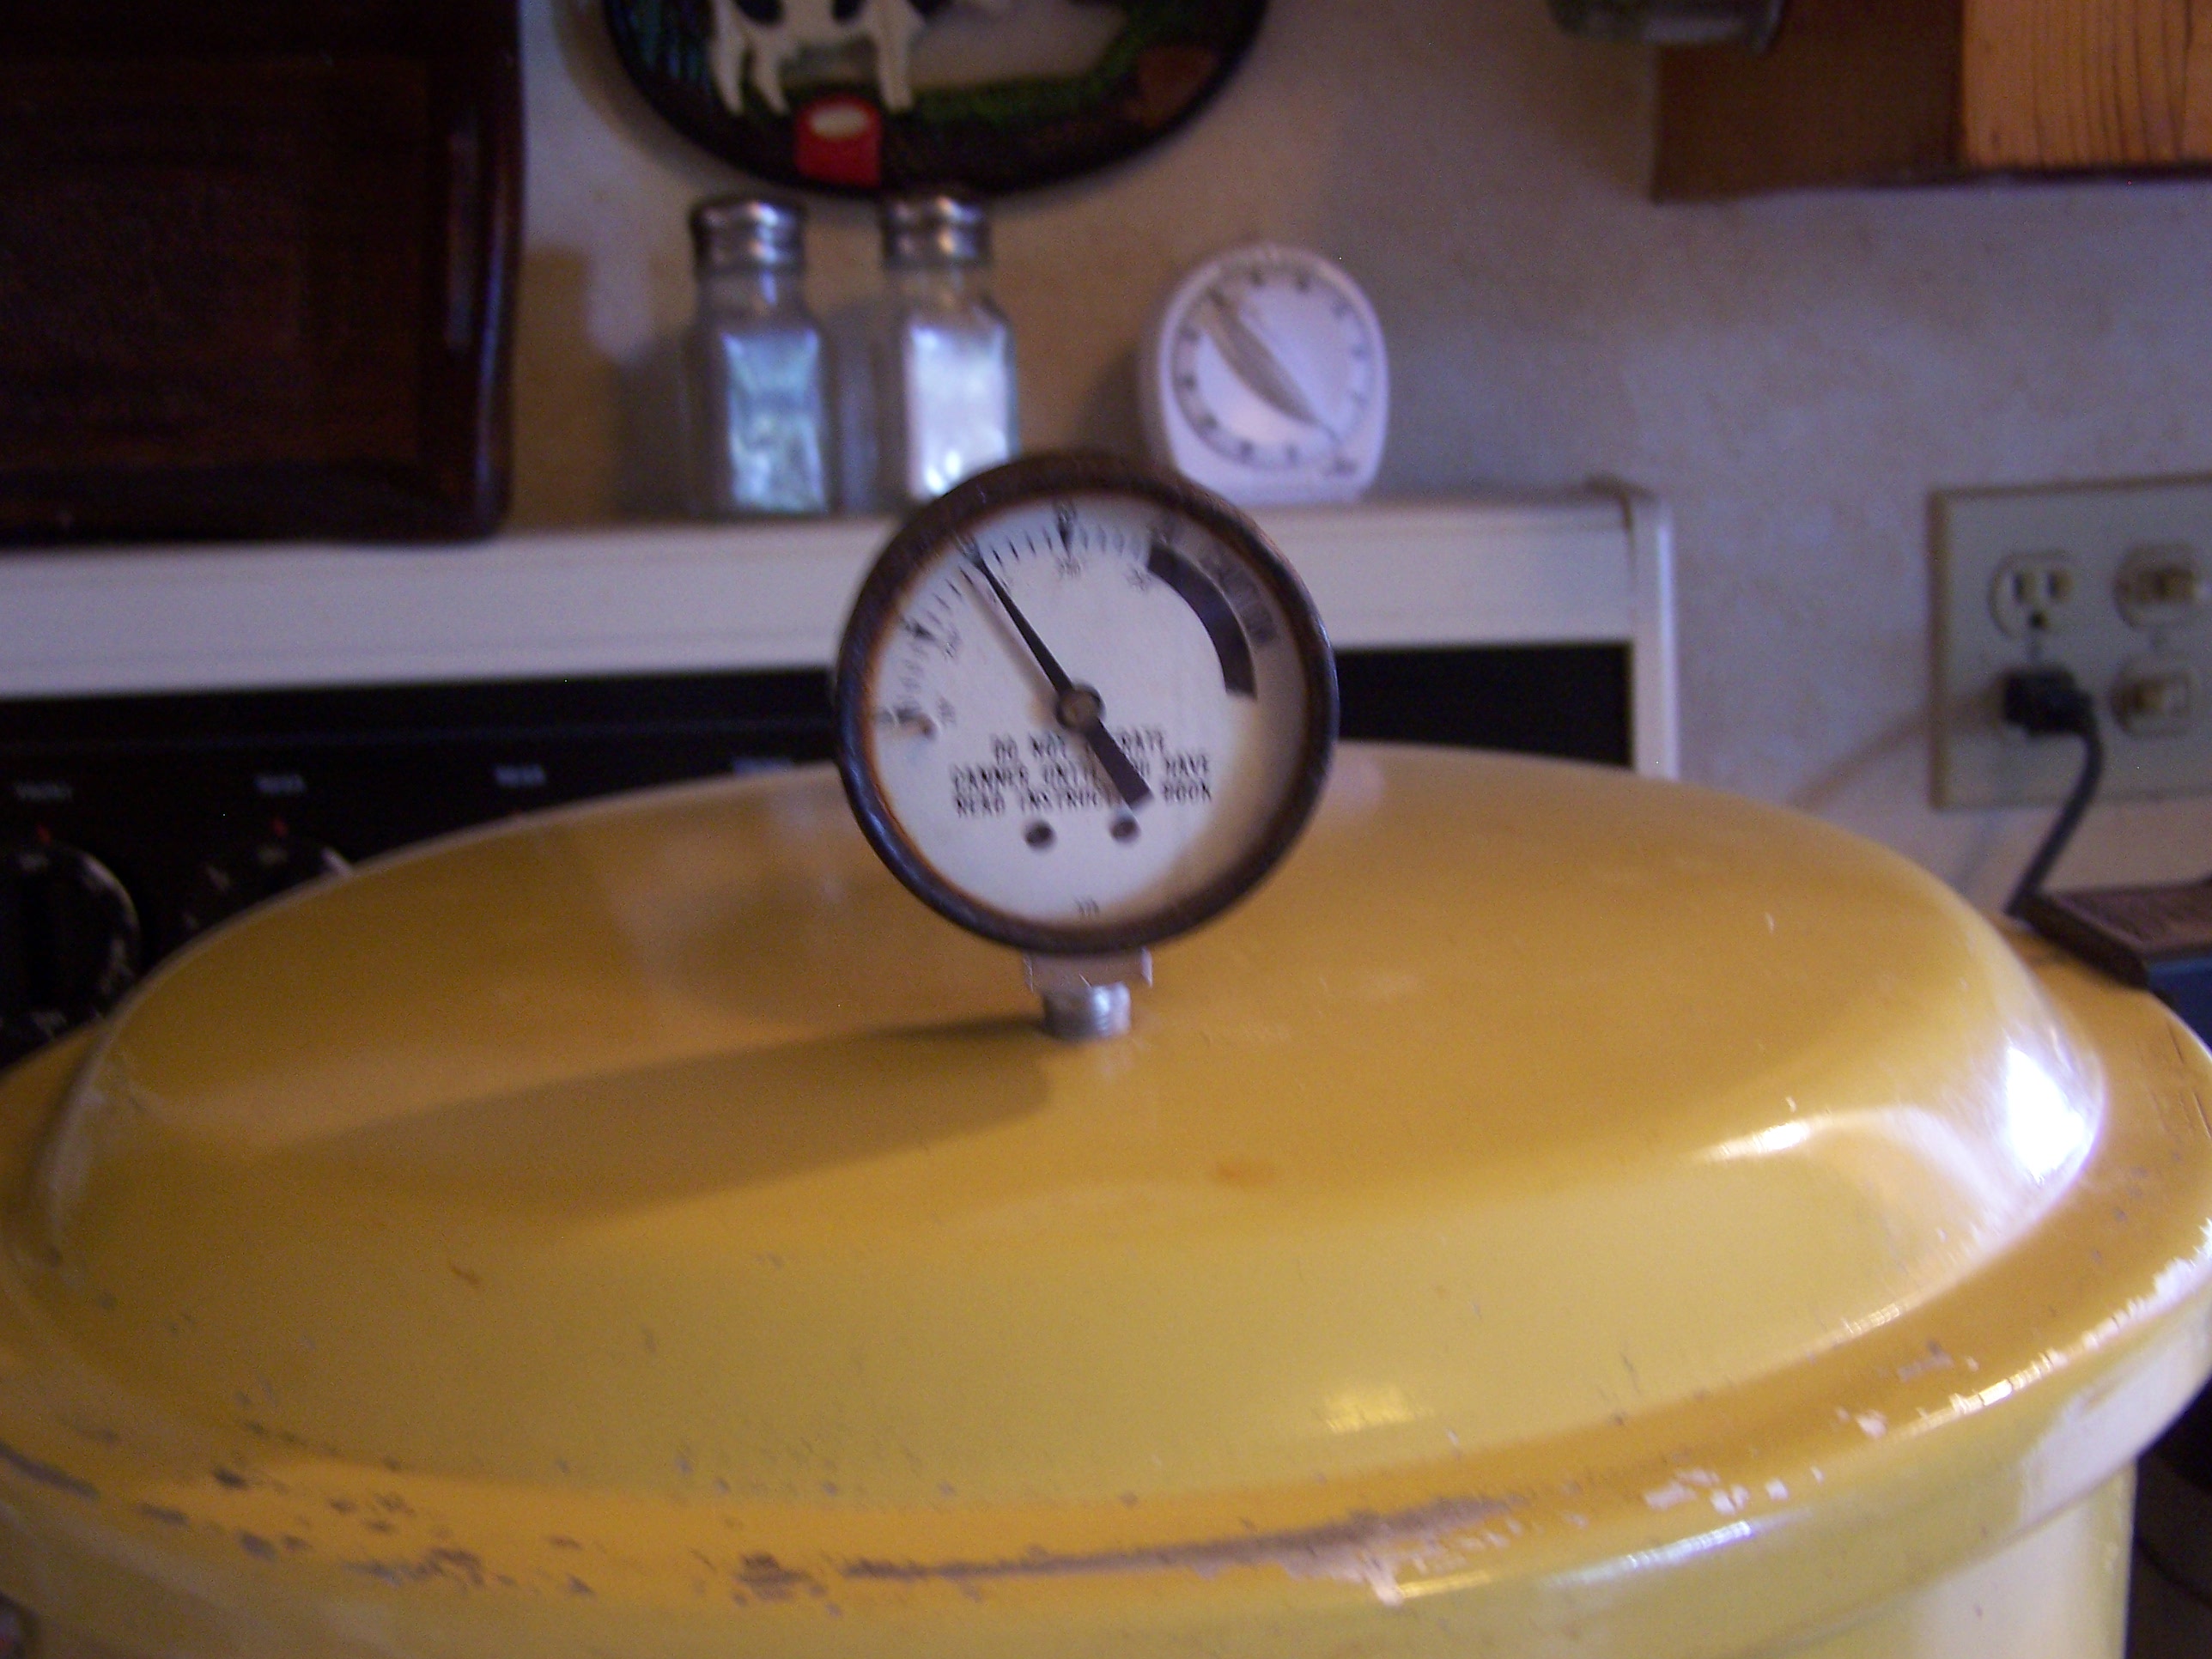
Heat on high until the gauge reaches the desired pounds of pressure.  It takes approx. 1 minute to go up one pound of pressure.  For a quart of snaps,  you want 10 lbs. for 25 minutes.  Start timing when it reaches 10 lbs. I lower my heat to medium-high and that keeps the guage at 10 lbs.

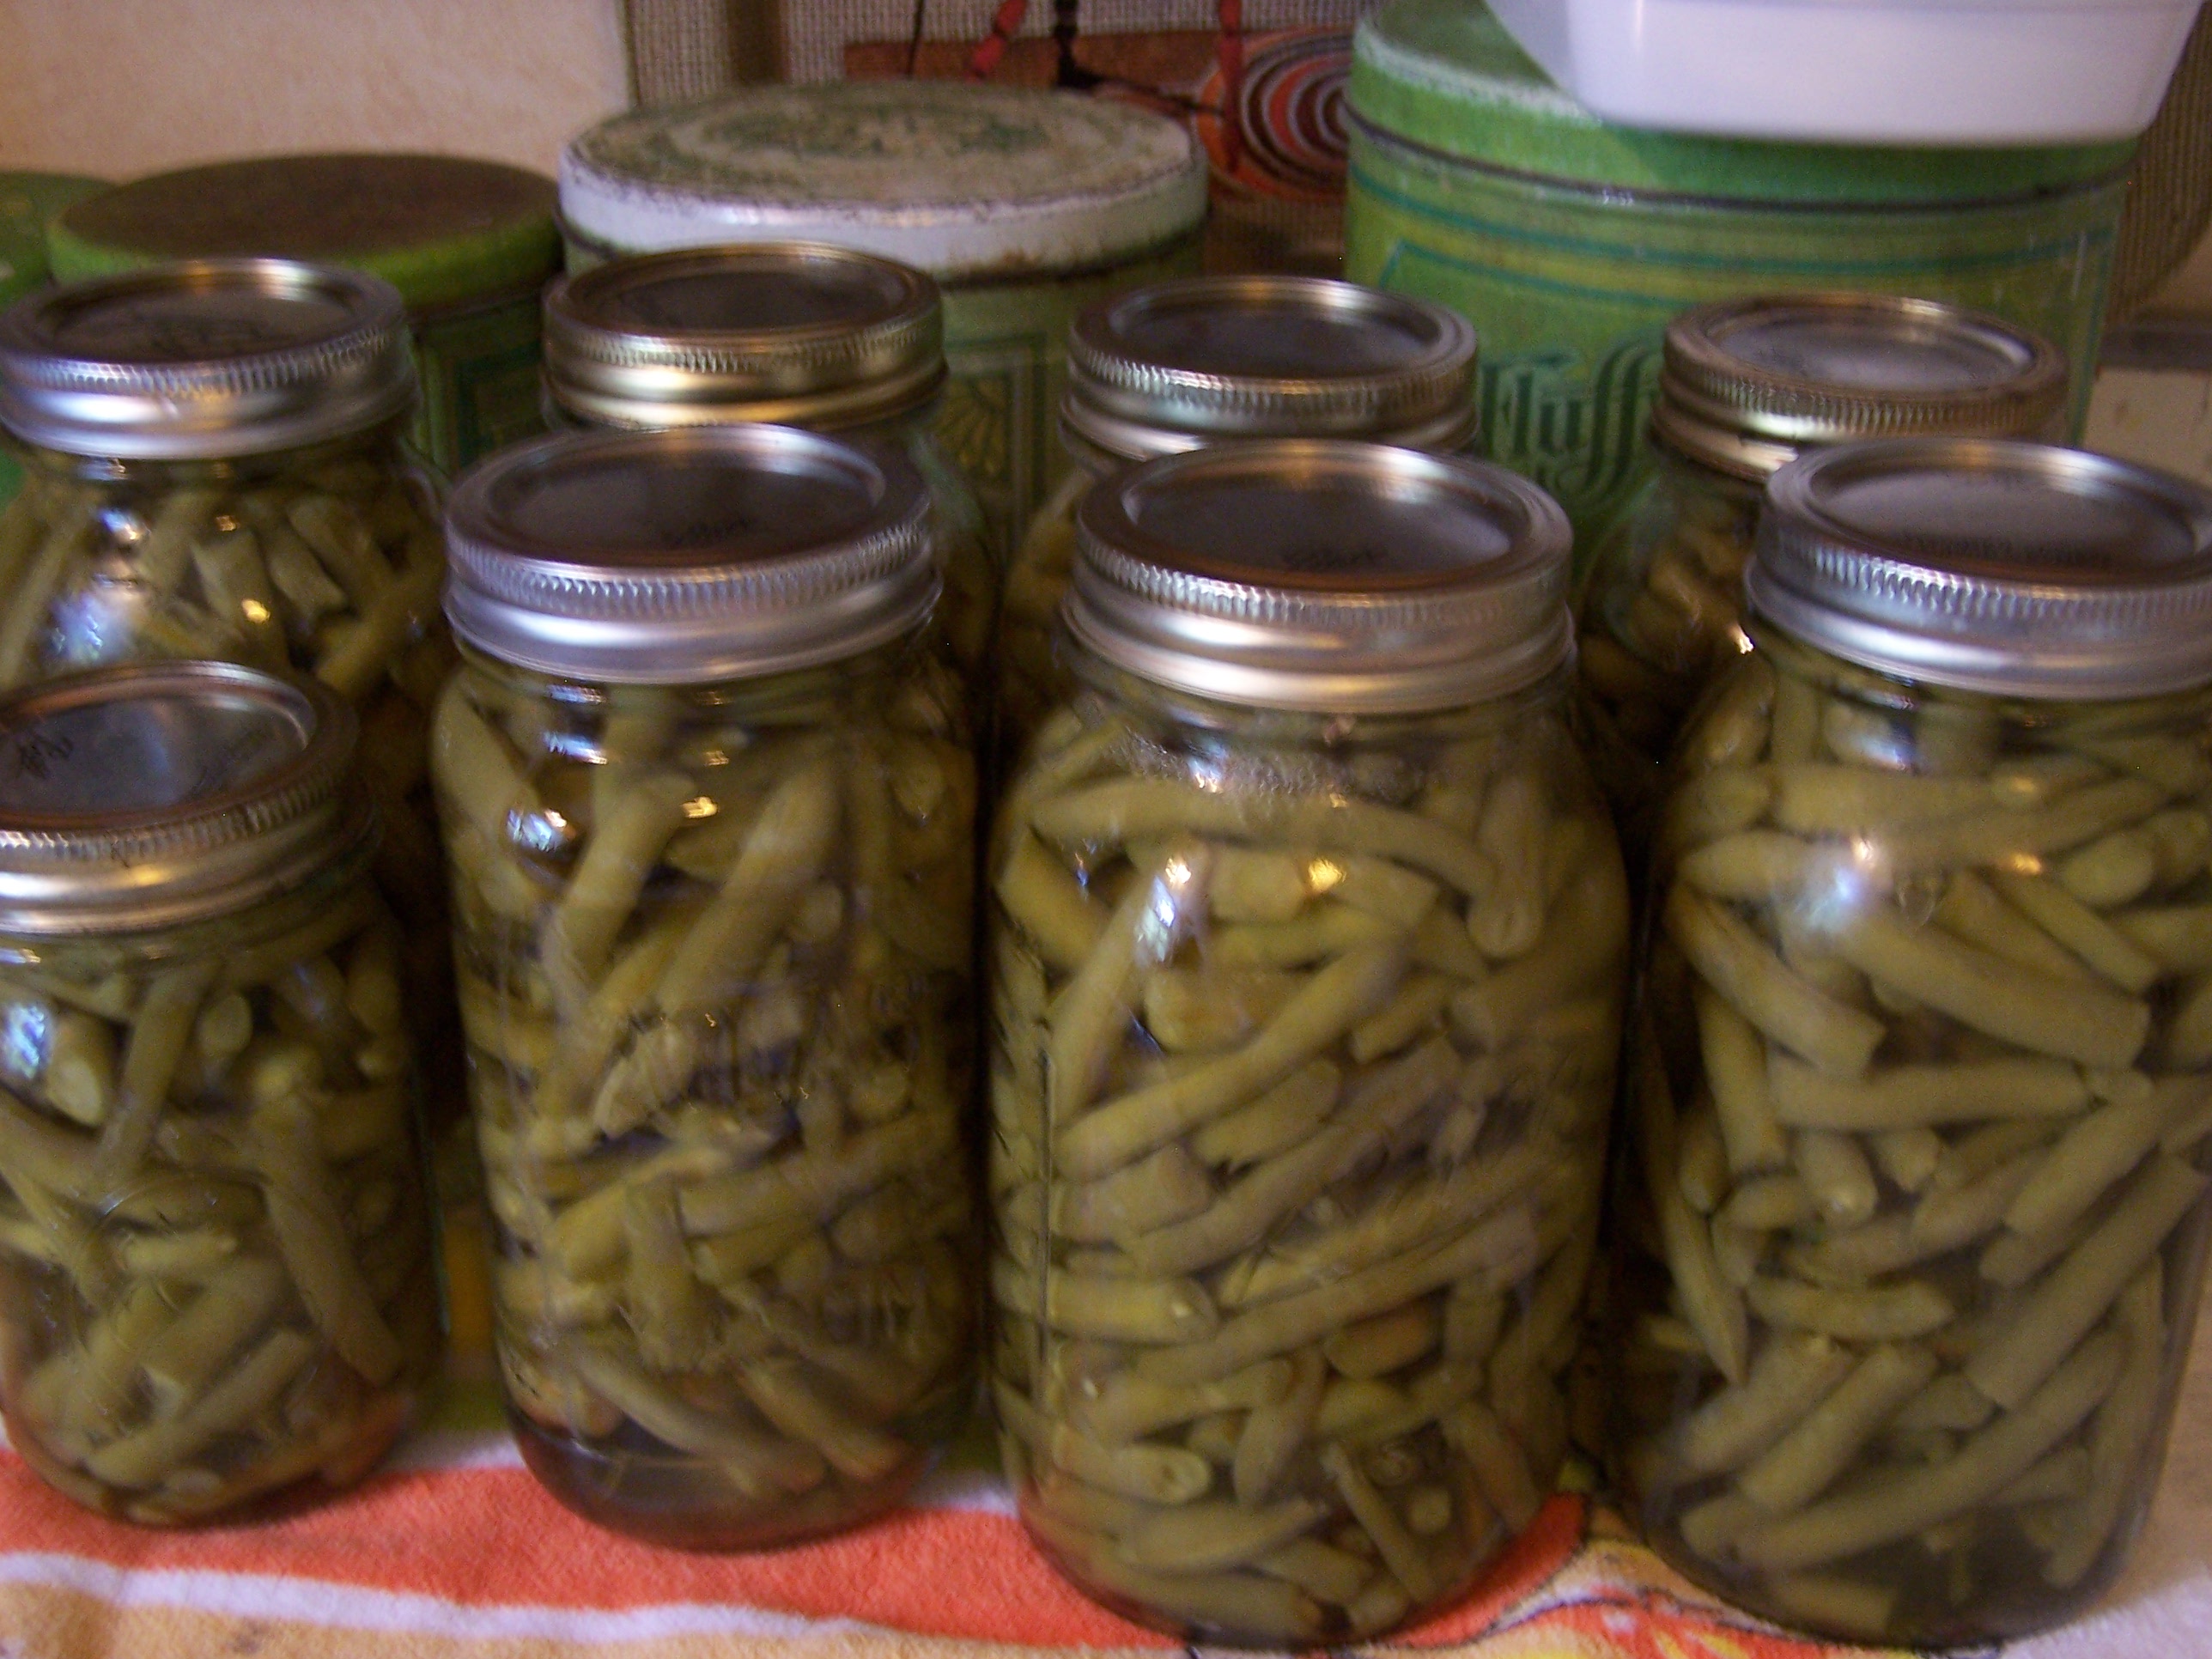
After 25 minutes turn off the heat.  When the gauge drops back to zero, take a potholder and remove the weight from the vent.  Open the lid and remove the jars.  I put them on a towel on the counter to cool.

I have a small pressure cooker that jingles that I use for pints.

I had 1 extra pint of beans  so I used this canner for it.  It will hold 4 pints total.

Since I only had 1 pint I set it in the middle and put the lid on. I put 1 pint of water and 1/2 tsp. cream of tarter in this canner.

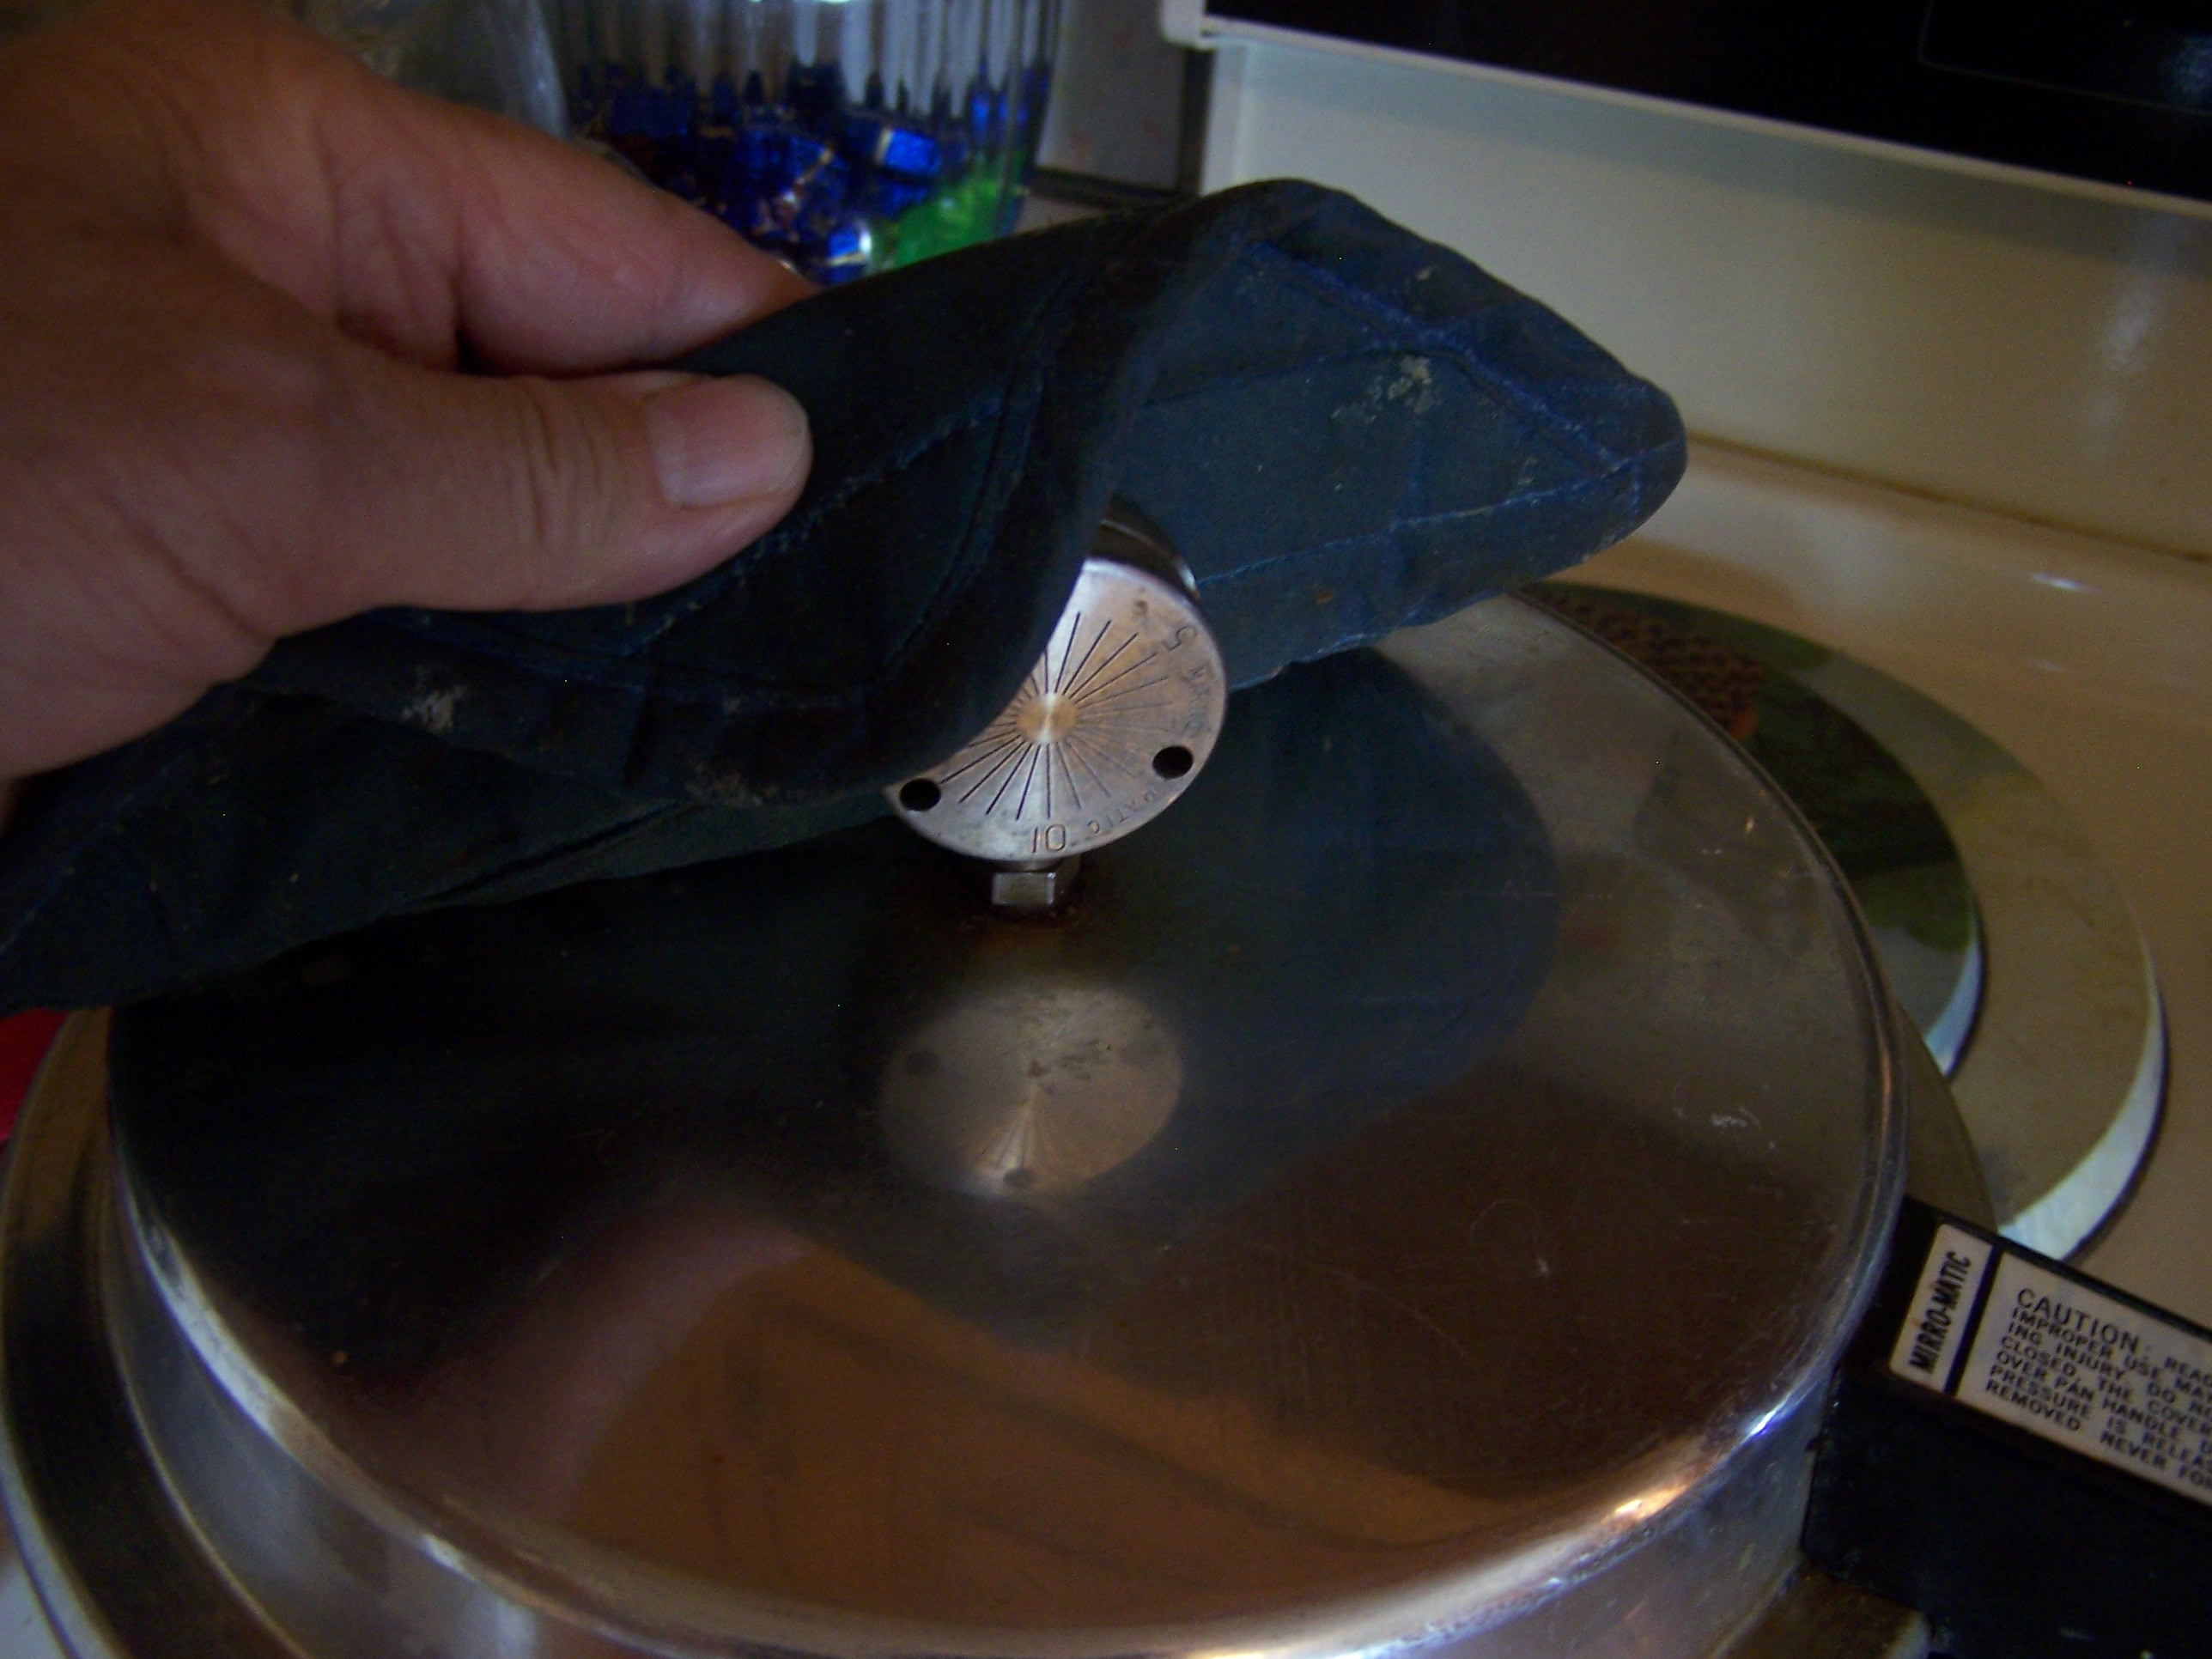
When it started to release steam out of the center value I put the weight on the vent at 10 lbs. pressure.

Pints are processed at 10 lbs. pressure for 20 minutes.

There is a little vent hole on the lid that seals automatically and then when the proper pressure is achieved the value jingles. I turn the heat to medium-high. You want it to jingle several times a minute. Not constantly and not never.

When 20 minutes is up, turn off the heat and let the canner cool.  After  15-20 minutes take a potholder and gently lift the weight off the value. If steam starts to come out, wait  a little longer until the pressure is totally gone.  Open the canner and remove the jars. I set them on a towel to cool.

Within minutes you will hear the lids “pop” as they seal. This is good and music to the ears!  The center of the lid will go go down slightly. Let cool on the counter overnight.   Remove the rings-the jars will stay sealed and put away in your basement or pantry.

If you have a jar that does not seal for some reason, you can either recan it or eat it.  When you press your finger on the center of the lid and it buckles-has a bubble in it- you will know it did not seal.  There can be several reasons for this: the jar was underfilled, overfilled, the lid not tighten properly, food on the lip of the jar or the lip of the jar has a rough edge. And sometimes you just don’t know!

There, I showed you how to do it!  Now it is your turn and you can do it  too.

For information on planting and growing snaps visit the “gardening” section on my web page http://www.hffinc.com/Beans.htm

________________________________________________________

Note: I do sell pressure canners. Call me for pricing at 804-598-4021 or email hffinc@i-c.net

Prices listed below are for the 2012 season only.

*****

Pressure Gauge Style

Presto Pressure Cooker-Canner

National Presto Industries Inc
23 qt. ( $139.95) and 16 qt. ($128.95)  size available.

  • Preserve vegetables, fruits, meats and fish wit confidence in Presto pressure canners.
  • Easy to read dial gauge ensures accurate pressure control.
  • Air vent/cover lock allows pressure to build only when the cover is closed properly.
  • Also double as water bath canners for preserving fruits, jams, jellies, pickles and salsas.

****

Jingle Style

Mirro 16Qt Aluminum Pressure Cooker Canner

T-Fal WearEver
 ($109.95)

  • Quick even heating.
  • Rust proof and dishwasher safe.
  • Polished heavy gauge aluminum construction.
*****
T-Fal WearEver
Two sizes available:

  • ($119.95) 22 qt size will hold 30 1/2 pint, 16 reg pint, 14 wide mouth, and 5 quart jars.
  • ($79.95) 8 qt size will hold 4 pints

  • Exclusive threaded escape valve, impossible to misplace.
  • Adjustable pressure – 5, 10 or 15 lbs.
  • Lower cooking time.
  • Fully detailed instruction manual provided.
  • Does not open while there is pressure inside.
  • UL approved.

Supper off the Farm

Tonight we had a homegrown supper, raised on our farm-you can’t get anymore local than that!  We had grilled flat-iron Angus steaks, asparagus, spring onions, radishes, and strawberries.  Even the roses in the vase are from my rose garden. All the vegetables were picked within 20 minutes of eating.  The only things out of the fridge were the Velveeta cheese and milk on the asparagus.

If you notice, this is a low-starch meal.   Several years ago we changed our eating habits when Gene was diagnosed pre-diabetic (it runs in his family).  He took the situation  serious and started exercising and lost weight.  We eat very little pasta, corn, or potatoes and I almost totally eliminated sugar.  It was difficult at first to cook without potatoes but now we  don’t miss them.  Supper is so much lighter without them.

It is a good feeling to eat off the farm,  fresh out of the garden or from my homegrown stash of canned and frozen vegetables.   Sometimes I wonder why my grocery bill is as much as it is!!!

Quail Eggs

I have a flock of quail just to have small eggs to hardboil!  These little birds are prolific layers and have a pleasant chirp.  I have not figured out how to tell the males from the females!!

I bring the eggs to a boil and turn down on low for 20 mins.

Then I pour off the hot water and cover the eggs with white vinegar. The eggs fizzle and bubble and the spots on the eggs float to the top.

In about 4 hours the egg shell becomes very soft and you can pinch the shell with your fingers and unravel the shell from the egg.

You are delicious served on a relish tray as small hardboiled eggs or you can pickle or devil them.  Any way you fix them they are the talk of meal!

Recipe for Pickled Quail Eggs

Hard boil and peel eggs.

For 1 quart….

2-1/2 c. vinegar

1-1/2 c. water

1/4 c. salt

Several sliced raw onion rings

Bring to a boil and let cool. Pick out the onions. (Hot liquid makes the eggs rubbery). Put eggs in jar and pour liquid on them. Add several bay leaves. No need to seal.

Next entries »