I am very excited about dabbing into hydroponics this season. I have been intrigued for quite a while; reading, browsing the internet, talking to a friend and visiting her aquaponic setup. I did not want to spend lots of money nor did I want a fancy setup. I just wanted a simple, easy-to-do method to expand my home garden growing season, especially for lettuce and tomatoes. This particular blog will deal with lettuce. I plan to use the dutch bucket method for my tomatoes. That blog will come later.
Hydroponics is growing plants in fertilized water. Aquaponics is a little more involved as you use fish to fertilize the water. But the benefit of aquaponics is that you are also growing fresh, homegrown fish to eat. I decided to venture into hydroponics.
There are numerous “how-to-do it” videos on youtube and the one that really caught my eye was Off Grid Hydroponics Experiment-The Kratky Method and a follow up video Floating Raft Hydroponics. This guy has convinced me and I am trying his method.
I am blogging my setup and you can join me in watching the progress in my greenhouse. This is a first trial run so hopefully it will work the way I envision. You get the privilege of watching this develop!
I purchased a 48″x48″ flood table 6″ deep. I decided this was easier for me than having to build a table. (He shows on the video how to build a wooden frame table and line it with black plastic). I filled it with water and added 1 T. Peters Lite Fertilizer (label says it is good for hydroponics) per gallon. It took 26 gallons to fill this baby.
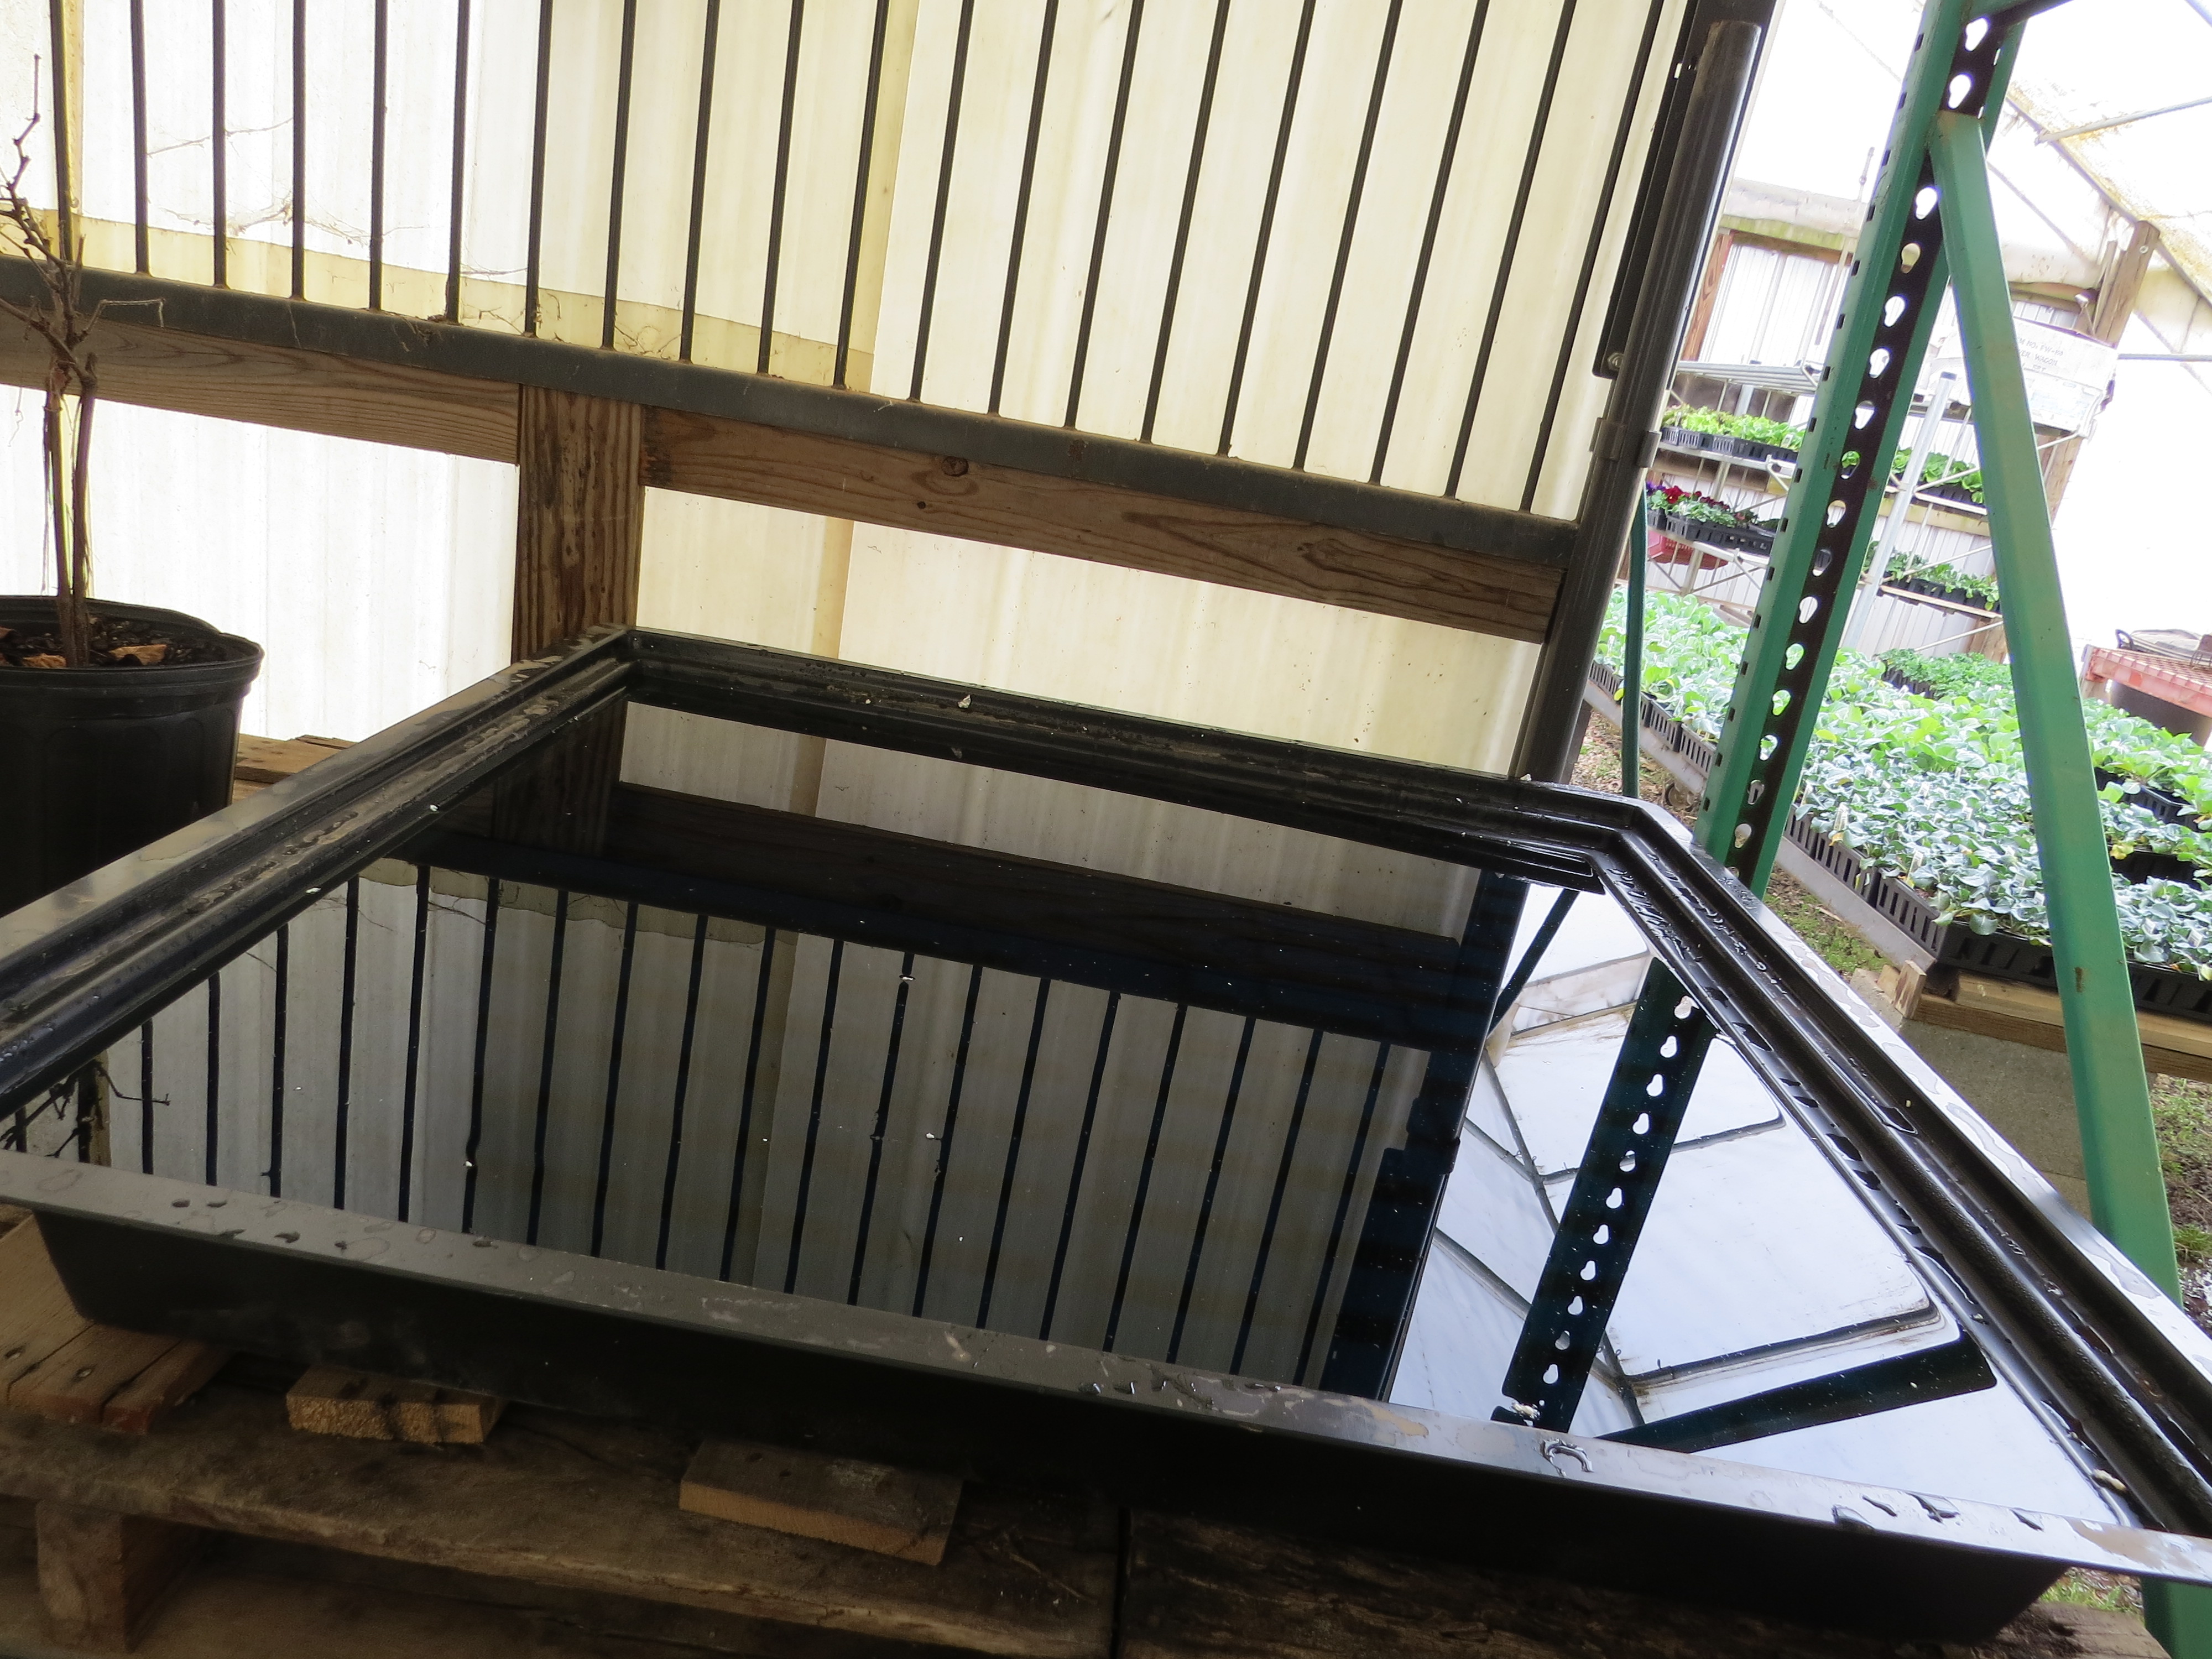
(The sides of the greenhouse and shelf are reflecting off the water of the flood table)
I took a 1″ thick 4’x8′ sheet of Styrofoam insulation board and cut it to fit (45-1/2″x 45-1/2″). The flood table has a lip for the board to set on making it flush with the top. The sheet will make two flood tables. I purchased 3″ net cups.
Laying the board on the floor, I set my cups on the board to determine placement and then using a straight edge or T-square I marked grids on the board where I wanted my cups placed, approximately 7″ apart. Then I turned my cups upside down and drew my circles on the board.

I discovered it was easier for me to set the board on edge to cut the holes. Trying to work on the floor killed my back and knees. Using a box cutter, I carefully cut out the circles about 1/8″ smaller than what I had marked. The cups have a narrow lip that need to rest on the board.


When I was finished I put the board on my flood table and it was a perfect fit. I have 25 holes in the top.

I carefully washed the dirt off the roots using lukewarm water and messaging the roots to separate the roots from the soil. You want to remove as much of the dirt as possible.


I put some pea gravel in the net cup and tilted it over on its side so I could gently lay the lettuce in the cup and get the roots stretched out evenly before adding more gravel. You can use pea gravel or hydroponic clay rocks. The videos say there was no difference using either medium so I choose pea gravel as it was easier to obtain.


I put the cups in the holes in the Styrofoam and checked to make sure the bottoms of the cups were in the water about 1 inch. Done! It was that simple!


Now we will see what happens. I anticipate lettuce in 4-6 weeks. I only planted 8 lettuce plants (4 Red Sails and 4 Boston-Buttercrunch) as we can’t eat but so much at a time. There are 25 holes in my board and every 2 weeks I will add 8 more. This will give me a 6 week rotation of lettuce. You can add herbs. I am considering doing one with strawberries.
I set some lettuce plants out in the garden 9 days ago. I wanted to do both at the same time but my hydroponic supplies didn’t get here as planned. It will be very interesting to compare growth rate, quality and flavor. The youtube videos say you can put this system outside-you don’t have to have a greenhouse. But since I have one I am using it as I feel it will extend my season both in the spring and fall even though the greenhouse is unheated.
Expenses and supplies:
I have in stock:
- 4’x4′ x6″ flood tables: $89.00
- Peters Lite 20-10-20 Fertilizer: 6 lb. tub $16.00
- 3″ net cups: $.65 each
You can purchase the insulation board at Lowes for $15-18. I like to buy local but our local hardware store does not stock it.

Hydroponics – Dutch Bucket System | Country Chatter Said:
on March 31, 2014 at 10:36 pm
[…] did a post recently about the hydroponic flood table I set up for my lettuce. Now I have set up a Dutch Bucket system for my broccoli, cabbage, […]